|
|
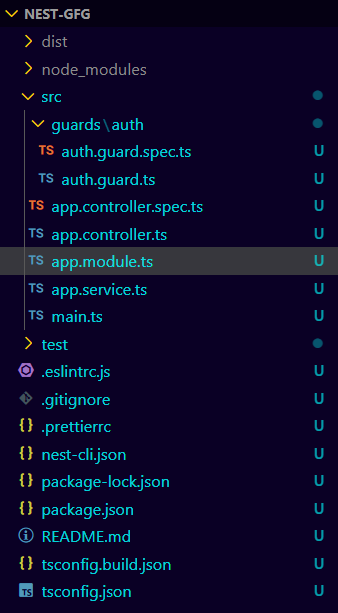
NestJS is an extensible framework for building server-side applications using TypeScript. One of its key features is the ability to implement guards, which provide a way to intercept and control the flow of incoming requests to routes. Guards are used to implement authorization logic, ensuring that only authorized users can access certain routes. This article will explore how to create and use guards in NestJS to protect routes effectively. What are Guards?In NestJS, guards are classes that implement the CanActivate interface. They determine whether a request should be handled by the route handler or not. Guards are typically used for authentication and authorization purposes, but they can also be used for other use cases like request validation. How do Guards work?Guards are executed before the route handler and can perform any necessary checks to decide if the request is allowed to proceed. They return a boolean value, a promise that resolves to a boolean, or an observable that emits a boolean. If the value is true, the request proceeds; otherwise, it is blocked. Steps to Create GuardsStep 1: Install the nestjs clinpm i -g @nestjs/cliStep 2: Create a NestJS projectnest new nest-gfg Step 3: Create a guard using the following command.nest generate guard guards/authFolder StructureFolder Structure Dependencies"dependencies": { Example: Implementing Guards while accessing a specific route. To start the application run the following command. npm run startOutput |
Reffered: https://www.geeksforgeeks.org
| Web Technologies |
Type: | Geek |
Category: | Coding |
Sub Category: | Tutorial |
Uploaded by: | Admin |
Views: | 24 |