|
|
Ajax (Asynchronous JavaScript and XML) is a powerful technique used in web development to create more responsive web applications. By using Ajax, you can send and retrieve data from a server asynchronously without interfering with the display and behaviour of the existing page. In WordPress, combining Ajax can greatly enhance user experience by making web pages more responsive. Why Use Ajax in WordPress?Using Ajax in WordPress offers several benefits:
Steps to Implement Ajax in WordPressStep 1: Understand the BasicsBefore getting into implementation, it’s essential to understand how Ajax works in a WordPress environment. Essentially, it involves:
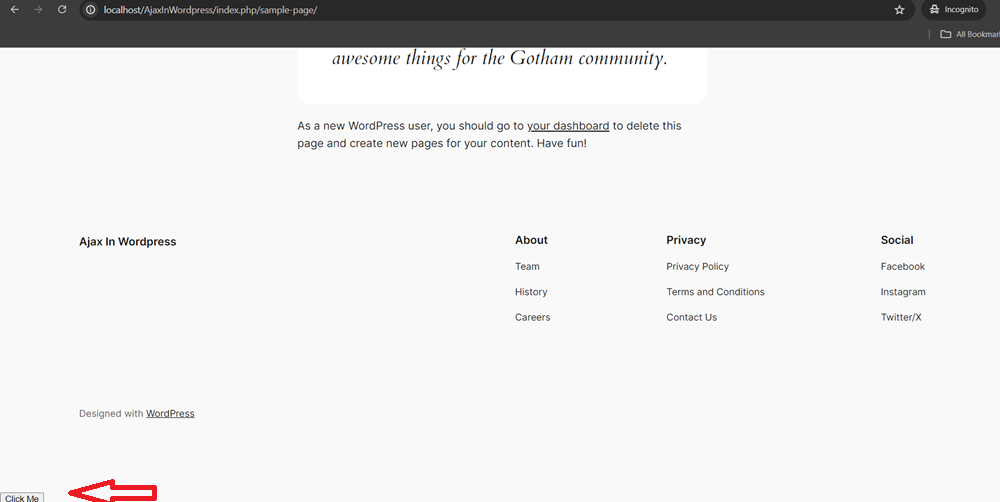
Step 2: Add Scripts in functions.php fileTo use Ajax in WordPress, you need to enqueue your JavaScript file where your Ajax code will reside. This can be done in your theme’s functions.php file. You will find that file in your “xampp\htdocs\Your_website\wp-content\themes\Your_theme_name”. Step 3: Add JavaScript Code in the Theme folderNext, you need to write the JavaScript code that will handle the Ajax request. Create a file named my-ajax-script.js in your theme’s js folder and add the following code: Step 4: Handle Ajax Request in WordPressYou need to create a function in your functions.php file to handle the Ajax request. This function will process the data sent from the client and return a response. Step 5: Create a Button in HTMLAdd a button to your HTML to trigger the Ajax request. Place this button in your template file (e.g., header.php or footer.php). This button is visible on your all pages so make a good looking button. <button id="my-button">Click Me</button>Click on Button Step 6: Testing Your Ajax ImplementationAfter implementing the above steps, go to your WordPress site and click the button. You should see an alert with the server’s response. If everything works correctly, you have successfully integrated Ajax into your WordPress site.  |
Reffered: https://www.geeksforgeeks.org
| Web Technologies |
Type: | Geek |
Category: | Coding |
Sub Category: | Tutorial |
Uploaded by: | Admin |
Views: | 18 |