Horje
How to Extend User Model in Django

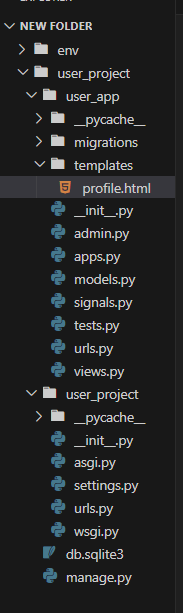
Django’s built-in User model is useful, but it may not always meet your requirements. Fortunately, Django provides a way to extend the User model to add additional fields and methods. In this article, we’ll walk through the process of extending the User model by creating a small web project that displays a custom user profile, showcasing the popular site GeeksforGeeks.

How to Extend User Model in Django

We’ll create a Django project named user_project and an app called user_app. This project will demonstrate how to extend the User model and display user profiles.

Step 1: Setting Up the Django Project

First, ensure you have Django installed. If not, install it using pip:

pip install django

Create a new Django project:

django-admin startproject user_project
cd user_project

Create a new Django app:

python manage.py startapp user_app

Add the app to your project’s settings. Open user_project/settings.py and add ‘user_app’ to INSTALLED_APPS:

INSTALLED_APPS = [
...
'user_app',
]
3file

Step 2: Extending the User Model

There are two main ways to extend the User model in Django: using a one-to-one link or subclassing the AbstractUser model. We’ll use the one-to-one link method.

Create a new model in user_app/models.py:

Python
from django.db import models
from django.contrib.auth.models import User

class Profile(models.Model):
    user = models.OneToOneField(User, on_delete=models.CASCADE)
    bio = models.TextField(max_length=500, blank=True)
    website = models.URLField(blank=True)
    location = models.CharField(max_length=30, blank=True)

    def __str__(self):
        return self.user.username

Run the following commands to create and apply the migrations for the new model:

python manage.py makemigrations
python manage.py migrate

Step 3: Register same in admin.py file

Python
from user_app.models import Profile

admin.site.register(Profile)

Createsuperuser using the below command as much you want to create

python manage.py createsuperuser
3d

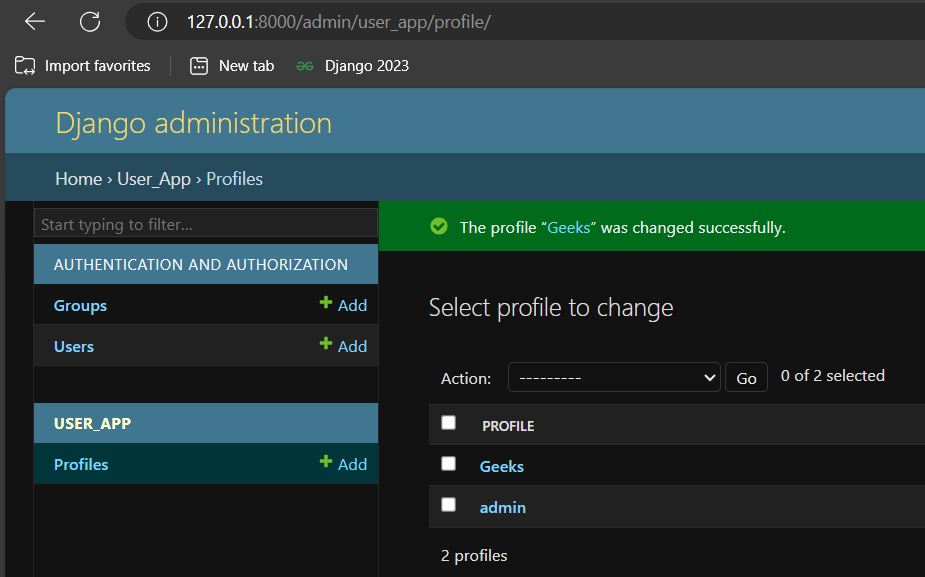
Step 4: Creating and Displaying User Profiles

Create a signal to automatically create or update the user profile whenever a User instance is created or updated. Add the following to user_app/signals.py:

Python
from django.db.models.signals import post_save
from django.dispatch import receiver
from django.contrib.auth.models import User
from .models import Profile

@receiver(post_save, sender=User)
def create_user_profile(sender, instance, created, **kwargs):
    if created:
        Profile.objects.create(user=instance)

@receiver(post_save, sender=User)
def save_user_profile(sender, instance, **kwargs):
    instance.profile.save()

Connect the signals in user_app/apps.py:

Python
from django.apps import AppConfig

class UserAppConfig(AppConfig):
    name = 'user_app'

    def ready(self):
        import user_app.signals

Update user_app/__init__.py to include the app configuration:

Python
default_app_config = 'user_app.apps.UserAppConfig'

Create a view to display user profiles in user_app/views.py:

Python
from django.shortcuts import render
from .models import Profile

def profile_view(request, username):
    profile = Profile.objects.get(user__username=username)
    return render(request, 'profile.html', {'profile': profile})

Create a URL configuration in user_app/urls.py:

Python
from django.urls import path
from .views import profile_view

urlpatterns = [
    path('profile/<str:username>/', profile_view, name='profile_view'),
]

Include this app’s URLs in the project’s URL configuration. Edit user_project/urls.py:

Python
from django.contrib import admin
from django.urls import path, include

urlpatterns = [
    path('admin/', admin.site.urls),
    path('', include('user_app.urls')),
]

Step 5: Creating Templates

Create a template to display the user profile in user_app/templates/profile.html:

HTML
<!DOCTYPE html>
<html>
<head>
    <title>Profile - {{ profile.user.username }}</title>
</head>
<body>
    <h1>{{ profile.user.username }}</h1>
    <p><strong>Bio:</strong> {{ profile.bio }}</p>
    <p><strong>Website:</strong> <a href="{{ profile.website }}">{{ profile.website }}</a></p>
    <p><strong>Location:</strong> {{ profile.location }}</p>
</body>
</html>

Step 6: Running the Server

Run the development server to test your project:

python manage.py runserver

Visit http://127.0.0.1:8000/profile/<username>/ in your browser, replacing <username> with the username of a registered user. You should see the user’s profile information.

Video Demonstration


Reffered: https://www.geeksforgeeks.org


Python

Related
How Can I Enable Python in Excel? How Can I Enable Python in Excel?
Maximizing Django Efficiency: Using Asynchronous Signals with Huey and SQLite Maximizing Django Efficiency: Using Asynchronous Signals with Huey and SQLite
Student Results Management System Using Tkinter Student Results Management System Using Tkinter
Replicate results from numpy.random in Dask Replicate results from numpy.random in Dask
Keep Decimal places in branca Colormap using Folium Keep Decimal places in branca Colormap using Folium

Type:
Geek
Category:
Coding
Sub Category:
Tutorial
Uploaded by:
Admin
Views:
19