|
|
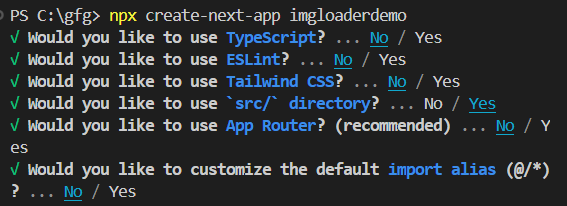
Next.js includes a robust image component with built-in performance enhancements. However, there may be situations when you want a bespoke image loader to handle certain image hosting services or loading behaviour. This article will walk you through the steps of constructing a custom image loader in Next.js, from project setup to demonstration and output. Steps to Create Cusom Image Loader in Next JSStep 1: Setting Up a New Next.js Projectcreate a next.js project in your preferred location with running the following command in the terminal. npx create-next-app imgloaderdemochoose options as shown Step2 : Navigate into the project directoryusing following command navigate to project directory or simple open from vs code open folder option inside file available top left side. cd imgloaderdemoStep 3: Project StructureWe will create a custom loader component in the index.js file and we will use that custom loader to load our image.  imgloaderdemo project structure The updated dependencies in package.json file: "dependencies": { Step 4: Custom Image Loader Function
Step 5: Integrate the Custom Loader
Step 6: Configuring next.config.mjs
Step 7: Running the ApplicationRun your Next.js application to see the custom image loader in action: npm run devStep 8: Testing the Custom Image LoaderOpen your browser and go to http://localhost:3000. Your image should be loaded with the specified width and quality criteria set by your custom loader. 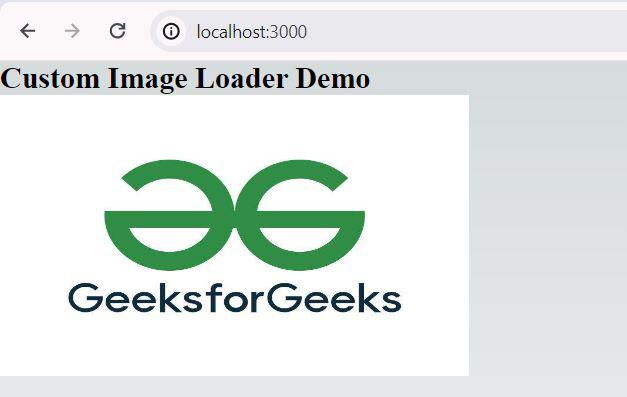 verify this image should be loaded. Step 9: Inspecting the Image URLInspect the image URL to ensure it matches the structure given in your own loader function. The URL should include the width (w=500) and quality (q=75) parameters set in the customLoader function. Note: The usage of Image in newest version of react throws an warning of fetchPrioriy, although it works fine. If you want to avoid error being logged The only solution found for this is to roll back in react version that is 18.2.0. hoping for a fix from react newer upcoming version.  fetchpriority error ConclusionCreating a custom image loader in Next.js enables you to interface with many image hosting services and tailor image loading behavior to your specific requirements. Using this approach, you can create a Next.js project, construct a custom image loader, and see it in action. This guarantees that your photos load efficiently and match your individual needs. |
Reffered: https://www.geeksforgeeks.org
| ReactJS |
Type: | Geek |
Category: | Coding |
Sub Category: | Tutorial |
Uploaded by: | Admin |
Views: | 18 |