
|
|
JGit is the lightweight and pure Java library implementing the Git version control system. It can be widely used for integrating Git functionalities into Java applications without relying on the native Git command line tools. In this article, we will explore the process of adding JGit to the Gradle project covering all the necessary steps and providing a detailed explanation. JGit can operate independently of the system’s Git installation as it is the pure Java implementation of the Git version control system. It can make it an ideal choice for the Java project where direct access to the Git repositories is needed without relying on the installed Git binaries. JGit comes with features that allow you to manage the repositories and handle the various Git operations like commit, fetch, merge, and rebase, and access the repository history. Implementation of Adding JGit to the project with GradleBelow is the implementation to add JGit to our project with Gradle build tool. Step 1: Create the Maven projectCreate the maven project using Intelij Idea and on on creating the project, choose the build system as Gradle and click on the create button. After the project creation done successfully, the file structure will look like the below image. 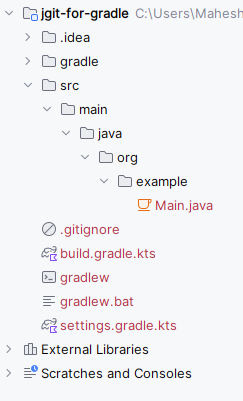 Step 2: Add the JGit DependencyOpen the build.gradle.kts file and add the JGit dependency into the project. // https://mvnrepository.com/artifact/org.eclipse.jgit/org.eclipse.jgit Add dependency to build.gradle.kts file: plugins { Now, we have successfully added the JGit dependency into the Java project with Gradle. Now, we are working on th JGit functionalities into the Java project. Step 3: Refresh the Gradle projectAfter updating the build.gradle.kts file, we need to refresh the project to allow the Gradle to download the newly added dependencies into the project. We need to manual update through the command line use the below command. ./gradlew buildStep 4: Using the JGitWith the JGit added into the project, we can start using it perform the Git operations. Example:This is a simple example of opening the existing repository and printing the latest commits. JGitExample.Java:This code demonstrates the use of JGit to interact with a local Git repository. It builds a Output: This integration can be particularly useful for the applications that requires the dynamic interaction with Git repositories. |
Reffered: https://www.geeksforgeeks.org
| Java |
Type: | Geek |
Category: | Coding |
Sub Category: | Tutorial |
Uploaded by: | Admin |
Views: | 19 |