|
|
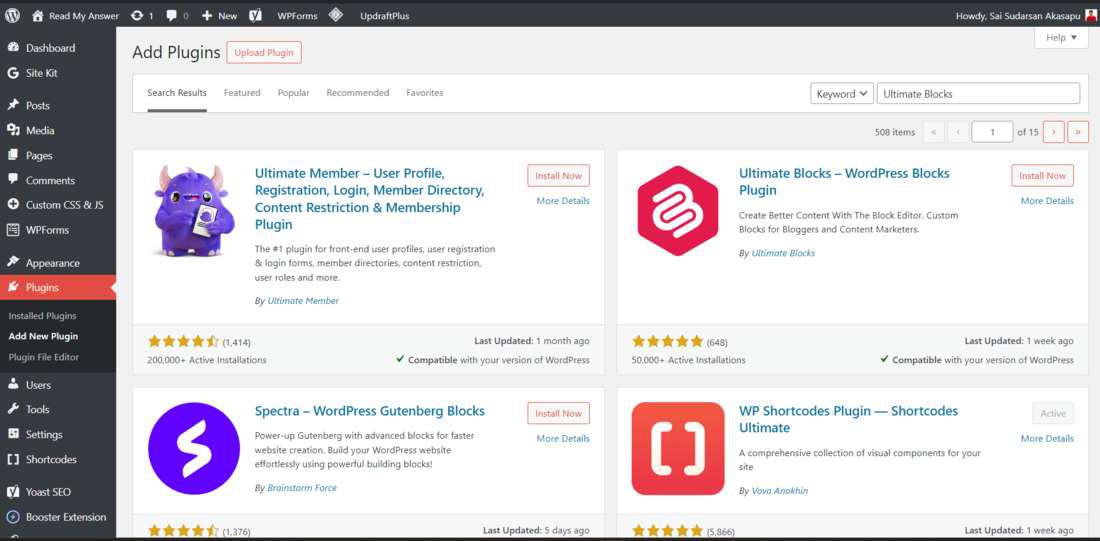
A tabbed image gallery provides a sleek way to organize and present images on your WordPress website, enhancing user experience by allowing easy navigation through different categories or sets of images. This guide will walk you through creating a tabbed image gallery using the Ultimate Blocks plugin. Steps to create a Tabbed Image gallery in WordPress:Table of Content Step 1: Install and Activate the Ultimate Blocks PluginUltimate Blocks is a powerful plugin that adds several useful blocks to the Gutenberg editor, including a Tabbed Content block, which we’ll use for creating the tabbed image gallery. Steps to Install and Activate Ultimate Blocks:
Selecting and activating plugin Step 2: Add the Tabbed Content BlockWith Ultimate Blocks activated, you can now use the Tabbed Content block to create your tabbed image gallery. Steps to Add the Tabbed Content Block:
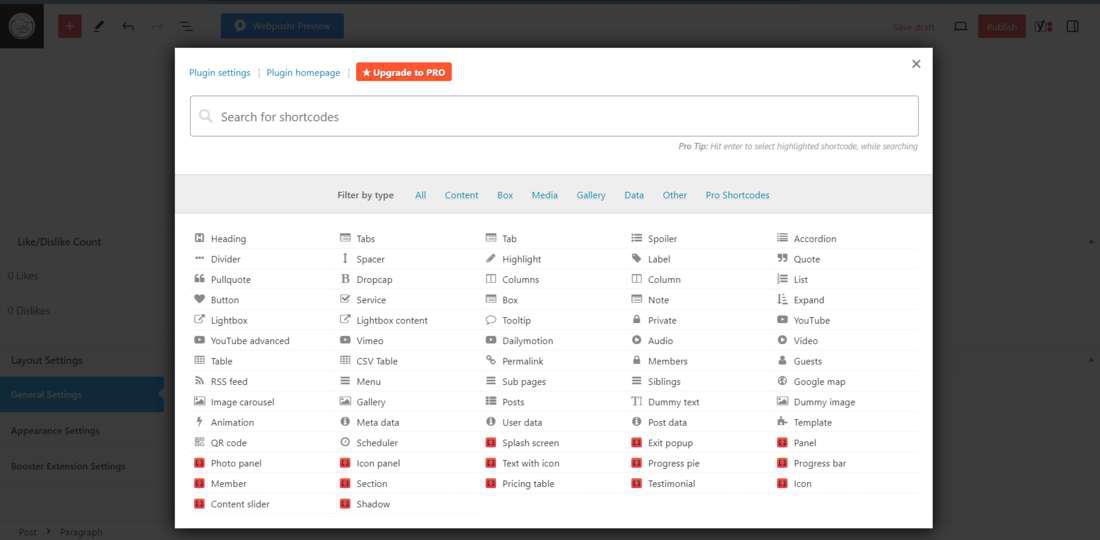 ShortCuts Step 3: Create TabsWithin the Tabbed Content block, you can create multiple tabs to categorize your images. Steps to Create Tabs:
Step 4: Add Gallery Block Inside TabsNow, you can add the Gallery block inside each tab to display your images. Steps to Add Gallery Block:
Upload or Select Images:
 Add Gallery Block Step 5: Publish Your Page/PostOnce you have added all the necessary tabs and images, you can publish your page or post. Steps to Publish:
 Preview the gallery and click on publish ConclusionCreating a tabbed image gallery in WordPress is straightforward with the Ultimate Blocks plugin. This method not only organizes your images effectively but also enhances the user experience by making it easy for visitors to navigate through different categories. By following the steps outlined in this guide, you can create a visually appealing and user-friendly tabbed image gallery on your WordPress site. |
Reffered: https://www.geeksforgeeks.org
| Web Technologies |
Type: | Geek |
Category: | Coding |
Sub Category: | Tutorial |
Uploaded by: | Admin |
Views: | 19 |