|
In this article, we’ll explore the npm reset cache command, its purpose, and how to use it effectively. The npm cache can sometimes lead to issues, such as outdated or corrupt cached data, causing unexpected behavior during package installation or updates. The reset cache command helps resolve these issues by clearing the npm cache and ensuring a clean state for package management.
Understanding npm Cache
The npm cache is a local storage mechanism used by npm to store packages and metadata obtained from remote registries. This cache improves installation speed and reduces bandwidth consumption by caching downloaded packages.
The npm cache consists of two main parts:
- Content Cache: Stores compressed package tarballs (.tgz files) downloaded from remote registries.
- Metadata Cache: Stores package metadata, such as package.json files, package dependencies, and package versions.
Purpose of npm reset cache
The npm reset cache command is used to clear the npm cache, including both content and metadata caches. It provides a way to reset the cache to a clean state, resolving issues caused by outdated or corrupt cache data.
How to Use npm reset cache?
To use the npm reset cache command, open your terminal or command prompt and run the following command:
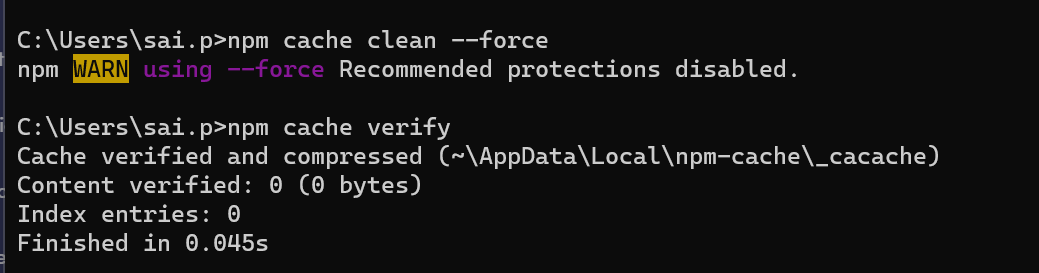
npm cache clean --force
This command clears the npm cache by removing all cached data, including content and metadata caches. The --force flag is used to force the cache clearing process, bypassing any prompts for confirmation.
Verifying the Cache Cleanup
After cleaning the cache, you can verify if the cache has been successfully cleared by using the npm cache verify command:
npm cache verify
This command performs a verification of the cache, ensuring that it is clean and all cached data has been removed or validated.
Example Usage
Here’s an example of using the npm reset cache command followed by verification:
 pm reset cache command How to Clear the NPM Cache in an Angular Project
Clearing the npm cache in an Angular project follows the same steps as any other npm project. Here’s how you can do it specifically for an Angular project:
Step-by-Step Guide
- Open Terminal or Command Prompt: Navigate to your Angular project’s root directory using your terminal or command prompt.
- Run the Cache Clean Command:
npm cache clean --force
- Verify the Cache Cleanup:
npm cache verify
- Reinstall Node Modules:After clearing the cache, it’s a good practice to delete the
node_modules folder and package-lock.json file, then reinstall the dependencies to ensure everything is up to date and clean.
rm -rf node_modules package-lock.json
npm install
Considerations for Angular Projects
- Build Process: After clearing the cache and reinstalling the node modules, run your Angular build process to ensure everything compiles correctly:
ng build
- Check for Errors: Pay attention to any errors that may arise during the build process, as they could indicate issues with dependencies that need to be addressed.
Considerations
- Use the
npm reset cache command only when necessary, as it removes all cached data, which may increase installation times for subsequent npm operations.
Conclusion
In this article, we’ve learned about the npm reset cache command and its role in managing the npm cache. By understanding how to use this command effectively, you can resolve cache-related issues and ensure smooth package management operations with npm.
Frequently Asked Questions on NPM reset cache
What does it mean to reset the NPM cache?
Resetting the NPM cache means clearing out all cached package data and ensuring that the cache is in a clean state. This can help resolve issues with corrupted or outdated cache data.
Why should I reset the NPM cache?
You might reset the NPM cache to:
- Resolve installation issues caused by corrupted cache.
- Ensure the latest versions of packages are downloaded.
- Free up disk space by removing old or unused cache files.
Is there a method to ensure the integrity of the NPM cache after resetting it?
Yes, you can verify the cache to check its integrity and clean up unnecessary files.
|