|
|
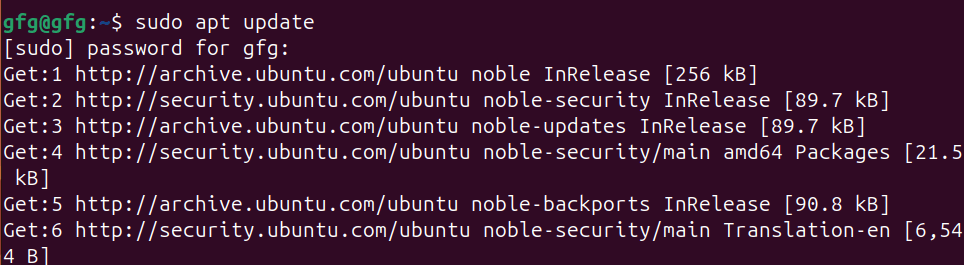
OpenCV is a powerful and versatile library widely used for real-time computer vision tasks. It’s commonly used in applications like image and video processing, object detection, facial recognition, and more. Recent versions of Ubuntu come with pre-built OpenCV packages available through the apt package manager. Table of Content For some reason, if you prefer a different version than what’s available in the repositories, or you’re using an older version of Ubuntu that doesn’t have OpenCV pre-built in it’s repository, in this article we will discuss two methods for installing OpenCV in Ubuntu. 1. Install OpenCV in Ubuntu using APT package managerStep 1 : Update Package ListTo make sure we are getting the latest version of OpenCV, update the package list using apt update command. sudo apt update -yupdating packages Step 2: Install OpenCVOnce repositories are up to date, we will install opencv using apt install command. sudo apt install python3-opencv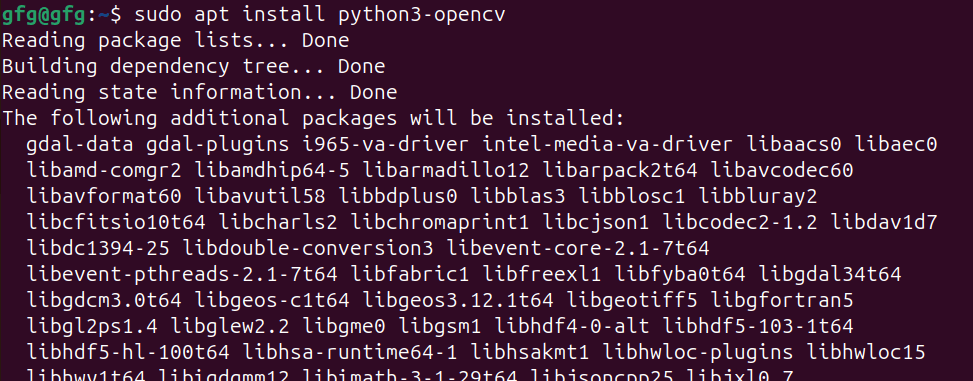 installing opencv using APT Package manager Step 3 : Verify installationOnce, installation is done, verify installation using print(cv2.__version__) command in python shell. To open python shell, first type python3 in your terminal. python3Once python3 shell is opened, print version number of opencv using following command.  verifying installation 2. Install OpenCV in Ubuntu by Compiling from sourcesStep 1 : Installing dependenciesIn order to install opencv from github source, we will need to download required dependencies using apt install command as follows sudo apt install build-essential cmake wget unzip git -y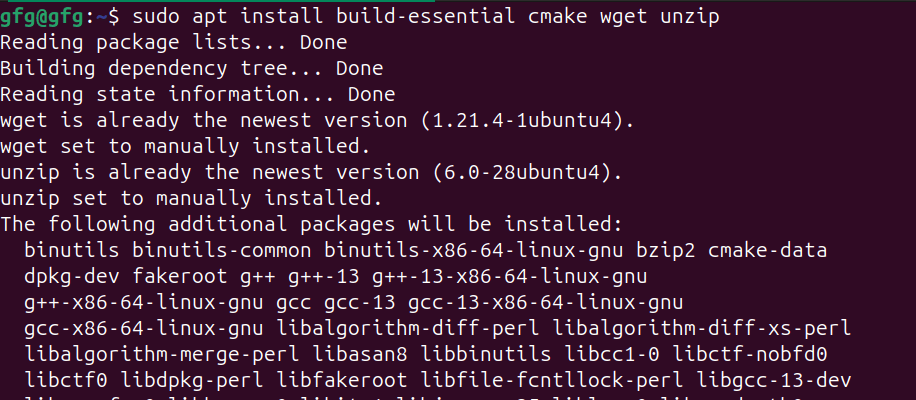 installing build dependencies Step 2 : download opencv sourceIn this step, we will download official source code from opencv github page using git clone command. git clone https://github.com/opencv/opencv.git cloning opencv sources from github Step 3 : Navigate to opencv directory and making configurationOnce repo is cloned, navigate to cloned directory using cd command. cd opencvNow create build directory for compiling sources using mkdir command and navigate to it using cd command. mkdir build
cd build creating and navigating to build directory Step 4: Compiling and building packages for installationOnce we are in build directory, use cmake command to start compiling build files for installation. cmake ../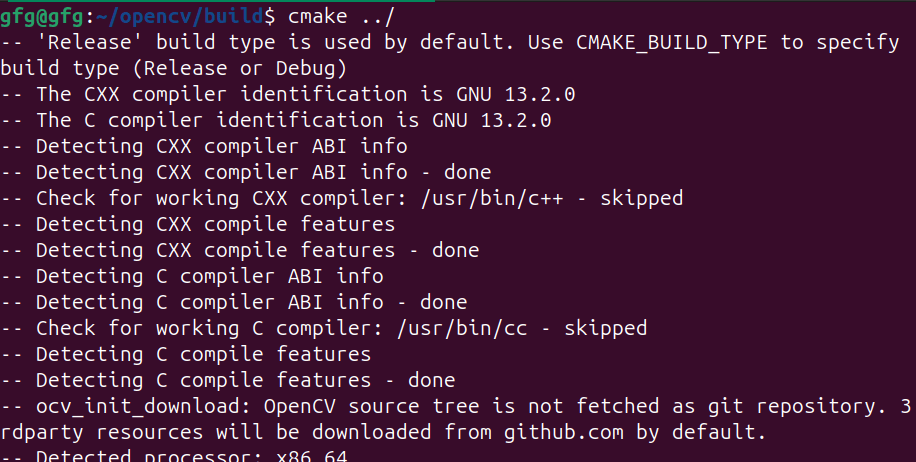 compiling source code Once compilation is done, we will make build packages using make command. make building package using “make” Step 5: Installing openCVAfter packages are built, install it using make install command. sudo make install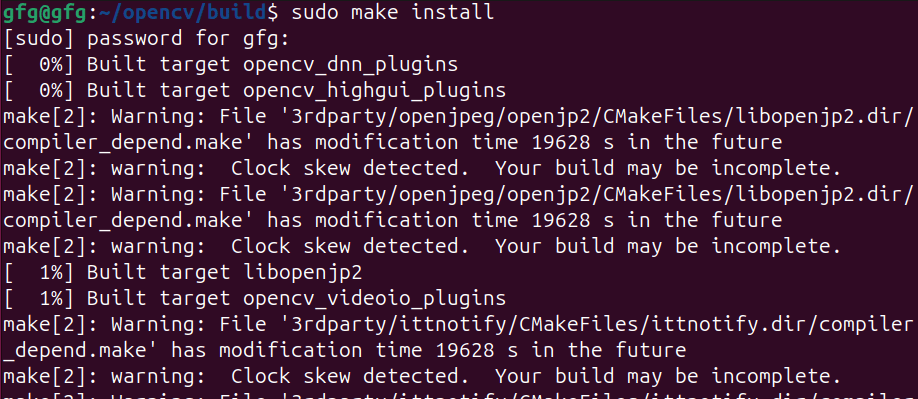 installing opencv using make install command Step 6 : Verify installationOnce, installation is done, verify installation using print(cv2.__version__) command in python shell. To open python shell, first type python3 in your terminal. python3Once python3 shell is opened, print version number of opencv using following command. verifying installation How to install opencv in Ubuntu? – FAQsWhat is OpenCV?
What are the benefits of using APT for OpenCV installation?
How do I keep OpenCV updated?
ConclusionIn this article, we’ve discussed two methods for installing OpenCV on Ubuntu. For most users, the recommended approach is to use the Ubuntu repositories (using APT package manager) due to its ease of installation, compatibility with system, and access to regular security updates. However, if you require a specific version not available in the repositories, or need to install a latest development version, compiling OpenCV from source can be a suitable alternative. |
Reffered: https://www.geeksforgeeks.org
| Linux Unix |
| Related |
|---|
| |
| |
| |
| |
| |
Type: | Geek |
Category: | Coding |
Sub Category: | Tutorial |
Uploaded by: | Admin |
Views: | 15 |