
|
|
CloudFront is a content delivery network (CDN) service provided by AWS that delivers data, videos, applications, and APIs to viewers with low latency and high transfer speeds. In this article, we will explore how to create a CloudFront distribution in AWS to serve content stored in an S3 bucket. Key Terminologies
Approach to create CloudFront distribution in AWS for S3 bucketStep 1: Create an S3 Bucket, If you haven’t already, create an S3 bucket to store the content you want to distribute via CloudFront. for this, you should have an AWS account. S3 bucket creation Step 2: Give a name to the bucket and unmark block all public access, other fields can be as it is, and then click Create bucket. make sure your bucket name should be globally unique.
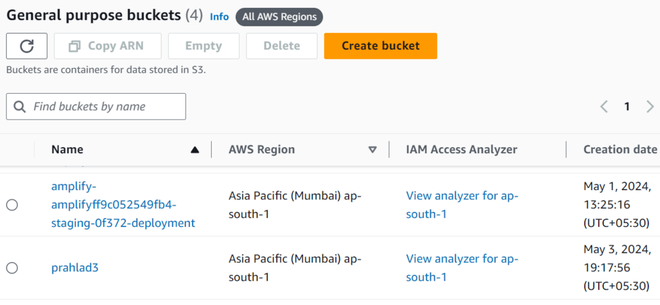
When Bucket created, it will listed down with others buckets.
Step 3: Now, we have to upload some content in bucket, we can either upload objects or files directly, or we can create folder to separate files and objects. For example, we want to upload html file named as index.html. we click add files then we can drag and drop or select from device.
Here we can see other properties of uploaded files, as S3 URL, AWS region, ARN, object URL and so on.
Every bucket has a policy, so we have to make sure to create that one, for this we have to go in bucket permissions, below, in a section, we can see bucket policy, initially, there will be nothing, so we have to create that, so click edit button and follow below procedure. As we have to select a statement, from all services, we will choose S3, and from there, we will choose actions as ‘GetObject’.
The bucket policy will look like this, as my bucket name is prahlad3, your bucket name will anything followed by “/*” to select all files under bucket, if you want host any specific file, just write name after “/”., for Principal, set “*”. { Step 4: As we are hosting HTML page, so we have to Enable Static Website Hosting.
we open CloudFront console and click on “Create Distribution.”
we choose delivery method as web and configure the origin settings by selecting the S3 bucket as the origin domain name.
we can configure other distribution settings, such as cache behavior, distribution settings, and security settings. when we review and confirm the distribution settings, then we click “Create Distribution.”
Wait for Distribution Deployment, It may take some time for the CloudFront distribution to be deployed and fully functional. Step 6: When the deployment is done, we simply copy distribution domain name, and replace with Object URL in s3 bucket.
We can see the URL from CloudFront, so in this way, we can set cloudfront distribution in AWS for S3 bucket.
BenefitSuppose you have a static website hosted in an S3 bucket named “example.com.” By creating a CloudFront distribution for this S3 bucket, you can improve the website’s performance and reliability by serving content from edge locations closer to your users. ConclusionIn simple terms, using Amazon CloudFront with an S3 bucket has some great perks. It makes your website faster by storing copies of your content closer to your users all around the world. This means people can access your website quicker, no matter where they are. Plus, CloudFront keeps your data safe while it travels across the internet with encryption and access controls. It’s easy to set up and manage, works well with other Amazon services, and is cost-effective. Overall, CloudFront helps make your website faster, safer, and more reliable for your users. Cloudfront Distribution in AWS for S3 Bucket – FAQsCan I use CloudFront with dynamic content stored in an S3 bucket?
How does CloudFront improve website performance?
Can I use a custom domain with my CloudFront distribution?
Is there a cost associated with using CloudFront?
|
-660.png)
-660.png)

-(1)-(1)-660.png)

 Output:
 Step 5:
 -(1)-660.png)


Reffered: https://www.geeksforgeeks.org
| Amazon Web Services |
Type: | Geek |
Category: | Coding |
Sub Category: | Tutorial |
Uploaded by: | Admin |
Views: | 18 |