
|
|
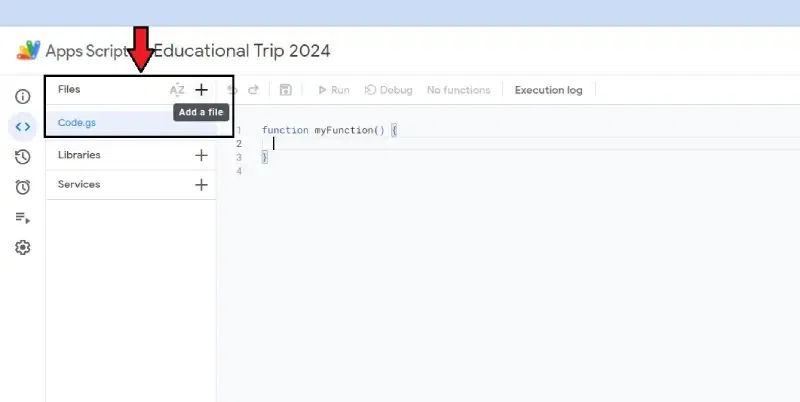
Are you looking to enhance your Google Forms experience by allowing respondents to easily upload files to Google Forms? If you’re collecting resumes, project proposals, or photos, then how to enable file upload in Google Forms can integrate file uploads into your Google Forms can streamline data collection. In this article, you’ll learn the process of enabling file uploads in Google Forms and seamlessly storing them in Google Drive. Learn how to enable the “upload files Google Forms” functionality and effortlessly manage submissions with Google Forms to Google Drive integration. Also, we will explore uploading files to Google Drive from Google Forms. Also, you’ll learn how to create a form with a file upload question and automatically store the uploaded files in your Drive. How to Upload Files to Google Form Table of Content How to Create a Google FormStep 1: Open Google on your default web browser.Search for Google on your device’s default web browser.  Open Google on your default web browser Step 2: Open Forms from Google Workspace appsClick on FORMS from the 9-dot menu bar at the top right corner of the Google homepage. 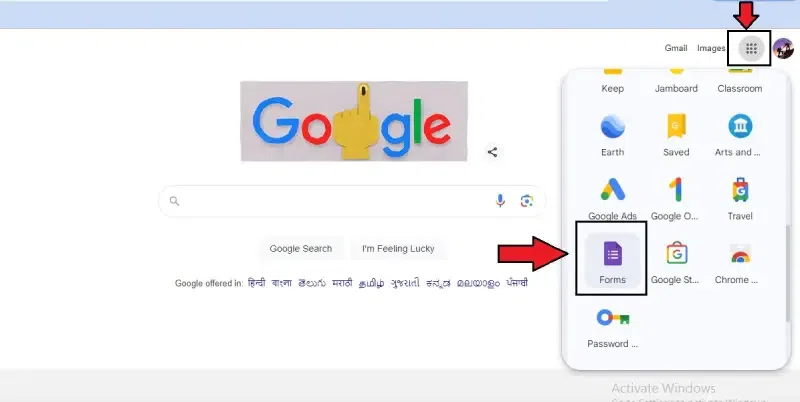 Open Forms from Google Workspace apps Step 3: Open a Blank form and rename itSelect a blank form from the window and rename it to Upload files to Drive. 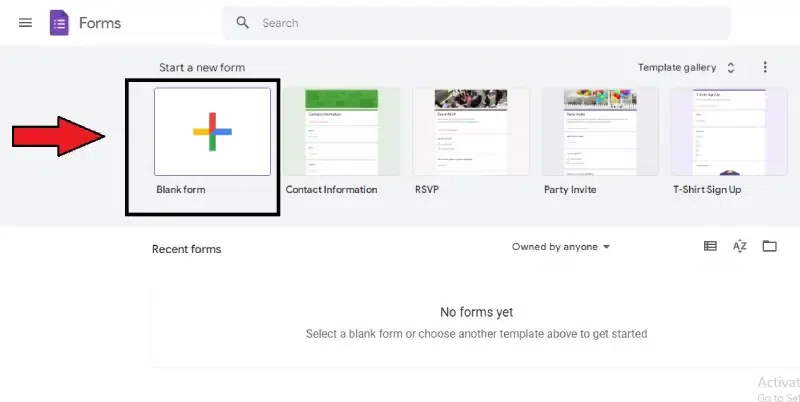 Select a blank form from the window Step 4: Give the untitled question a nameIn the box given below, rename the question as needed. 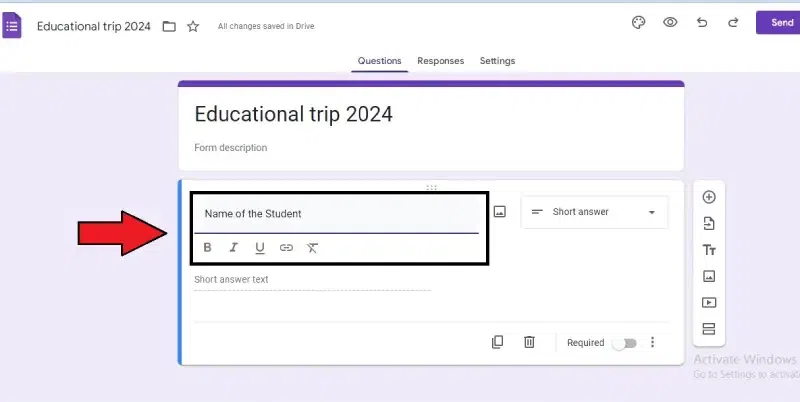 Give the untitled question a name Step 5: Add options to the questionBy clicking the “add option” or “add other,” you can add various options. 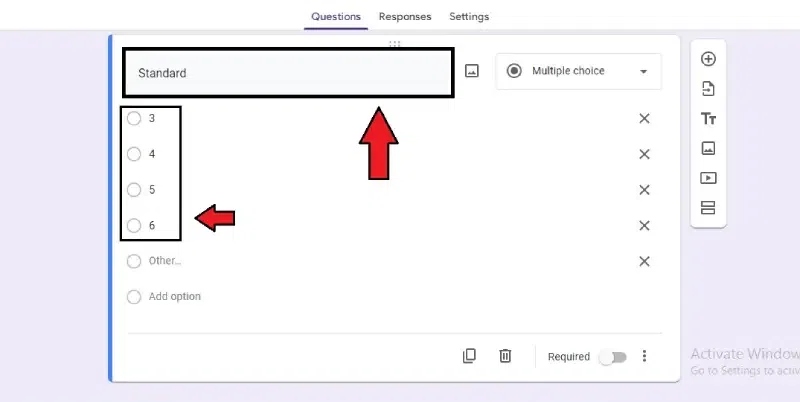 Add options to the question Step 6: Click the required symbolThere is a Required button in the bottom right corner. To make the question required, click Required. 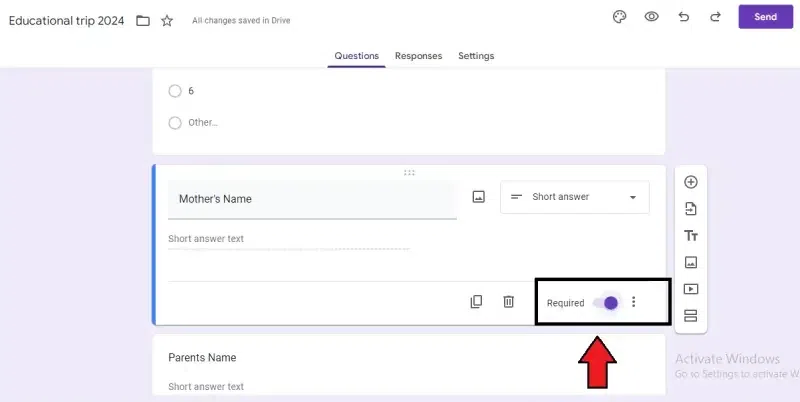 Click the required symbol Step 7: Click Add Symbol on the top right cornerIf you are done with your question, click the add symbol in the vertical bar on the right side of the page. 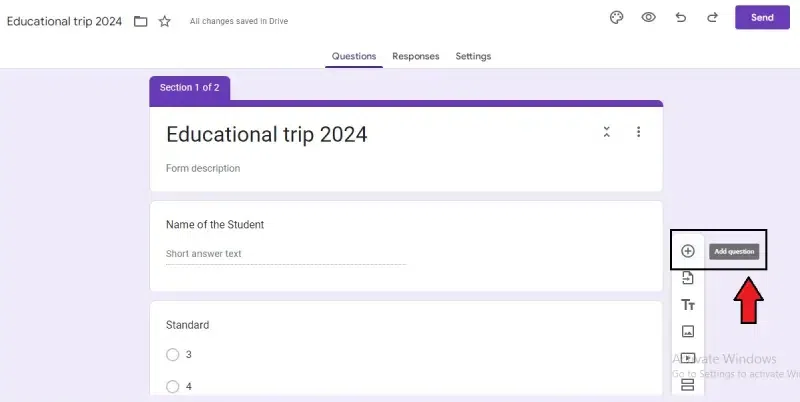 Click Add Symbol on the top right corner to add questions How to Upload a File on Google FormsFollow the below steps on How to Add the Upload File Option to the Form. A new box will appear for your next question. To upload the file in the form, here are the following steps: Step 1: Select the file upload option and continueYou can see a list of various options after clicking on the multiple-choice option at the top right corner of the box. Click and choose the File Upload option. A new box with permission will be asked; click continue. 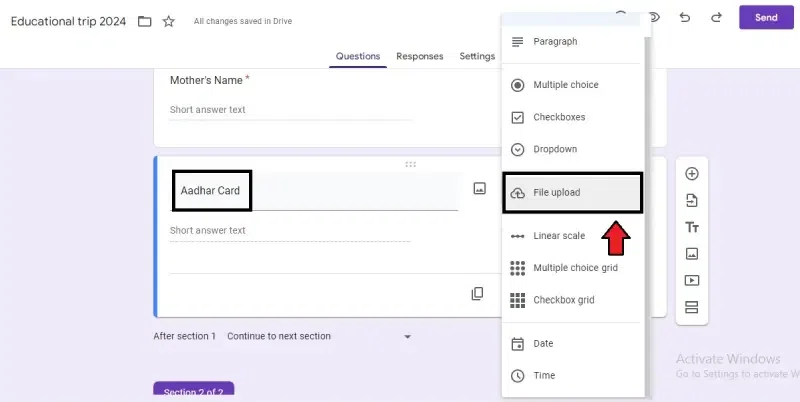 Select the file upload option Step 2: Click on “Continue”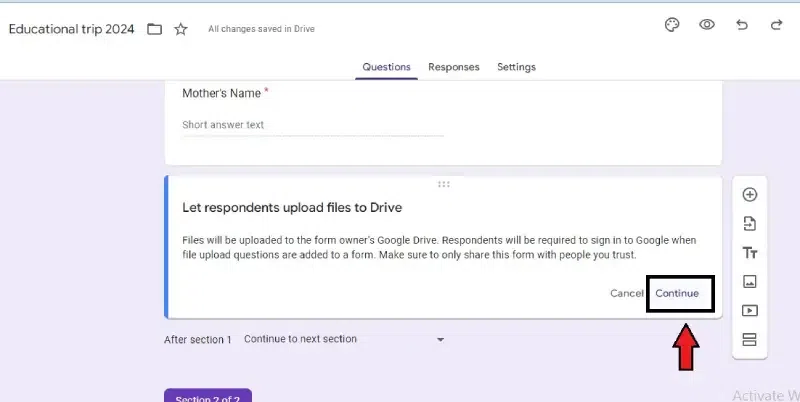 Click on “Continue” Step 3: Enter the details of the files to be uploadedTwo questions will be asked regarding the file, the size of the file, and the number of files to be uploaded. Choose and continue. 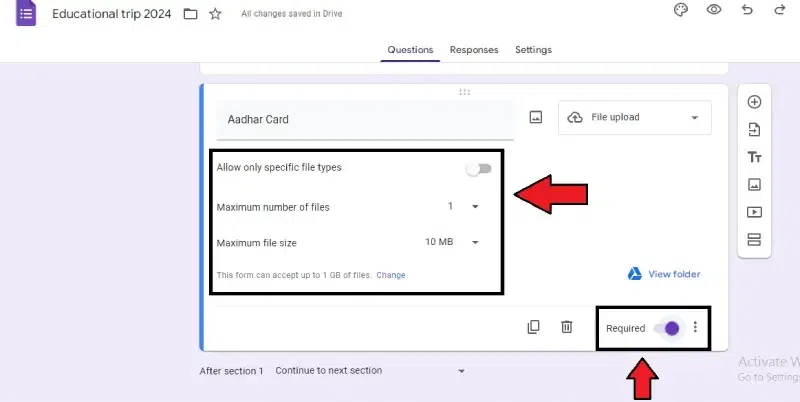 Enter the details of the files to be uploaded Step 4: Click the required symbolThere is a Required button in the bottom right corner. To make the question required, click Required. Click the required symbol How to Link Google Forms to Google DriveThere are two methods through which you can Link a Google Forms to Google Drive. Method 1: Using the Apps Script Method 2: Run the Script How to Create the Apps Script in Google FormStep 1: Open the script editor in the formThree dots are given in the top right corner of the form. Click “More” to open the dialogue box. Select “Script editor” from the options. 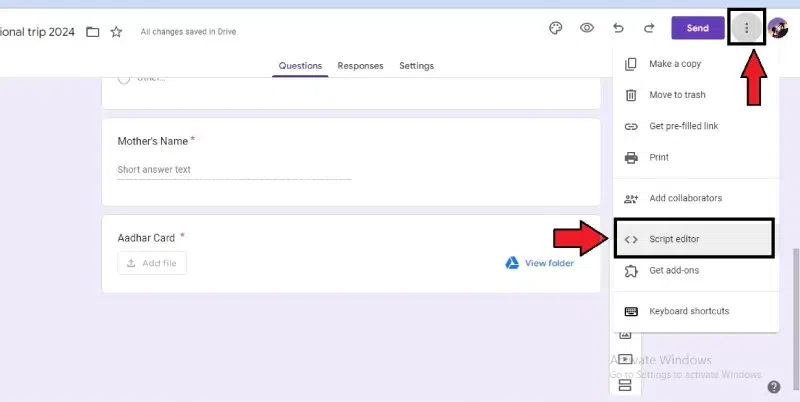 Open the script editor in the form Step 2: Click the untitled project on the topClick the untitled project name at the top of the window. Rename the project to “Upload files to Drive”. 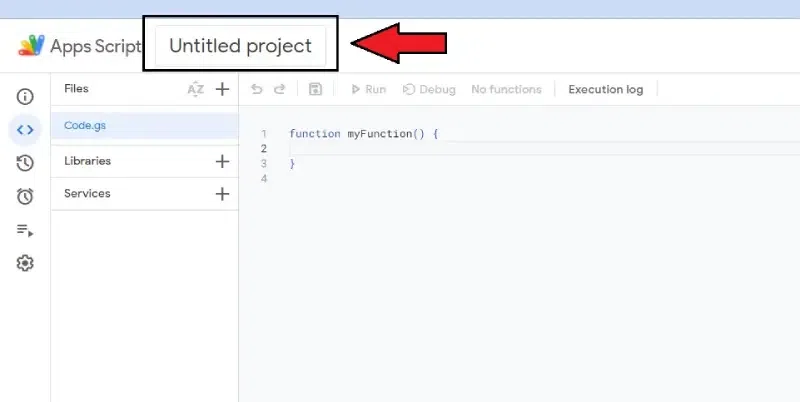 Click the untitled project on the top Step 3: Rename Project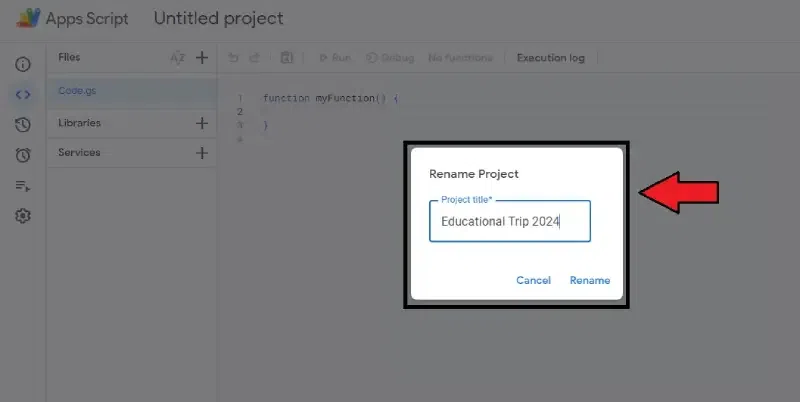 Rename the project Step 4: Create another file in the Apps ScriptThis step is optional, both code sections can be placed in the same script file. If you prefer separation, follow these steps:
 Create another file in the Apps Script Step 5: Give File Name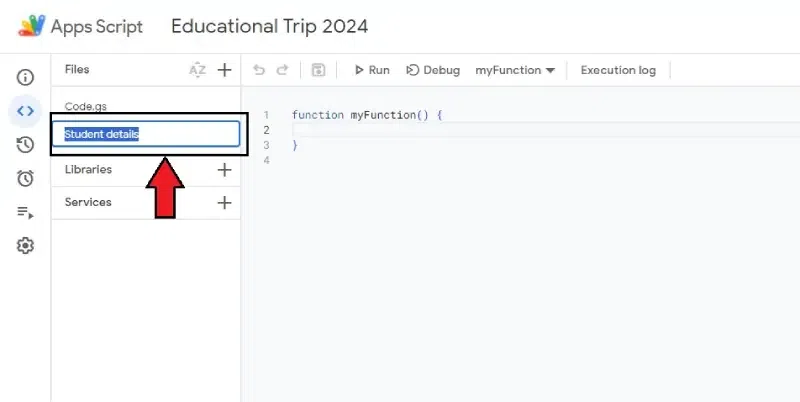 Name the file Setup. Step 6: Replace the last content with the given oneReplace the content of both script files with the following content:
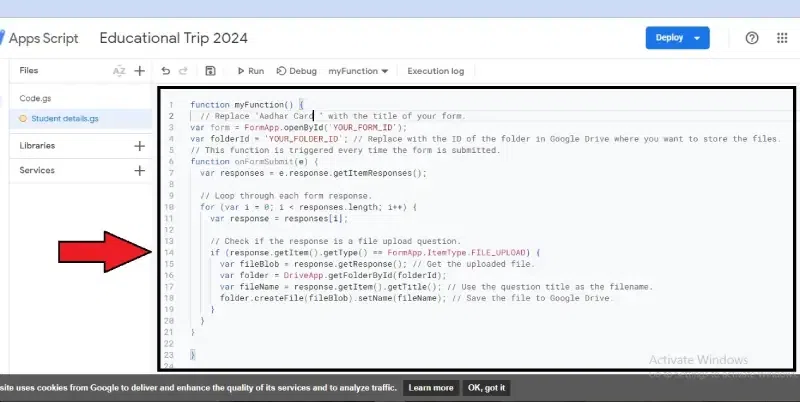 Replace the last content with the given one How to Run the Script in Google FormGet the Form and Folder IDs. To run the script, here are the steps:- Step 1: Replace form IDReplace ‘YOUR_FORM_ID’ with the ID of your Google Form. You can find this ID in the URL of the form. 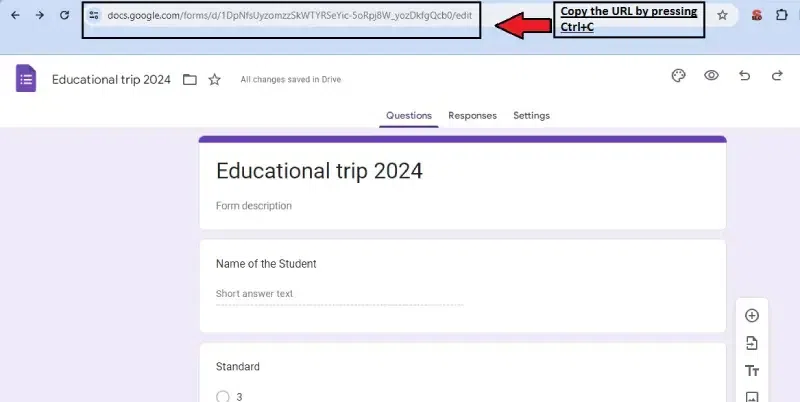 Copy the URL to replace ‘YOUR_FORM_ID’ 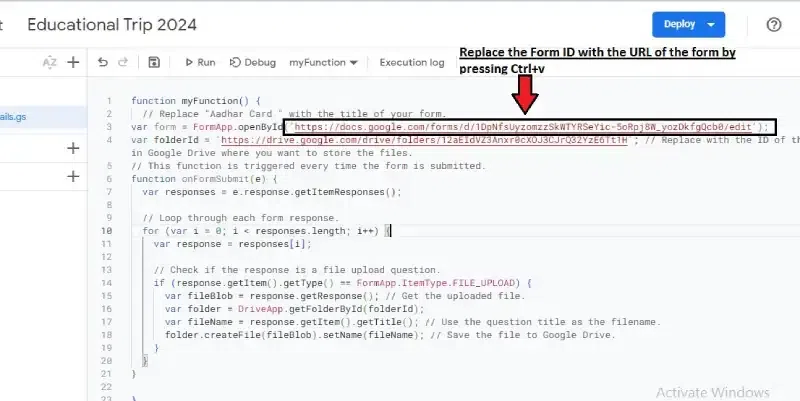 Press Ctrl+V to replace the Form ID Step 2: Replace folder IDReplace ‘YOUR_FOLDER_ID’ with the ID of the folder in your Google Drive where you want to store the files. If you don’t have the ID, you can get it from the URL when you’re in the folder. 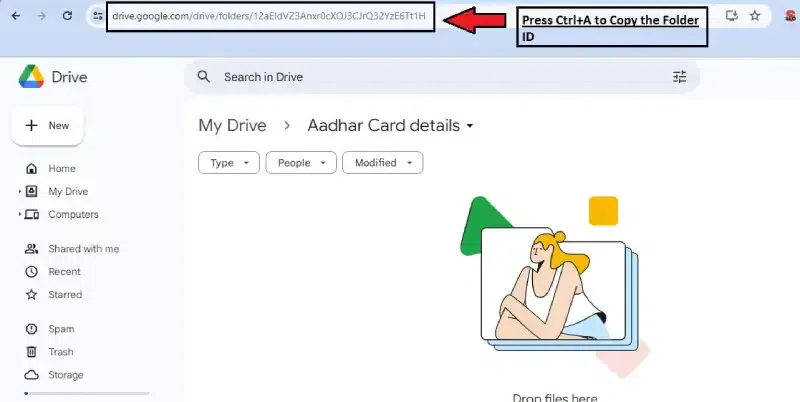 Replace folder id Step 3: Replace Form ID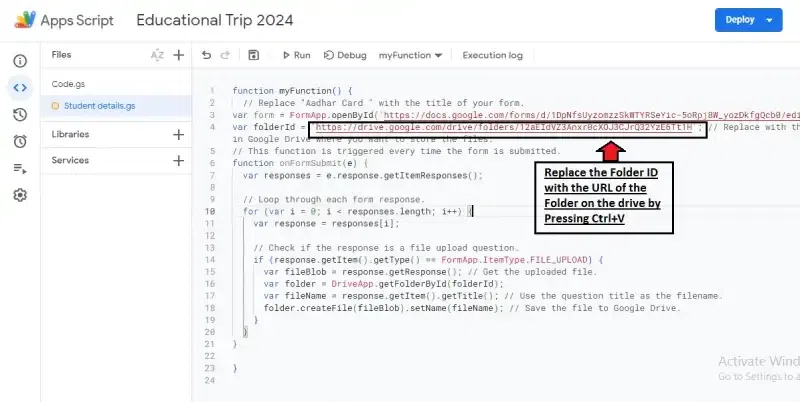 Press Ctrl+V to replace the Folder ID Step 4: Save ScriptSave the script. 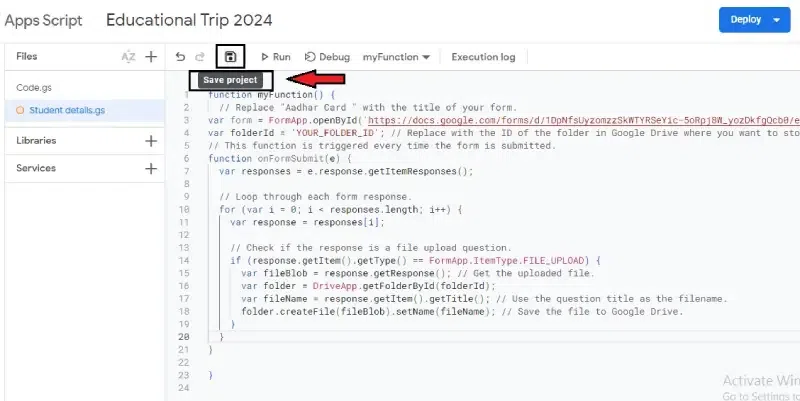 Save the script. Step 5: Click triggersClick on the clock icon (Triggers) in the script editor toolbar. 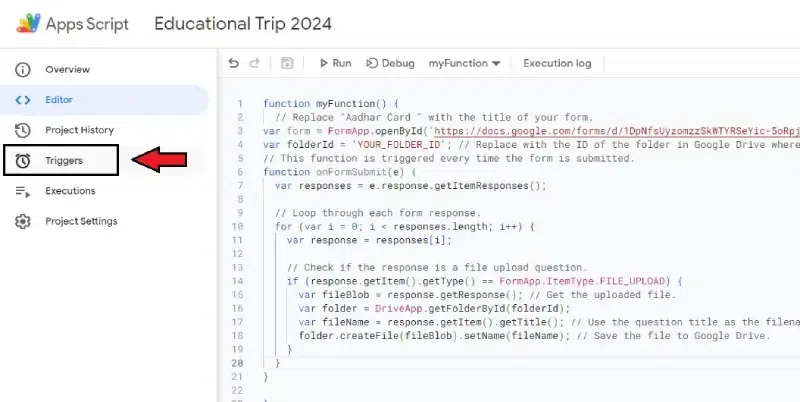 Click triggers Step 6: Set up a triggerSet up a trigger to run the ‘On Form Submit’ function every time the form is submitted. 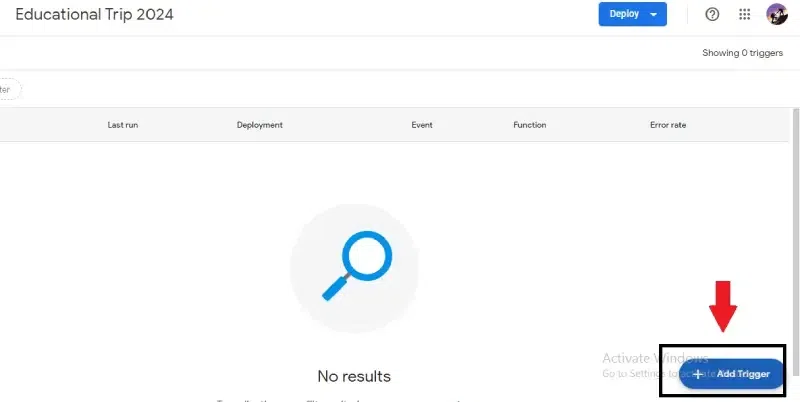 Click on “Add Trigger” Step 7: Select a Trigger and Click “Save” Button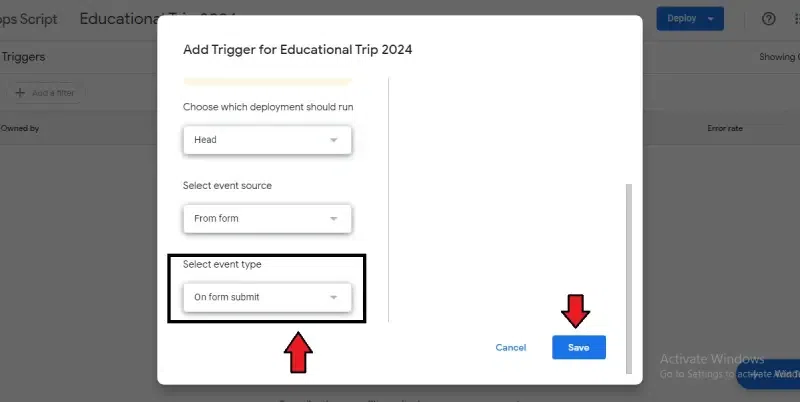 Set up a trigger to run the ‘on Form Submit’ Importance of Uploading Files to Google Drive from Google Forms
ConclusionThis guide covered uploading files to Google Drive from Google Forms, how to upload files on Google Drive and upload files Google Forms as well.. You learned how to create a form and how to enable file upload in Google forms with a file upload question and automatically store uploaded files in your Drive. Google Forms (free) lets you create surveys and collect files, while Google Drive stores them securely. This combo offers easy access, organization, security, and version control. Overall, uploading files from forms to Drive streamlines data collection and management. How to upload files in Google Forms – FAQsWhy can’t I use file upload in Google Forms?
How do I import a document into Google Forms?
Can you upload a PDF file to Google Forms?
What file types can you upload to Google Forms?
How to perform Google form upload file without login?
|
Reffered: https://www.geeksforgeeks.org
| Google Workspace |
Type: | Geek |
Category: | Coding |
Sub Category: | Tutorial |
Uploaded by: | Admin |
Views: | 16 |