|
|
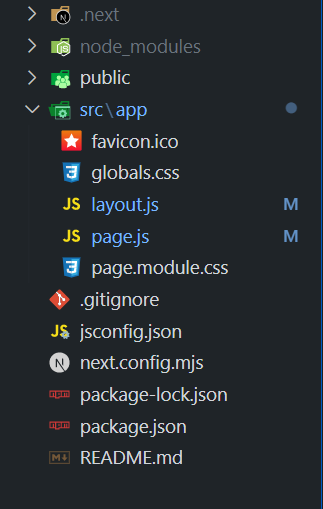
Next.js provides the flexibility to change the default port of the development server using command-line options such as -p <port_number> or by updating the “scripts” section in the package.json file, offering developers multiple ways to customize the port configuration based on their requirements. Table of Content Steps to Create the Next AppStep 1: Set up Next.js Project using the Command: npx create-next-app port-changeStep 2: Navigate to the Project folder using: cd port-changeProject Structure:
The updated dependencies in package.json file will look like: "dependencies": { Approach 1: Updating package.json FileIn this approach, we are updating the “scripts” section in package.json to specify the desired port, such as “dev”: “next dev -p 3001“. This configures Next.js to run on the specified port when using the development script, allowing the React component to detect and display the current port when a button is clicked. Syntax: "dev": "next dev -p "port_Number", Update the “scripts” section in package.json to specify the desired port: { Example: The below example is displayed on the port number which is updated in package.json file. Step to run the application: Now run the application with the below command: npm run devOutput:
Approach 2: Specify Port Number in Run CommandIn this approach, we specify the port number when running the Next.js development server using the command npm run dev — -p <port_number>, allowing the React component to detect and display the current port when a button is clicked without altering the package.json file. Syntax: npm run dev -- -p <port_number>Example: The below example is displayed on the port number which is specified in the run command. Step to run the application: Now run the application with the below command: npm run dev -- -p 3005Output:
|
Reffered: https://www.geeksforgeeks.org
| ReactJS |
Type: | Geek |
Category: | Coding |
Sub Category: | Tutorial |
Uploaded by: | Admin |
Views: | 16 |