
|
|
In many web development projects, it’s common to encounter the need to import data from external sources into a Django application’s database. This could be data obtained from APIs, CSV files, or in this case, JSON files. JSON (JavaScript Object Notation) is a popular format for structuring data, and integrating it into a Django project can be quite beneficial. Importing JSON Data into Models in DjangoIn this project, we’ll explore how to import JSON data into a Django database using a Python script. We’ll create a Django application, define a model to represent our data, write a Python code to parse the JSON file and save it into the database, and execute the code to import the data. Starting the Project FolderTo start the project use this command: django-admin startproject json_import_project To start the app use this command python manage.py startapp bookNow add this app to the ‘settings.py’ INSTALLED_APPS = [ json file (script.json) [ File Structure
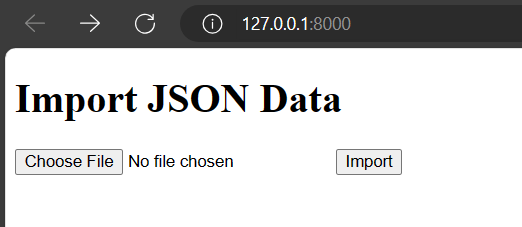
Setting Necessary Filesmodels.py :Below code defines a Django model named “Book” with three fields: “title” (a character field with a maximum length of 100 characters), “author” (also a character field), and “publication_year” (an integer field). views.py :Below, code defines a view function named “import_data” that handles POST requests. It checks if a JSON file is uploaded, reads its content, iterates over each item in the data, creates a new Book object for each item, and saves it to the database. Creating GUIform.html: Below, HTML code defines a form page titled “Import JSON Data”. It contains a form with a file input field where users can upload a JSON file. Upon submission, the form sends a POST request with the uploaded file to the server for processing. success.html : HTML code defines a page titled “Import Successful”. It notifies users that the JSON data has been successfully imported into the database. Additionally, it provides a link for users to navigate back to the import page. urls.py: Below, is the urls.py file connect HTML with views.py file. admin.py: Here, we registered our model. Deployment of the ProjectRun these commands to apply the migrations: python3 manage.py makemigrations Run the server with the help of following command: python3 manage.py runserverOutput
Video Demonstration |
Reffered: https://www.geeksforgeeks.org
| Django |
Type: | Geek |
Category: | Coding |
Sub Category: | Tutorial |
Uploaded by: | Admin |
Views: | 21 |