|
React.memo allows functional component to have same optimization as Pure Component provides for class-based components. useMemo is for memoizing function’s calls inside functional component.
What is React.memo() ?React.memo() is a higher-order component (HOC) provided by React that memoizes functional components. It means that it caches the result of the component’s rendering based on its props, and re-renders only when the props have changed.
Syntax of React.memo():const MemoizedComponent = React.memo(FunctionalComponent); What is useMemo() ?useMemo() is a React Hook used to memoize the result of expensive computations within functional components. It memorizes the value returned by a provided function and re-calculates it only when the dependencies change.
Syntax of useMemo():const memoizedValue = useMemo(() => computeExpensiveValue(dep1, dep2), [dep1, dep2]); Features:- Efficient Rendering: Utilize React.memo() to prevent unnecessary re-renders of components, ensuring optimal performance, especially with complex UIs.
- Memoization of Filtered Data: Employ useMemo() to memoize the filtered data based on user input, reducing redundant computations and enhancing responsiveness.
- Dynamic Filtering: Implement dynamic filtering functionality, allowing users to search and filter through large datasets with minimal performance impact.
- Real-time Updates: Ensure that the list component updates in real-time as users interact with the filter input, providing a seamless and responsive user experience.
- Scalability: Design the solution to handle large datasets efficiently, ensuring that performance remains consistent even as the volume of data grows.
- Easy Integration: The optimized list component can be easily integrated into various React applications, providing developers with a reusable and performant solution for managing lists.
Steps to Create a React App:Step 1: Create a new React.js project and install the required dependencies:-
npx create-react-app my-react-app. Step 2: Navigate to the root directory of your project using the following command.
cd my-react-app Exaplanation:- main.jsx: This will be the main component. It manages the state of the todo list and renders TodoList.
- App.jsx: This component receives the list of todos as props and renders individual TodoItem components.
- TodoItem.jsx: This component renders a single todo item and handles deletion.
- In a Todo List application, React.memo() can be applied to functional components like TodoItem to memoize their rendering process, preventing unnecessary re-renders when their props haven’t changed.
- useMemo() can be used to memoize the filtered list of todos based on a filter input, recalculating it only when the todos list or filter input changes.
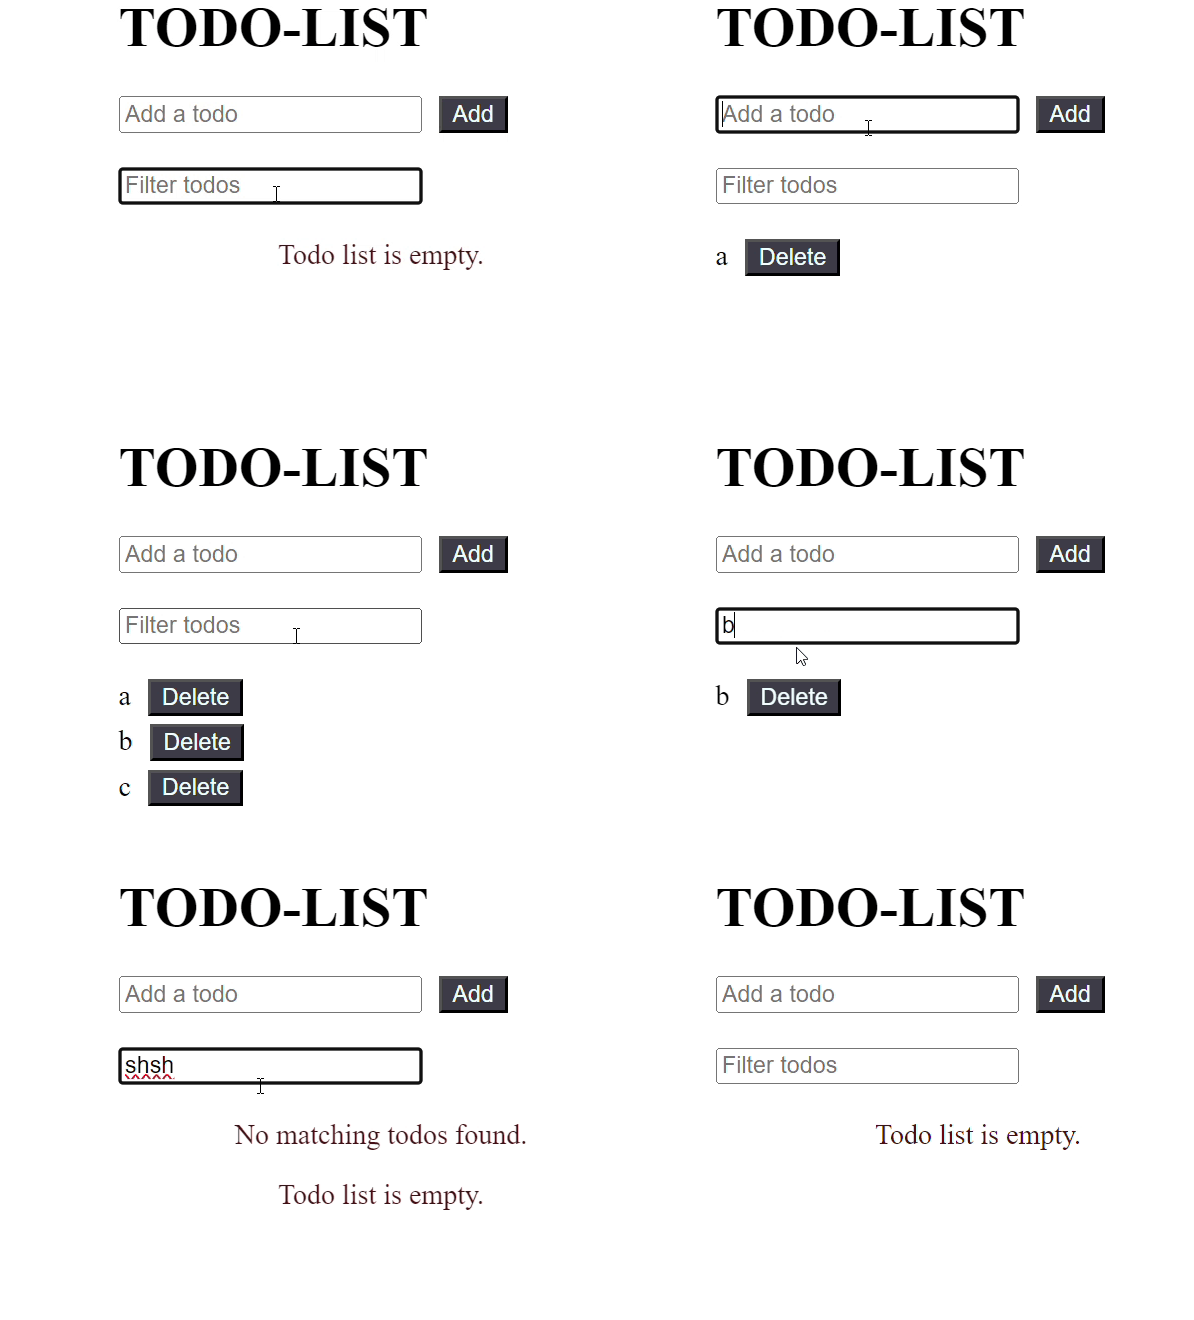
Example: Below is an example of both React.memo() and useMemo().
JavaScript
import React, {
    useState,
    useMemo
} from 'react';

const TodoList = React.memo(({ todos, onDelete }) => {
    console.log('Rendering TodoList');

    if (todos.length === 0) {
        return <p className="message">
            Todo list is empty.
        </p>;
    }

    return (
        <ul className="todo-list">
            {todos.map((todo, index) => (
                <li key={index}>
                    {todo}
                    <button className="buttons"
                        onClick={() => onDelete(index)}>
                        Delete
                    </button>
                </li>
            ))}
        </ul>
    );
});

const TodoApp = () => {
    const [filter, setFilter] = useState('');
    const [newTodo, setNewTodo] = useState('');
    const [todos, setTodos] = useState([]);

    // Memoize the filtered todos based on the filter value
    const filteredTodos = useMemo(() => {
        console.log('Filtering todos');
        return todos.filter(todo =>
            todo.toLowerCase().includes(filter.toLowerCase()));
    }, [todos, filter]);

    const handleAddTodo = () => {
        if (newTodo !== '') {
            setTodos(prevTodos =>
                [...prevTodos, newTodo]);
            setNewTodo('');
        }
    };

    const handleDeleteTodo = (index) => {
        setTodos(prevTodos =>
            prevTodos.filter((_, i) => i !== index));
    };

    return (
        <div className="container">
            <div className="input-container">
                <h1 className="heading">TODO-LIST</h1>
                <input
                    type="text"
                    placeholder="Add a todo"
                    value={newTodo}
                    onChange={(e) => setNewTodo(e.target.value)}
                />
                <button className="buttons"
                    onClick={handleAddTodo}>
                    Add
                </button>
            </div>
            <div className="input-container">
                <input
                    type="text"
                    placeholder="Filter todos"
                    value={filter}
                    onChange={(e) => setFilter(e.target.value)}
                />
            </div>
            {
                filteredTodos.length === 0 &&
                todos.length !== 0 && (
                    <p className="message">
                        No matching todos found.
                    </p>
                )}
            <TodoList todos={filteredTodos}
                onDelete={handleDeleteTodo} />
        </div>
    );
};

export default TodoApp;
Output:
 Output
|

