
|
|
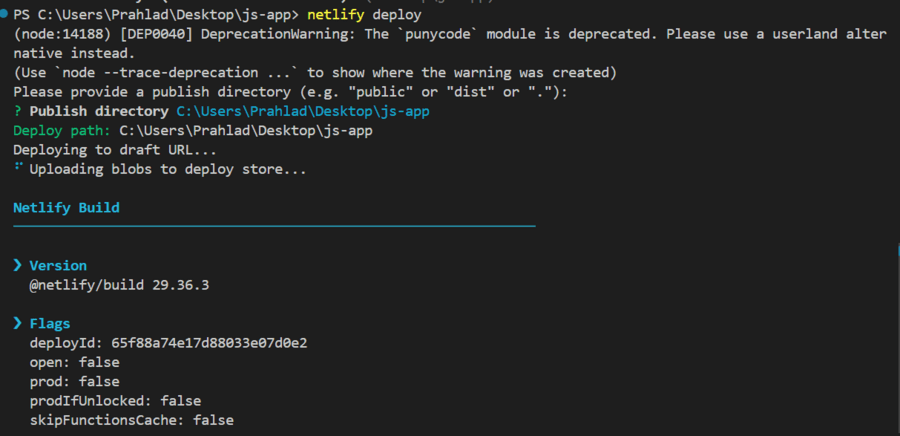
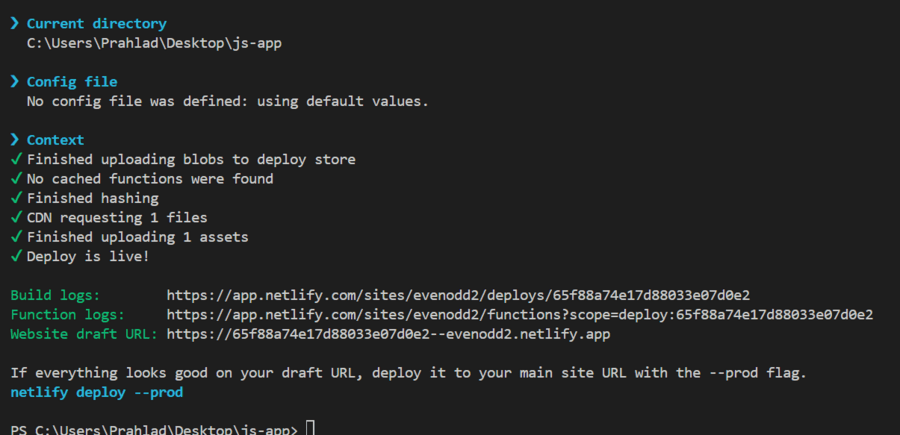
Deploying a JavaScript Application on Netlify is easy. You just need to run a few commands in your computer’s command prompt. Netlify works well with Git, so whenever you make changes to your code and push them to your Git repository, Netlify automatically updates your deployed app. The below methods can be used to deploy JavaScript apps with Netlify: Table of Content Using Drag and DropYou can drag and drop the project folder of the JavaScript project to deploy it with Netlify by following the below steps. Step 1: Create a project folderCreate a folder to put the project application inside that folder. It becomes easy to drag and drop the folder to build and make it deployed. Netlify has feature to analyse project and make that deployed. Step 2: Create utility filesCreate two files, One for HTML page(index.js) and one for JavaScript application code(script.js).
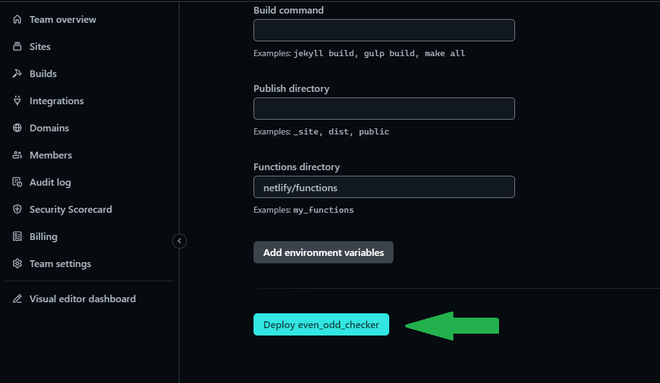
Step 3: A Sample JavaScript ApplicationIt is a simple even-odd number checker application. It contains basic HTML code with a HTML form, label, input box, and a submit button. JavaScript code cotains logic to identify the number and check whether it is Even or Odd, and according to it, alerting the result on submit Step 4: Open Netlify and loginOpen Netlify, Login in it via signup or directly through github or gmail. Step 5: Open sites tabGo to Sites tab in the left sidebar just below the team overview tab. Step 6: Navigate to ‘add new site’ and select Deploy manually.Now, select the add new site tab in the right and then select the Deploy manually option from the dropdown.
Step 7: Drag and Drop the created project folderAfter uploading project folder by drag and drop, Netlify build it and provide a live link of application. In this way, a JavaScript application can be deployed by just drag and drop. Below is the Output GIF. Deployed project Output:
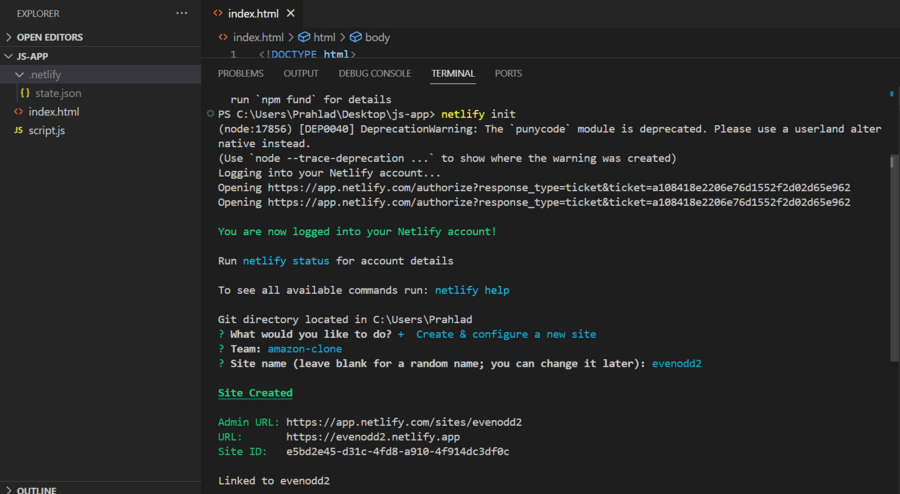
Steps to deploy JavaScript application using Git repositoryNetlify offers seamless integration with Git repositories (GitHub, GitLab, Bitbucket) for continuous deployment. When changes are pushed to the repository, Netlify automatically triggers a build and deploys the updated app. Step 1: Create a projectCreate a project with any number of required files. You can also use the example project used in the previous approach. Step 2: Create a GitHub repositoryOpen your GitHub account and create a new repository for your project. Name the repository anything you want, for example, My project. Upload project files to github and commit.
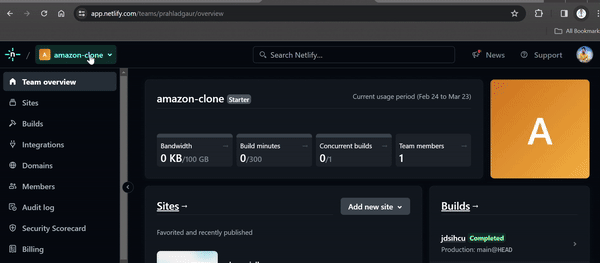
Step 3: Setting up NetlifyCreate a Netlify account (if you have not any). Now, connect your GitHub account with Netlify. Authorize Netlify to use GitHub to access your repositories. Step 4: Go to the Sites sectionSelect the Sites option from the left sidebar. It is the entry point to deploy any application with different approaches. 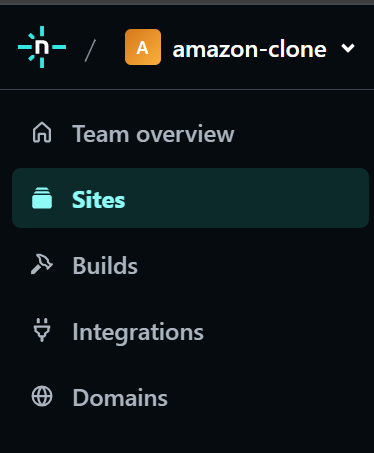 Sites in Navigation bar in Netlify account Step 5: Click on Add new siteClick the add new site button. It provides three methods to deploy the web application.
|


 Step 6: Select import an existing project


Reffered: https://www.geeksforgeeks.org
| JavaScript |
Type: | Geek |
Category: | Coding |
Sub Category: | Tutorial |
Uploaded by: | Admin |
Views: | 15 |