|
|
GitLab is a powerful platform for managing Git repositories, offering a list of features that provide collaboration, code review, continuous integration/continuous deployment (CI/CD), and more. This guide will walk you through Managing Git Repositories with GitLab. Table of Content How to Access GitLab?GitLab is a SCM tool where we can store and manage our source code. Step 1: Signing In to GitLabGitLab provide various options to sign in through its sign-in page. 1. Click here to access GitLab sign-in page. 2. You can opt for username-password sign-in or through Google, Github, BitBucket or Salesforce accounts. We’ll be moving on with Google sign in to facilitate our sign up process. Gitlab Sign in page Step 2: Group & Project Creation1. You can select the options as provided in the screenshot below for the reference. After filling up the information, click on Continue to move forward. 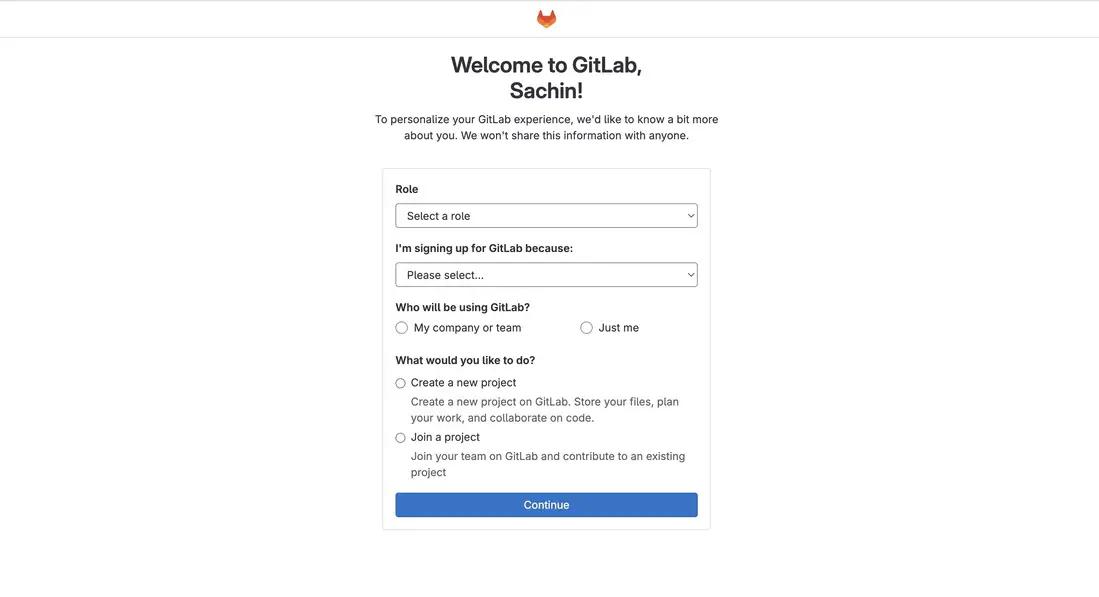 Gitlab Welcome Screen 2. You will be redirected to a page to create or import project. Project name is for the name we want to give to our project. For now, I have kept it to learn-gitlab. You can add anything here. Keep the checkbox checked to include readme file in the project. After that hit on Create Project button at bottom. 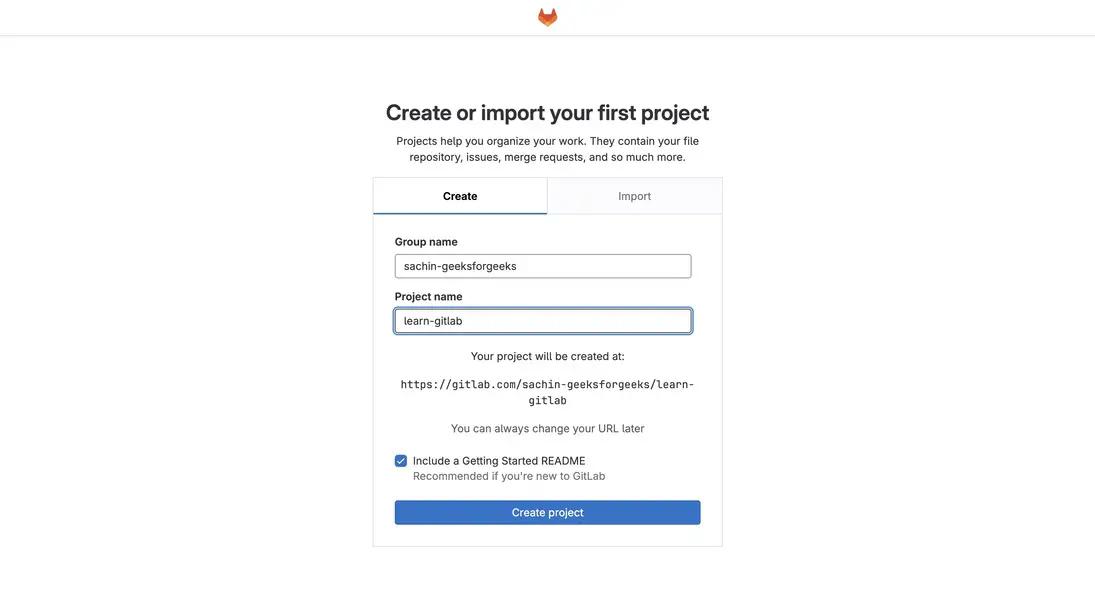 Create new project in GitLab 3. You will be redirected to getting started page. Click on Ok. Let’s go to continue. 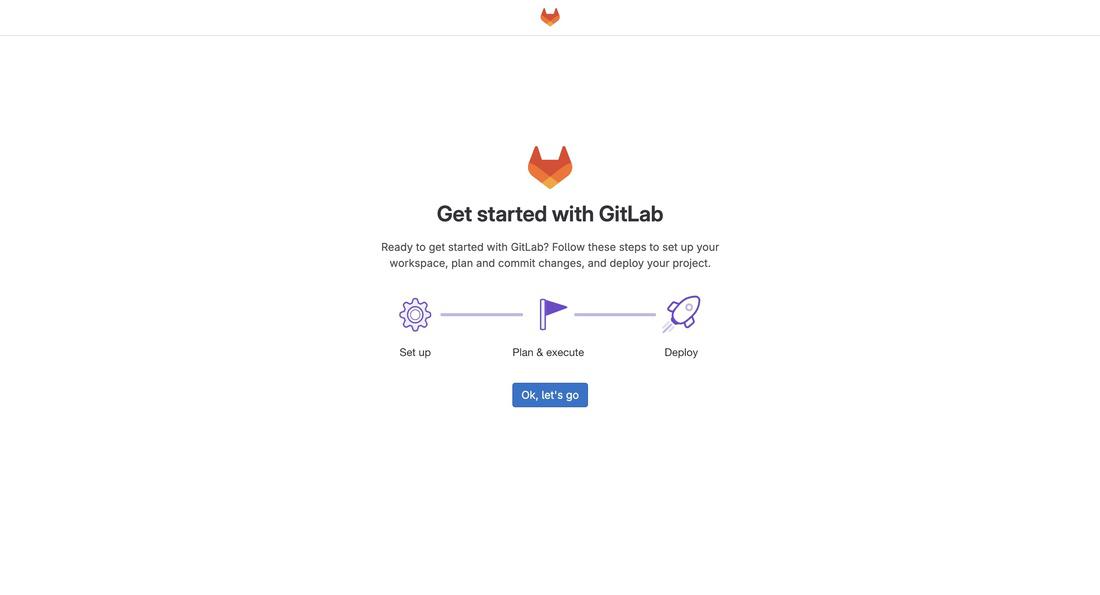 Getting Started Page 4. Congratulations! You have created your first repository in GitLab. Yes, it’s as easy as this. Next, we’ll see how to add file to our newly created repository.
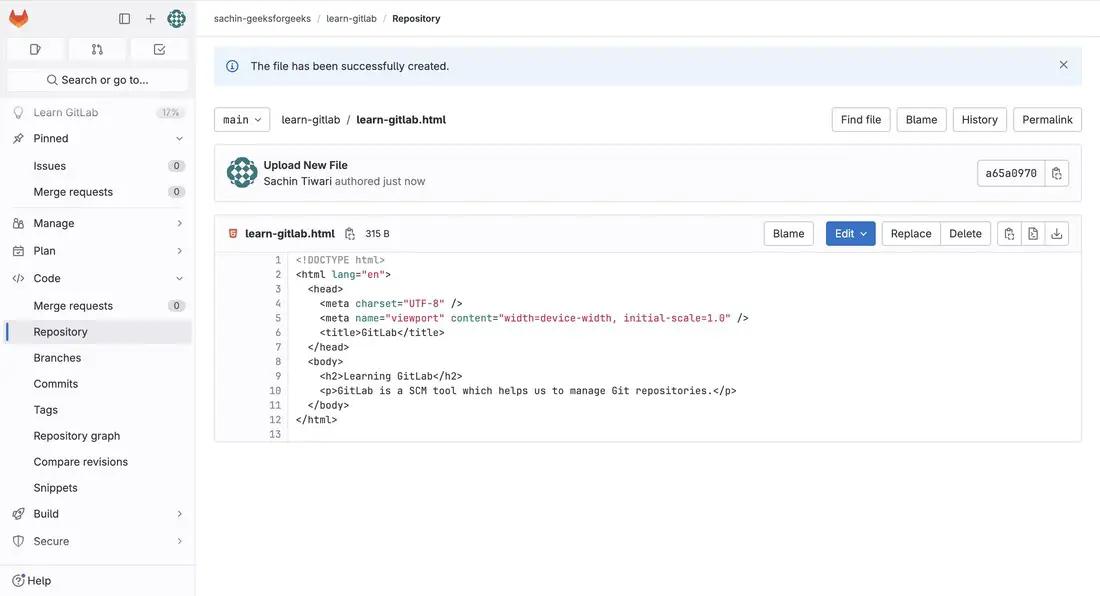
Uploading a code file in the repositoryA repository can be considered as group of files, often time code files stored in a cloud location. For the purpose to make the learning simple, I have created a basic html file locally which I want to push in the repository I have created. Step 1: To add the file, click on the + icon as shown the. screenshot below. 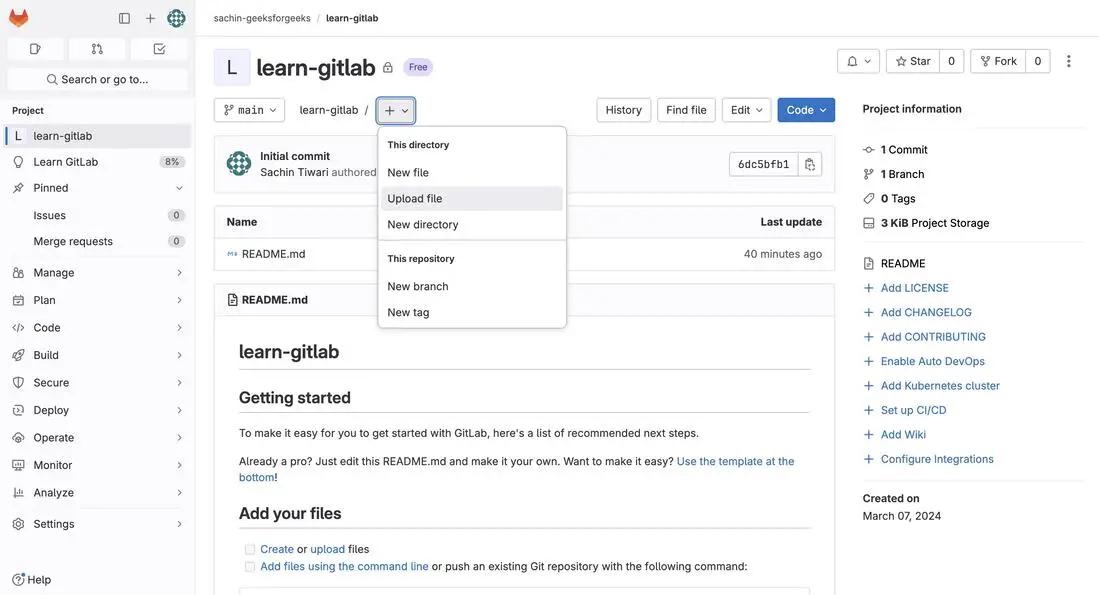 Upload file Step 2: You will be prompted to upload file. Select and click on Upload. 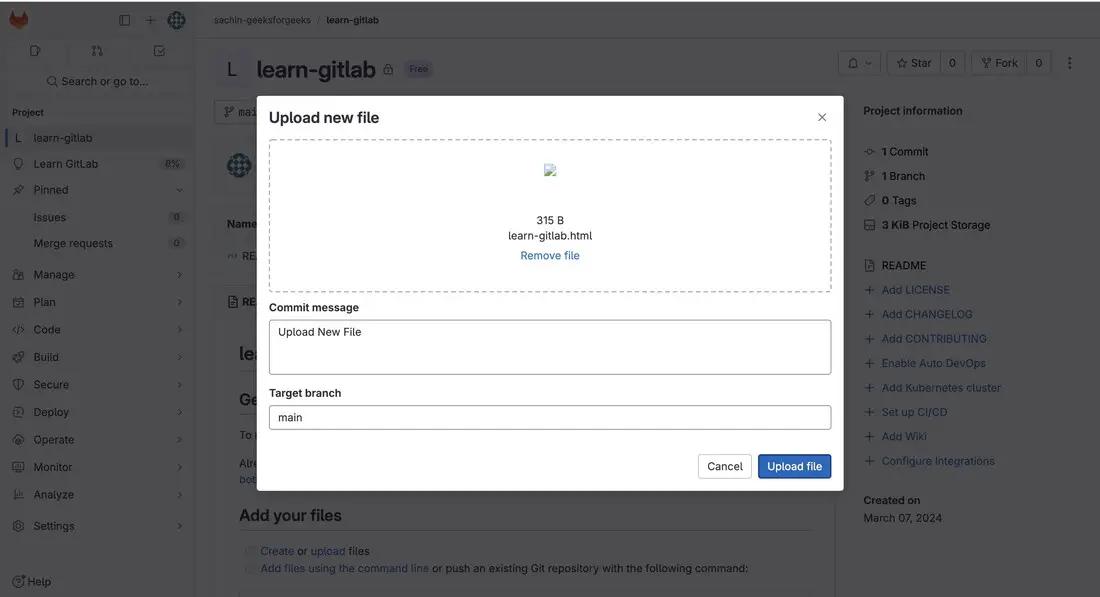 Upload file prompt Step 3: Once you click on Upload File, you will get a prompt of file successfully uploaded and you will get to see your uploaded file there.
Creating a new BranchBranches are the way to help different developers work on the same piece of code without affecting other’s code. Later on, they can combine the changes in a single branch through process called merging. You can see the available branches in your project, create or delete branches by following the steps below – Step 1: Click on the branches option in side navigation as shown in the below screenshot. 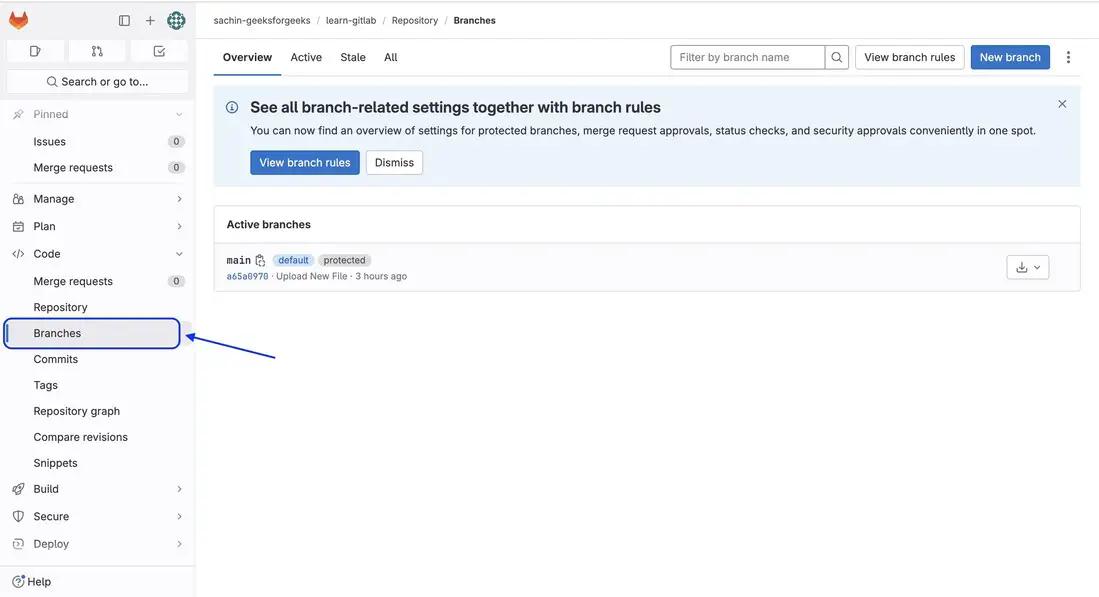 Select Branches Step 2: You can now see that there is single main branch there. We will now create a new dev branch to work on our piece of code. Click on New Branch button. Step 3: On the new screen appearing, give dev as branch name and keep main as it is in Create from dropdown. It will create a new branch which will be exactly same as the main branch. Click on Create Branch. 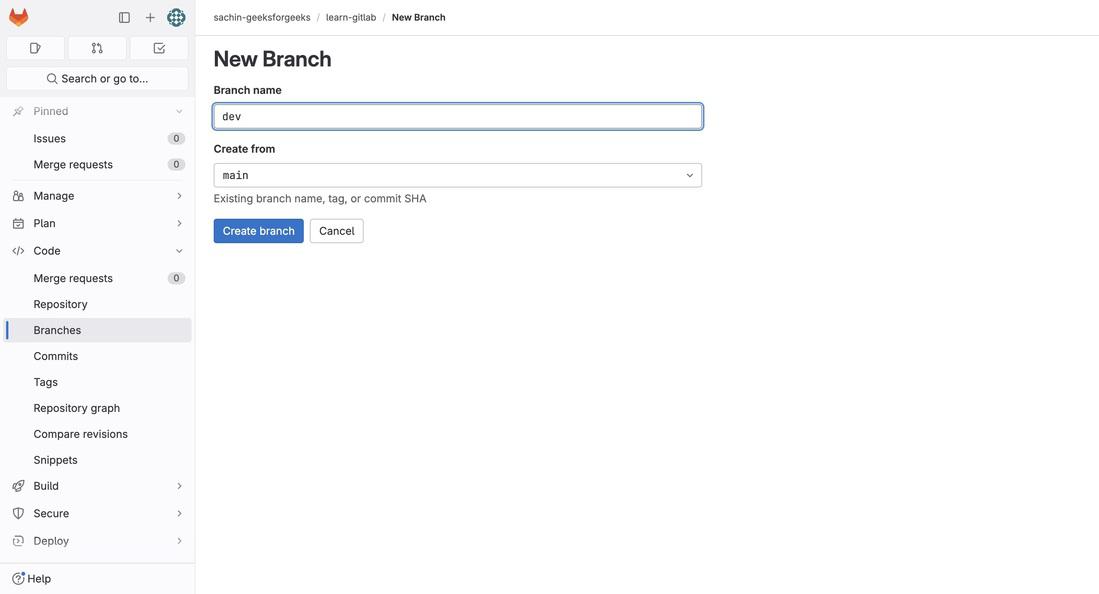 New Branch creation page Step 4: Branch will be successfully created and you will be redirected to new branch content as in the screenshot below. 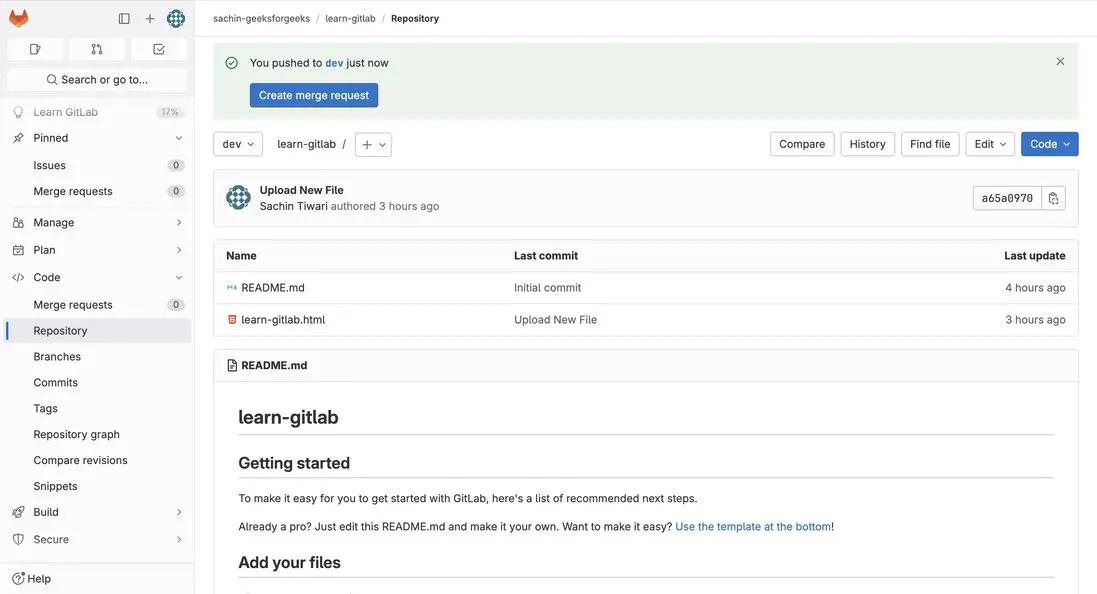 Newly created branch |

Reffered: https://www.geeksforgeeks.org
| Git |
Type: | Geek |
Category: | Coding |
Sub Category: | Tutorial |
Uploaded by: | Admin |
Views: | 15 |