|
|
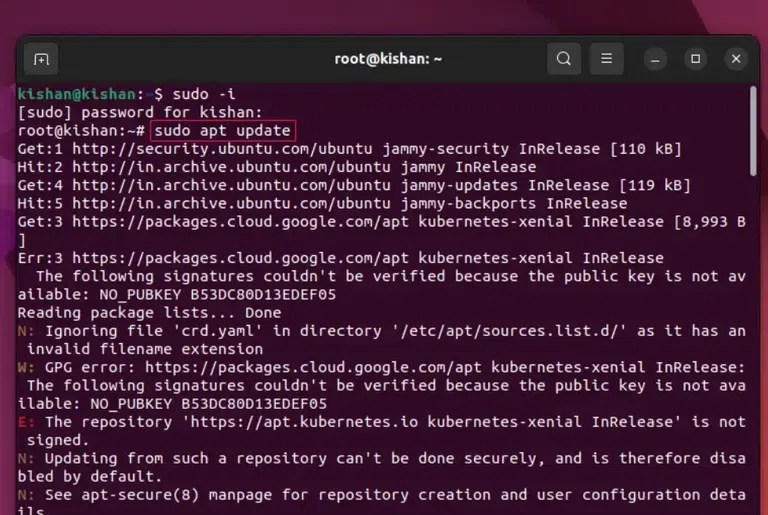
Setting up MySQL on Ubuntu is crucial for managing databases efficiently in your development environment. This guide provides a step-by-step walkthrough to help you install MySQL on Ubuntu, ensuring you’re ready to store and retrieve data seamlessly. Ubuntu MySQL installationDownloading MySQL in Ubuntu involves several steps, by following these steps with proper caution we can easily Get Ubuntu MySQL installed, the steps are as follows: Step 1: Update the Package RepositoryThis is the first step. In this step we update the Package Repository because in Ubuntu we have to perform this step manually so that the Latest Repositories are loaded for installation and updation, to do this we will open the terminal and write the following command: sudo apt update
This will give us the following output: sudo apt update. Step 2: Install MySQL PackageNow we will have to perform the important step, in this step, we write the following Linux Command that will download and Install the MySQL Package into our system: sudo apt install mysql-server
This will give us the following output: 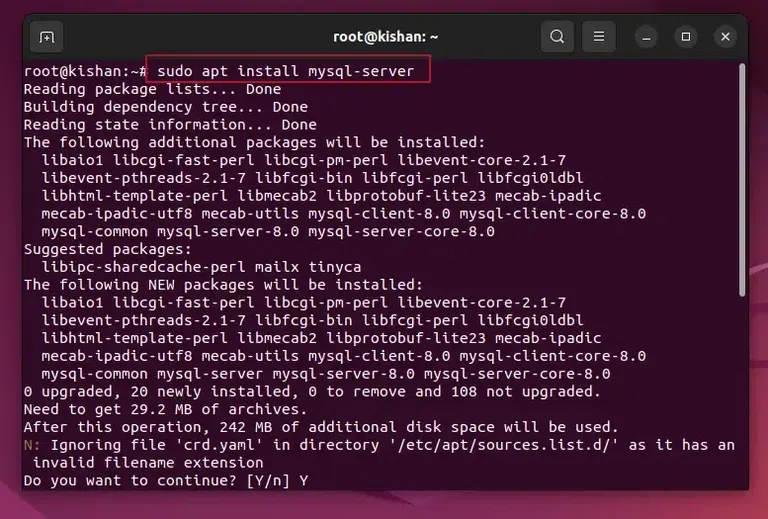 sudo apt install MySQL-server. After the above command runs successfully, you can run the below command to check if the MySQL is installed or not: mysqld –version
This will give us the following output: 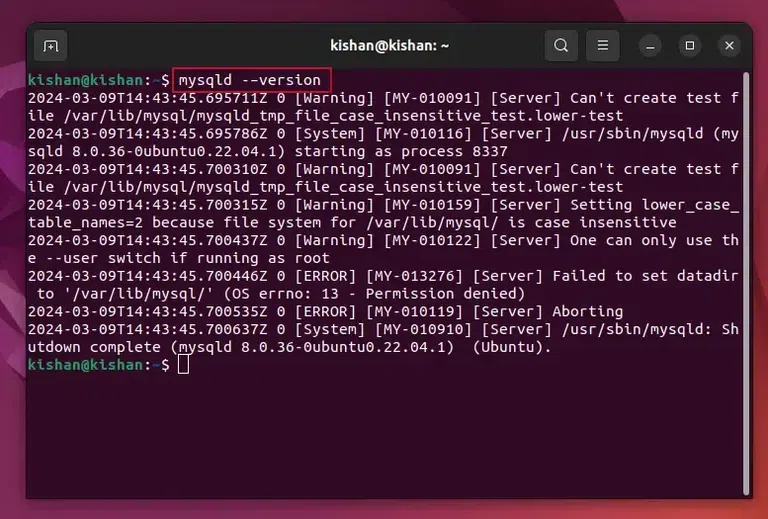 mysqld –version. Step 3: Secure the MySQL on UbuntuNow once we have verified whether we have Installed MySQL or not, we will need to secure MySQL, we will have first to run the following Ubuntu Command: sudo mysql_secure_installation
This will give us the following output: 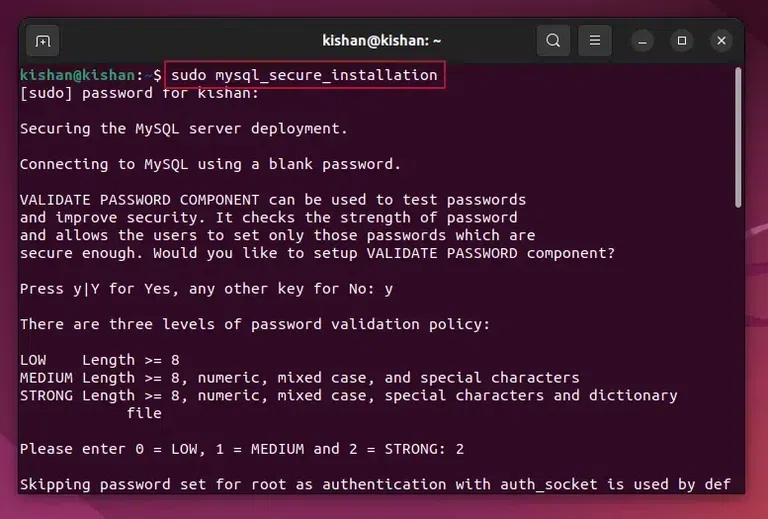 sudo mysql_secure_installation. Step 4: Secure the MySQL – Password ValidationAfter running the above command, you will see an interface similar to below, when this appears type “Y” to proceed. Now the user can choose the security level (0 = lowest, 1 = medium, 2 = strong).
Step 5: Secure the MySQL – Removal of Anonymous UsersAfter this it will ask you whether you want to remove the anonymous users or not, if you don’t know what this does, it will simply clear any anonymous users to improve security, so again type “Y“. This will give us the following output: 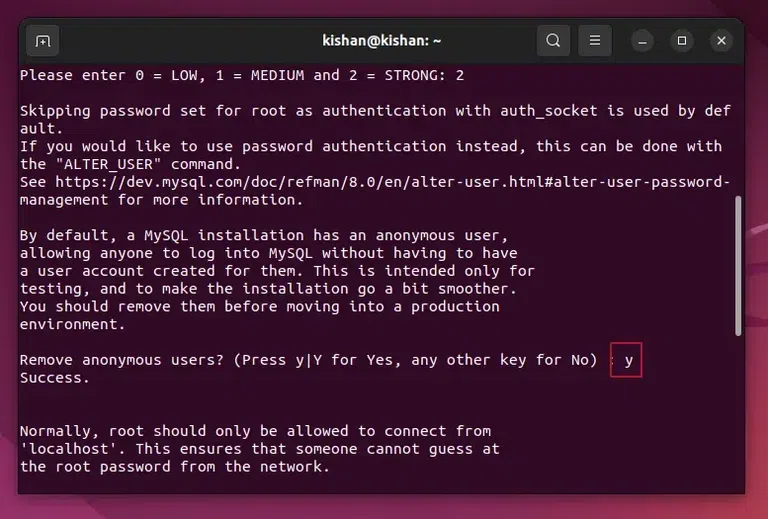 Removal of Anonymous Users. Step 6: Secure the MySQL – Disable the Root Login RemotelyNow for enhancing the security of the MySQL further, we will have to disable the root login remotely option, for this simply type “Y” when it prompts you to disable the login remotely feature. Step 7: Secure the MySQL – Removal of Test DatabaseIn this step, you can either type “Y” or “N” depending on whether you want to delete or remove the test Database, if you do not need any test database then type “Y”: This will give us the following output: 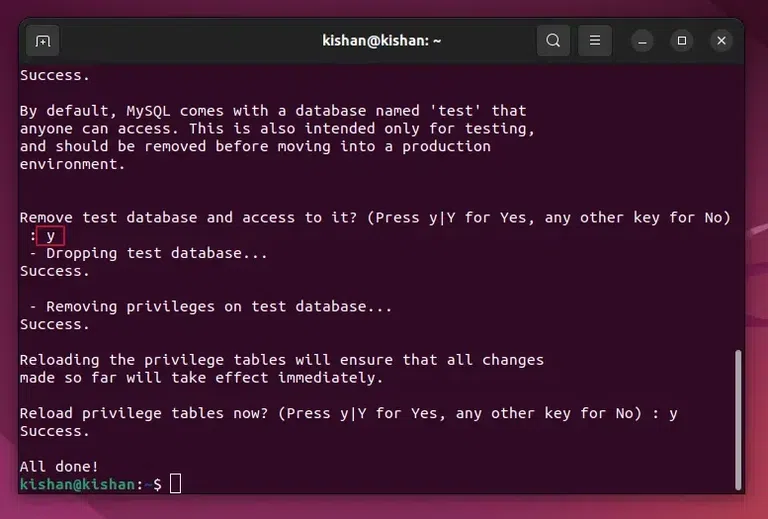 Removal of Test Database. Step 8: Checking if MySQL Service is Running or NotNow once all of the above security steps are completed, we will need to check whether the MySQL service is running or not, we can run the following command: sudo systemctl status mysql
This will give the following output: 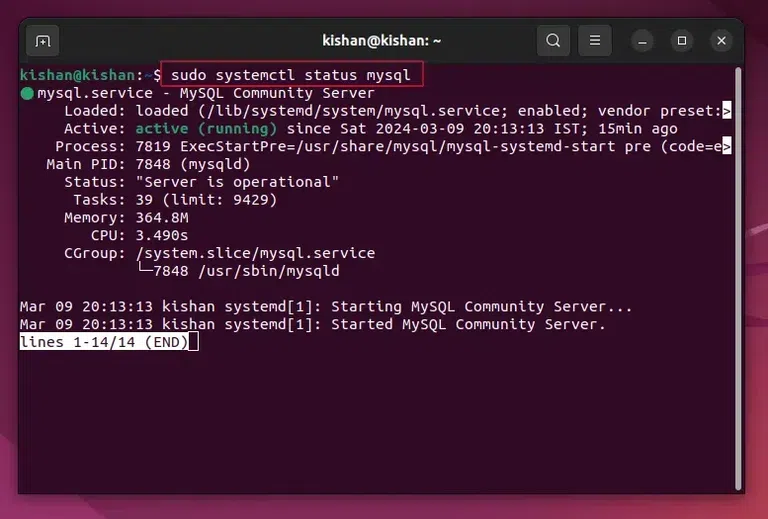 sudo systemctl status mysql. Step 9: Login Into the MySQL ServerAfter checking whether the MySQL server is running or not, we can log in to MySQL whenever we want by running the following command: sudo mysql -u root
This will give us the following output once we have logged in: 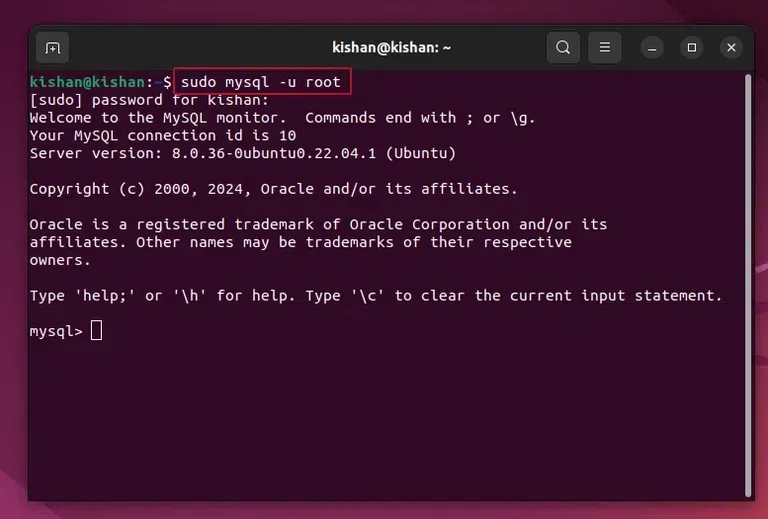 sudo mysql -u root. ConclusionBy following this comprehensive guide to install MySQL on Ubuntu, you’ve established a robust database management system. Whether for web applications or data-driven projects, MySQL on Ubuntu empowers you with scalable and reliable database solutions. Also Read
How to Install MySQL on Ubuntu – FAQsUbuntu MySQL installation steps?
What is MySQL?
How to log into MySQL on Ubuntu?
|
Reffered: https://www.geeksforgeeks.org
| TechTips |
Type: | Geek |
Category: | Coding |
Sub Category: | Tutorial |
Uploaded by: | Admin |
Views: | 15 |