
|
|
Deploying a Next.js app involves taking your application from your local development environment to a production-ready state where it can be accessed by users over the internet. Next.js is a popular React framework that enables server-side rendering, static site generation, and client-side rendering, making it a versatile choice for building modern web applications. Next.js provides several deployment options, allowing you to choose the one that best fits your needs. Whether you’re deploying to a platform-as-a-service (PaaS) provider, a cloud provider, or a traditional server, Next.js has built-in features and integrations to simplify the process. Vercel provides a simple and easy platform for deploying Next.js applications seamlessly. In this tutorial, we’ll walk through the steps to deploy a Next.js application on Vercel. Prerequisites:
What is Vercel?Vercel is a cloud platform for static sites and serverless functions that enables developers to deploy, manage, and scale modern web applications with ease. It is particularly well-known for its seamless integration with the Next.js framework, which was created by the same team. The platform has zero configuration requirements, making it hassle-free for developers to use. Key Features of Vercel
Steps to Deploy Next.js App with VercelThe deployment process is straightforward, and Vercel streamlines permission management for your application. Follow these steps to deploy your Next.js application: Step 1: Create a new Next.Js application by using the following command. npx create-next-app
Step 2: Setup the configuration of your app.
Step 3: Your next app is created successfully now Navigate to the application folder: cd my-app
Project Structure: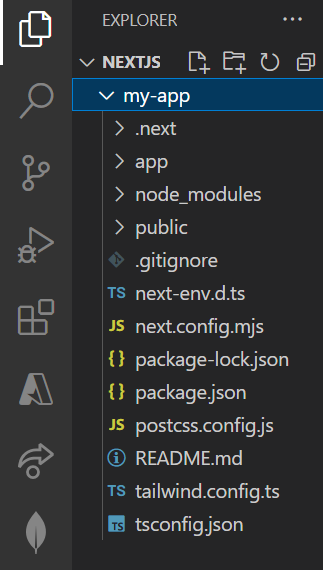 Nextjs app structure Step 4: Run or Test your next.js app locally by using the following command. npm run dev
Step 5: Now open a new tab in chrome with the url. Access your app locally at http://localhost:3000/.
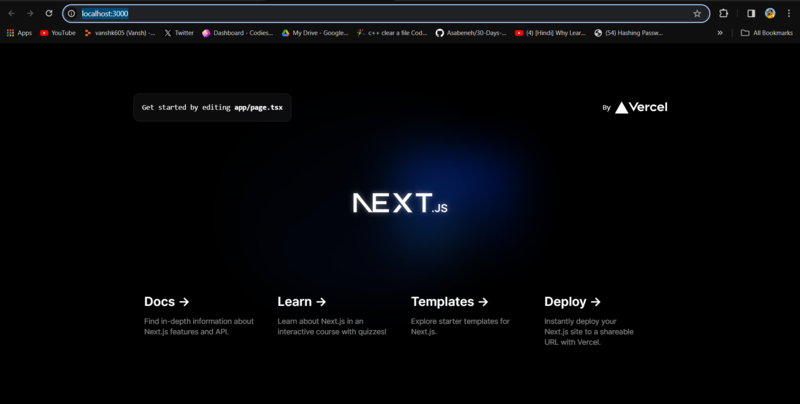 running nextjs application Step 6: Create a new github repository and push your application code in that repository. #Initialize a new Git repository
git init
#Add and commit your code
git add.
git commit -m "Initial commit"
#Add GitHub as a remote and push
git remote add origin <your - github - repo - url>
git push - u origin main
Step 7: Now go to Vercel and create a new project.
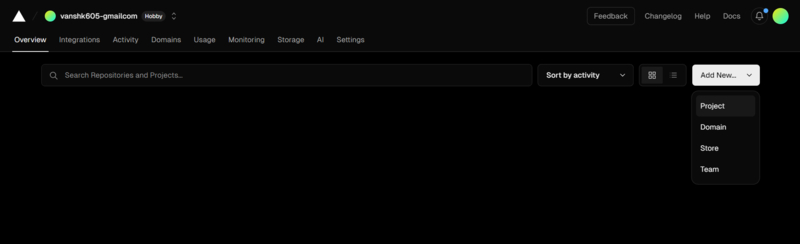 vercel dashboard
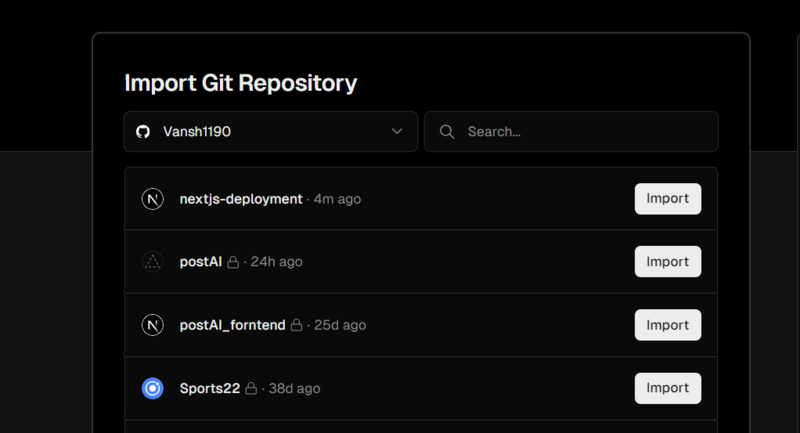 Select git repo
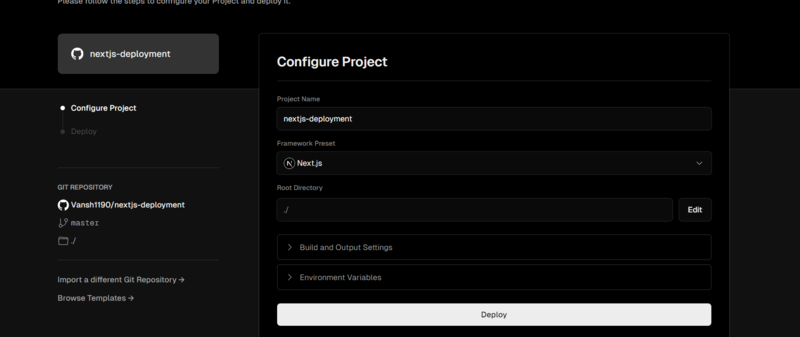 configuring application Vercel will take some time to build the project. Once complete, your application is live at a new URL (e.g., example.vercel.app). 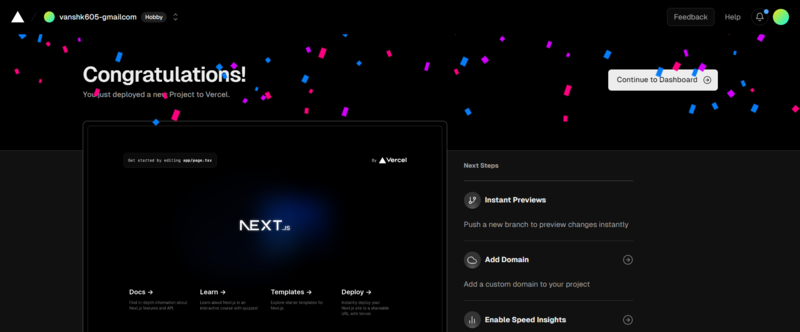 Application deployed Now, you have successfully deployed your Next.js application. Make any necessary improvements and enjoy the benefits of a live, globally accessible app. |
Reffered: https://www.geeksforgeeks.org
| ReactJS |
Type: | Geek |
Category: | Coding |
Sub Category: | Tutorial |
Uploaded by: | Admin |
Views: | 14 |