|
|
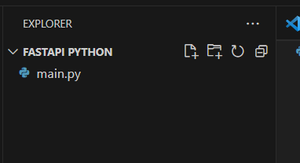
FastAPI is a modern, fast web framework for building APIs with Python 3.7+ based on standard Python-type hints. In this article, we’ll walk through the process of installing FastAPI and creating a simple FastAPI server on a Windows system. Pre-Requisite: Install And Run Python Fastapi Server On WindowsBelow is the step-by-step procedure by which we can install and run the FastAPI server on Windows in Python: Step 1: Install FastAPI and UvicornOpen a command prompt or PowerShell window and use the following command to install FastAPI and Uvicorn: pip install fastapi uvicorn This command installs the FastAPI framework along with Uvicorn, a lightweight ASGI server. Step 2: File Structure
Step 3: Create a FastAPI AppCreate a new file, for example, main.py, and open it with your preferred code editor. This simple FastAPI application defines an instance of the FastAPI class and a single route that responds to HTTP GET requests at the root path (“/”) with a JSON response. Python3
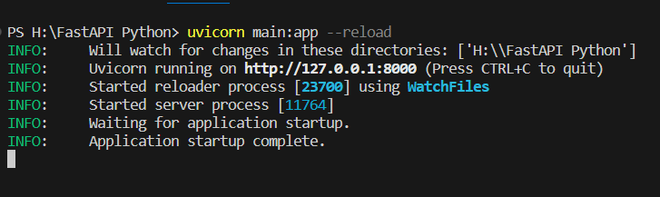
Step 4: Run the FastAPI ServerOpen a command prompt or PowerShell window and navigate to the directory where your main.py file is located. Use the following command to start the FastAPI server: uvicorn main:app --reload
This command tells Uvicorn to run the FastAPI application in the main module (from main.py) and use the app instance. The –reload option enables automatic reloading of the server when code changes are detected.
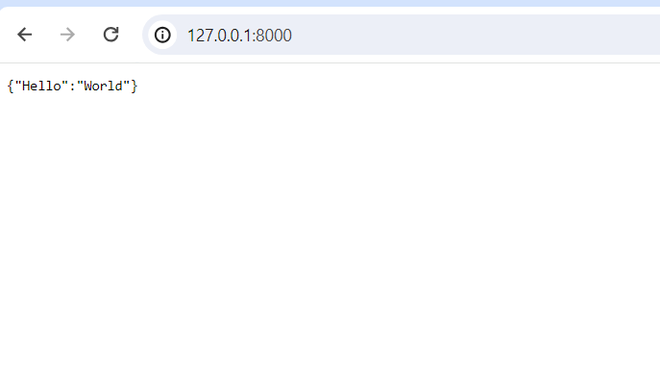
Step 5: Access the FastAPI ApplicationOnce the server is running, open your web browser and navigate to http://127.0.0.1:8000/
Congratulations! You have successfully installed FastAPI, created a simple FastAPI application, and run it on your Windows machine. You can now build upon this foundation to create more complex APIs using FastAPI’s features and capabilities. |
Reffered: https://www.geeksforgeeks.org
| Python |
| Related |
|---|
| |
| |
| |
| |
| |
Type: | Geek |
Category: | Coding |
Sub Category: | Tutorial |
Uploaded by: | Admin |
Views: | 14 |