|
Vibration is a very useful feature in mobile applications to provide feedback or alerts. In this article, we will create a custom button to start and stop vibrations using React Native.
Output Preview:Prerequisites:We will implement Start Stop Device Vibrations in React using the following two approaches:
Steps to Create React Native Application:Step 1: Create a new React Native project for vibrationApp.
npx create-expo-app vibrationApp Step 2: Change the directory to the project folder:
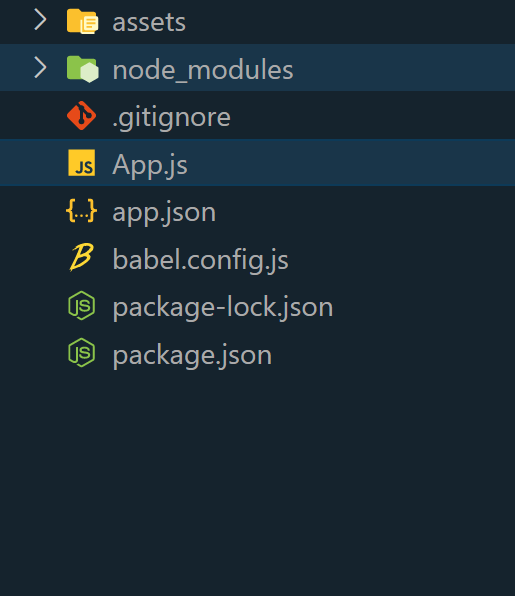
cd vibrationApp Project Structure:
Dependencies:"dependencies": {
"react": "18.2.0",
"react-native": "0.73.2"
},
"devDependencies": {
"@babel/core": "^7.20.0",
"@babel/preset-env": "^7.20.0",
"@babel/runtime": "^7.20.0",
"@react-native/babel-preset": "0.73.19",
"@react-native/eslint-config": "0.73.2",
"@react-native/metro-config": "0.73.3",
"@react-native/typescript-config": "0.73.1",
"@types/react": "^18.2.6",
"@types/react-test-renderer": "^18.0.0",
"babel-jest": "^29.6.3",
"eslint": "^8.19.0",
"jest": "^29.6.3",
"prettier": "2.8.8",
"react-test-renderer": "18.2.0",
"typescript": "5.0.4"
}Approach 1: Simple VibrationIn this approach, a straightforward method will be implemented to facilitate the creation of vibrations. The process involves utilizing a start button and a stop button. By pressing the “Vibrate” button, it will initiate the vibration sequence, whereas activating the “Stop Vibration” button will halt the ongoing vibration.
Example:
JavaScript
// ProductPage.js

import { useParams } from "react-router-dom"

const ProductPage = () => {
    const { category_id, product_id } = useParams();
    return (
        <p>Category id:
            {category_id},
            Product id: {product_id}
        </p>
    )
}

export default ProductPage
To Run Native application use the following command:
npx expo start npx react-native run-android npx react-native run-ios Output:
Approach 2: Custom Vibration PatternsThe provided demonstrates a React Native app showcasing the usage of the Vibration module. When the user taps on “Start Custom Vibration,” the device produces short-short-short-long-long-long vibrations in a pattern similar to Morse code. Throughout this sequence, the button becomes inactive. Tapping on “Stop Vibration” stops the pattern and reactivates the button.
Example:
JavaScript
//App.js

import React, { useState } from 'react';
import { View,TouchableOpacity,Text,Vibration,StyleSheet} from 'react-native';

const App = () => {
    const [vibrating, setVibrating] = useState(false);

    const startCustomVibration = () => {
        setVibrating(true);
        // Short, short, short, long, long, long
        const pattern = [200, 100, 200, 100, 200, 1000];
        // Repeat the pattern
        Vibration.vibrate(pattern, true);
    };

    const stopVibration = () => {
        setVibrating(false);
        Vibration.cancel();
    };

    return (
        <View style={styles.container}>
            <Text style={styles.heading}>
                Geeksforgeeks!
            </Text>
            <TouchableOpacity
                style={[styles.button, vibrating &&
                    styles.disabledButton]}
                onPress={startCustomVibration}
                disabled={vibrating}
            >
                <Text style={styles.buttonText}>
                    Start Custom Vibration
                </Text>
            </TouchableOpacity>
            <TouchableOpacity
                style={[styles.button, !vibrating &&
                    styles.disabledButton]}
                onPress={stopVibration}
                disabled={!vibrating}
            >
                <Text style={styles.buttonText}>
                    Stop Vibration
                </Text>
            </TouchableOpacity>
        </View>
    );
};

const styles = StyleSheet.create({
    container: {
        flex: 1,
        justifyContent: 'center',
        alignItems: 'center',
        backgroundColor: '#f5f5f5',
    },
    heading: {
        color: 'green',
        fontSize: 30,
        fontWeight: 'bold',
        marginBottom: 20,
    },
    button: {
        backgroundColor: '#3498db',
        paddingVertical: 15,
        paddingHorizontal: 30,
        borderRadius: 5,
        marginVertical: 10,
    },
    disabledButton: {
        backgroundColor: '#bdc3c7',
    },
    buttonText: {
        color: 'white',
        fontSize: 16,
        fontWeight: 'bold',
    },
});

export default App;
Output:
|