|
|
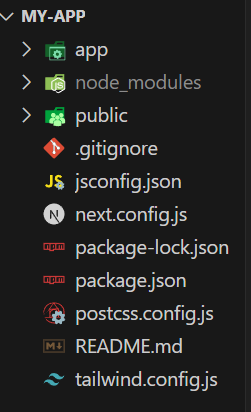
In Next.js, integrating fonts such as Google Fonts and using Tailwind CSS for styling can greatly enhance the design and user experience of your application. They play an important role in defining the looks and readability of a website or application. Integrating custom fonts on the platform make our text look more stylish and appealing to customers visiting our websites. In this tutorial, we’ll see how to integrate Google Fonts into a Next JS project. Prerequisite:Table of Content Steps to Create Next ApplicationStep 1: Initialize the react app using this command in the terminal and click yes to every question. It will install all the packages. npx create-next-app@latest my-appStep 2: Switch to the project directory cd my-appFolder Structure:Folder Structure The updated dependencies in package.json file will look like: "dependencies": { 1. Using TailwindCSSUse Tailwind CSS in Next.js by installing it, adding its directives to your global stylesheet, and applying utility classes directly in your components for efficient styling and design consistency. Example: Now replace the code in the page.tsx and global.css of app folder with this code. Steps to Run the Project: Save all files and start the project by writing the following command in the terminal. npm run devOutput: .jpg) You will look website like this 2. Using Google FontsIntegrate Google Fonts in Next.js by using the next/font package for optimized font loading or including <link> tags in _app.js , _document.js or layout.js to load fonts directly from Google’s servers. Now we will implement ‘Roboto’ Google Fonts.Step1: Open the layout.tsx file in pp folder and replace it with following code. Output:  Roboto font |
Reffered: https://www.geeksforgeeks.org
| ReactJS |
| Related |
|---|
| |
| |
| |
| |
| |
Type: | Geek |
Category: | Coding |
Sub Category: | Tutorial |
Uploaded by: | Admin |
Views: | 14 |