
|
|
In the Spring Boot ecosystem, when there is no custom error page to handle a specific error, Spring Boot by default handles the error with the help of the Whitelabel error page.
This is the default Whitelabel error page. We can also customize this whitelabel error page. In this article, let us discuss some approaches to customize this Whitelabel error page.
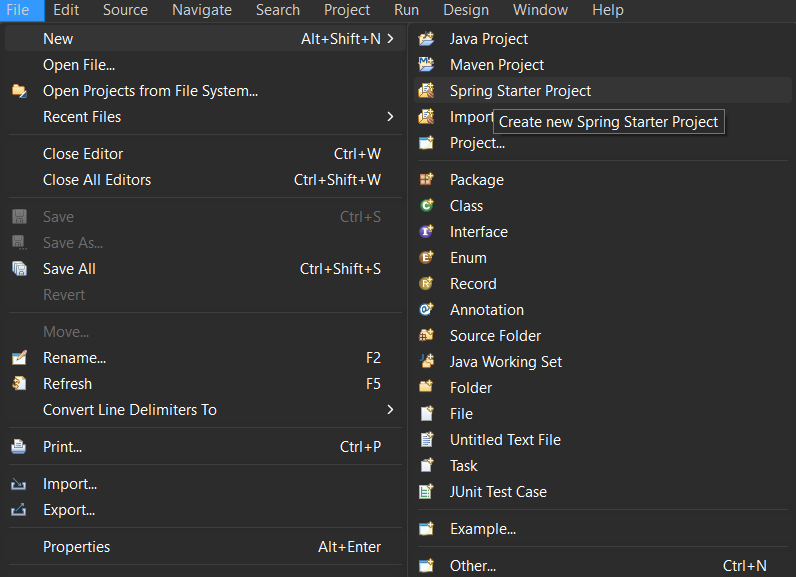
IDE Setup for the ProjectLet us set up our IDE by creating the Spring Boot project. To create a Spring Boot Project, Navigate to the File menu > New > Others > Spring Starter Project
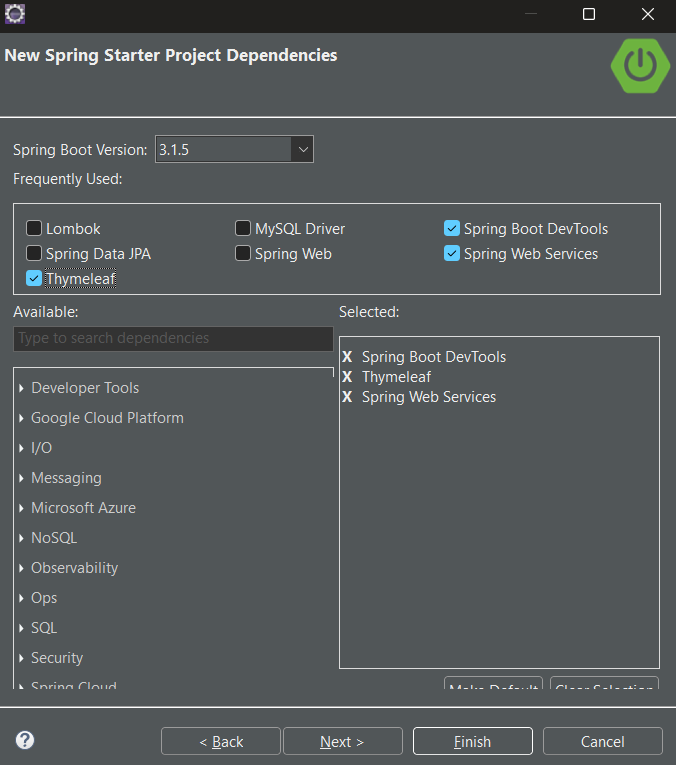
Configure the project according to your requirements.
We can also add the following dependencies within a click while setting up the project. Required dependenciesSpring Boot DevTools And once you have added these dependencies, click ‘finish‘ the project will be created.
Project Setup for the ApplicationStep 1: Adding dependenciesOnce the project is created, let us configure our pom.xml file (If you are using Maven) by adding the required dependencies. spring-boot-starter-web-services: To handle HTTP methods and endpoints <dependency> spring-boot-starter-thymeleaf: Thymeleaf is a template engine and gives a more structured format for the templates. <dependency> spring-boot-devtools: It is an optional dependency but provides many development tools and features to build applications. <dependency> Step 2: Creating the resourcesOnce the pom.xml file is configured, Let us create the resources.
error_page.html:HTML
Step 3: Overriding the default properties
Step 4: Creating the Controller classLet us create the Controller class of our project. To do that, navigate to the default package of our project. Create a sub-package named `controller` and inside the controller package create the controller class. For instance, I have named the controller class as `ControllerClass.java`. Java
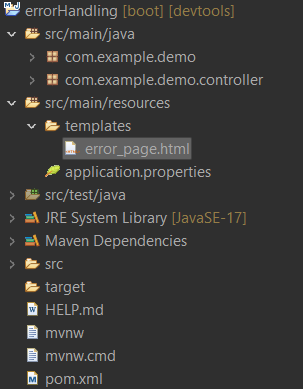
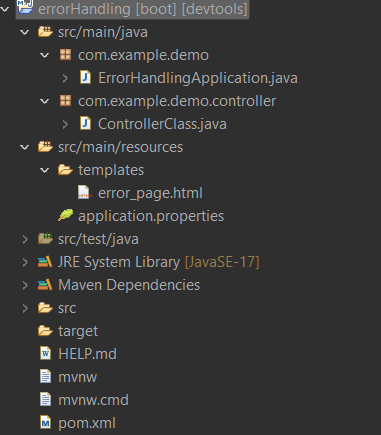
Explanation for creating the controller class:In the above code, our ControllerClass implements the `ErrorController` to render errors. In the class, we have defined a `handleError` method which is annotated with `@GetMapping` specified with the endpoint `/error` and returning the template `error_page`. Project StructureEnsure that your project is in the following project structure.
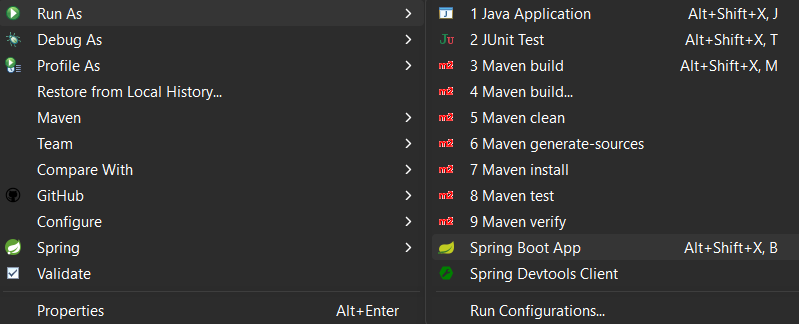
Steps to run the applicationTo run the application, right-click on the project > Run as > Spring Boot App.
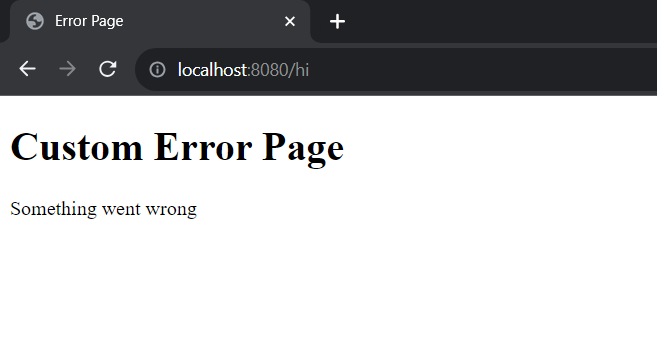
Output of the Custom Error Page:Try giving any path that is not handled in the controller class. It will show the custom error page.
|

Reffered: https://www.geeksforgeeks.org
| Advance Java |
| Related |
|---|
| |
| |
| |
| |
| |
Type: | Geek |
Category: | Coding |
Sub Category: | Tutorial |
Uploaded by: | Admin |
Views: | 13 |