
|
|
AWS is a subsidiary of Amazon & offers a broad range of cloud computing services, which means services using their infrastructure which is hosted on various data centers all over the world which we can rent to run our own solutions. In this article, we will learn how to deploy a React application using AWS. First, we will build a React Application using create-react-app. Then, we will deploy it in Amazon S3. Steps to Create a React ApplicationStep 1Step 2: Check whether Node.js is installed in your system.
Step 2: Now, write the following command to create a new react app using create-react-app.
Step3: “cd my-web-app” command will help to navigate to the newly created directory “my-web-app”. Now write “npm start” command to start the local server.
Step4: Now, the React app is running at “http://localhost:3000/“. Type the link in the browser to open the React app.  Running on Local Server (localhost:3000) So, your react application is ready!!! Step5: Create a build of this application. Write “npm run build” to build or compile the project’s source code. It will create a “build” directory that contains some static files.
Steps to deploy the React Application in Amazon S3Step1 (Login to AWS Console): Go to https://console.aws.amazon.com and Login to your AWS Console. Step2 (Create Bucket): Search S3 Bucket page and go there. Click upon the “Create Bucket” button.
-(1).png) Creating S3 Bucket Step3 (Update the Public Access Permission): By default, the “Block all public access” field will be checked. This should be unchecked, else the bucket will be private and nobody can access our website.
Now, at the end you see the “Create Bucket” button, click upon that and your bucket will be created. It will look like this.  S3 Bucket (gfg-react-app) Step4 (Add Bucket Policy): Go to “Permissions” tab and click upon “Edit” button in Bucket Policy section. Now, click upon the “Policy Generator” button.
You can create a policy here. Select Type of Policy as “S3 Bucket Policy”. In Principal, write “*”. In Actions, select “getObject” action. In ARN, copy your bucket ARN and click upon “Add Statement” button. A new button “Generate Policy” will be visible. Clicking upon that button will generate your required policy. .jpg) AWS Policy Generator XML
Now, add this generated Bucket Policy in Bucket Policy section. This allows everyone to access the S3 objects using the S3 website endpoint.  Bucket Policy Step5 (Upload files): Now, come to “Objects” tab and upload all the files present in the “build” directory. 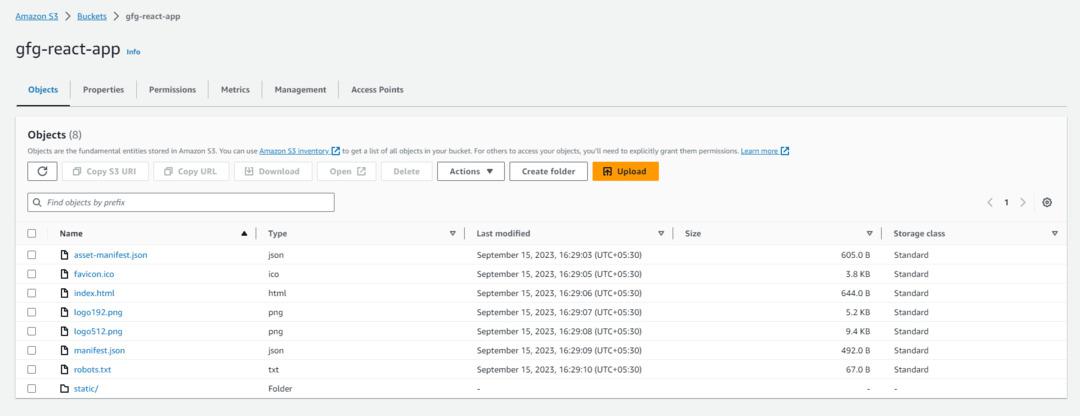 S3 Bucket (gfg-react-app) Step6 (Static Site Hosting): Now, go to “Properties” tab and at the end, you can find “Static Website Hosting”. Edit it like the pictures given below and Save changes.
-(1).png) Static Website Hosting Congrats!!! Your React Application is hosted successfully in Amazon S3 bucket. 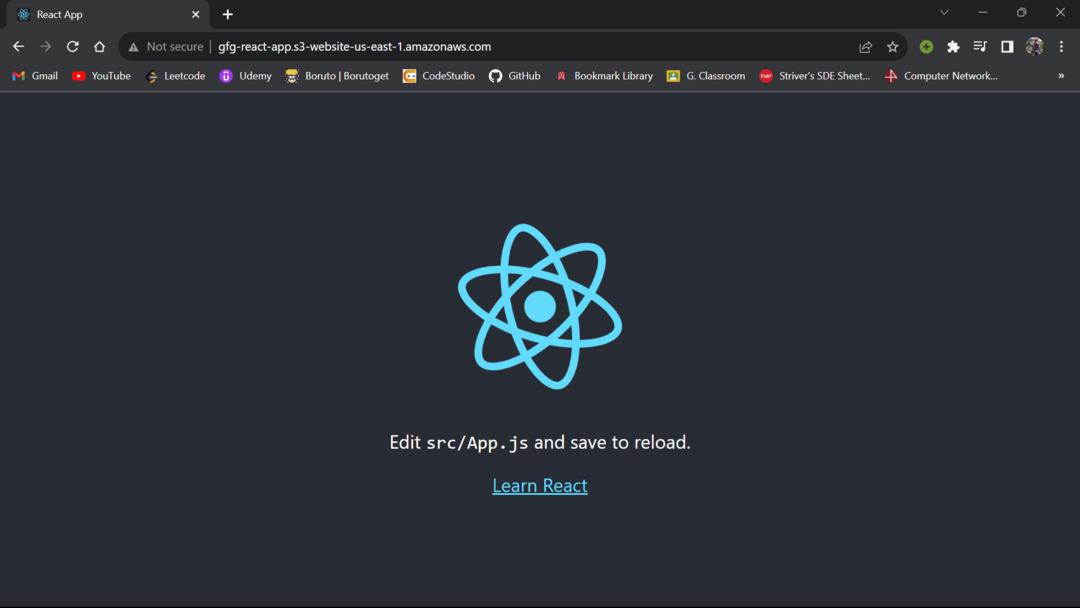 Running on Amazon S3 Bucket FAQs On Deploy a React Application on AWS1. Can React deployment on AWS be automated?
2. Is React still Relevant in 2023?
3. Are there any cost considerations when deploying a React app on AWS S3?
|
.png)
.png)
.png)
.png)

-(1).png)


Reffered: https://www.geeksforgeeks.org
| Microsoft Azure |
Type: | Geek |
Category: | Coding |
Sub Category: | Tutorial |
Uploaded by: | Admin |
Views: | 13 |