|
|
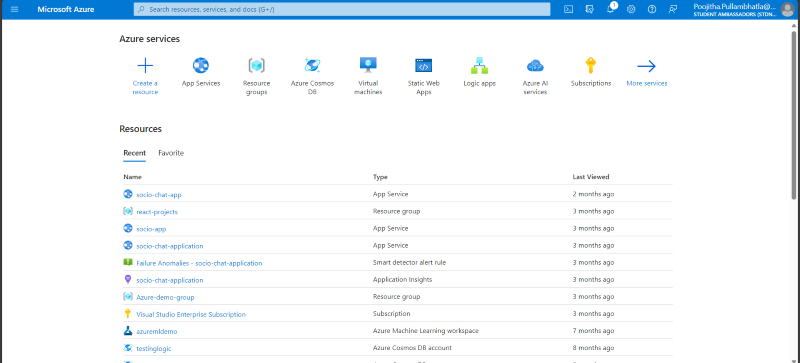
Azure is the Cloud computing platform and Suite of cloud services provided by Microsoft. Azure provides various services including building and deploying web apps, logic apps, configuring databases, etc. In this article, let us understand how to deploy a web app on Azure app service. Deploying a Web App on Azure App ServiceStep 1: Create and set up your Microsoft Azure account First, make sure that you have signed in to your Azure portal. If you still figuring out how to sign in to the Azure portal follow this link: Microsoft-Azure portal. After signing in, you will preview this dashboard.
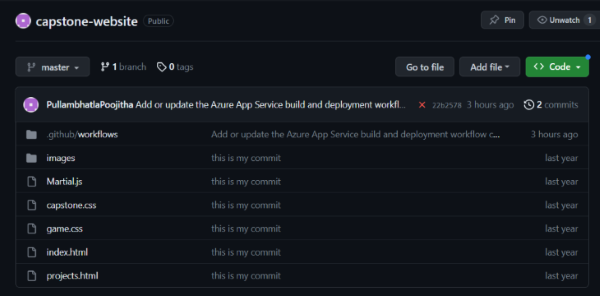
Step 2: Build your Web Application Create your web application in the tech stack you want. Microsoft Azure supports various technologies like C#, Java, Python, Ruby, Vue, React, Angular, etc. You can also push your code into GitHub or manage your code with any other Version Control System. In my case, I created a sample application and pushed it to GitHub.
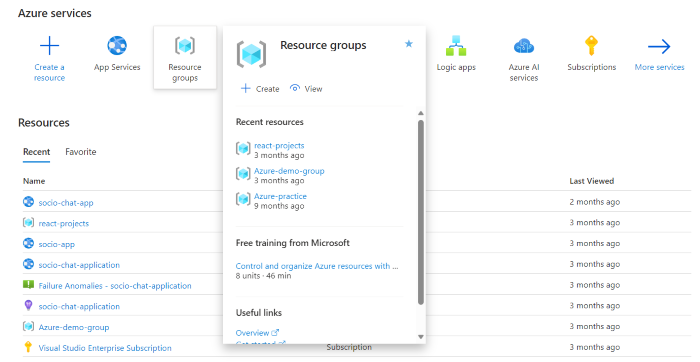
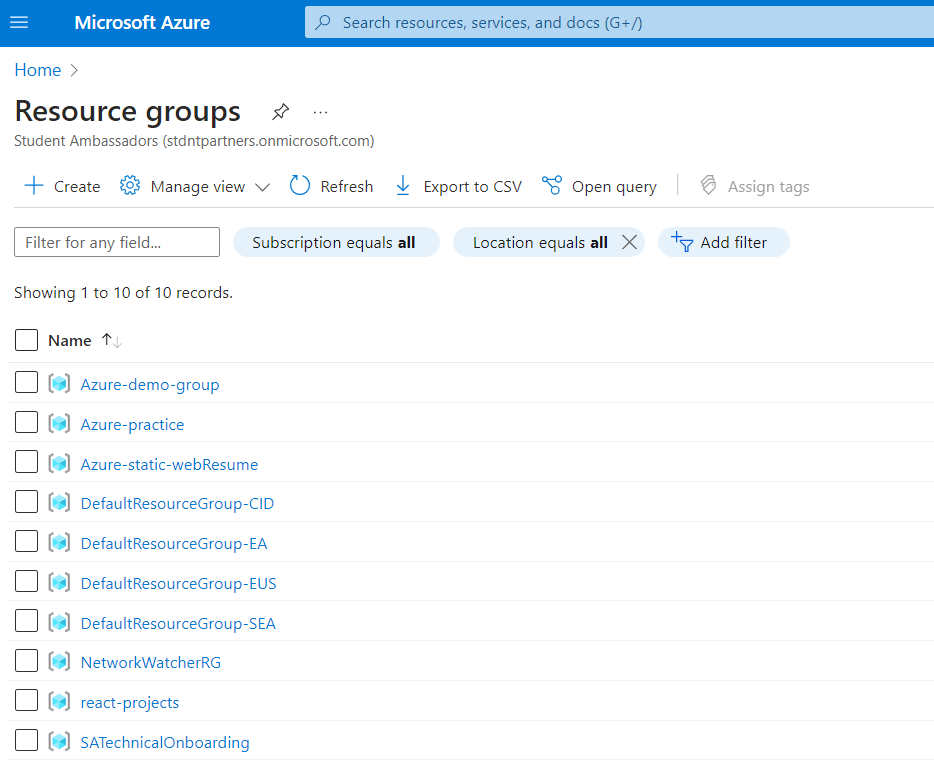
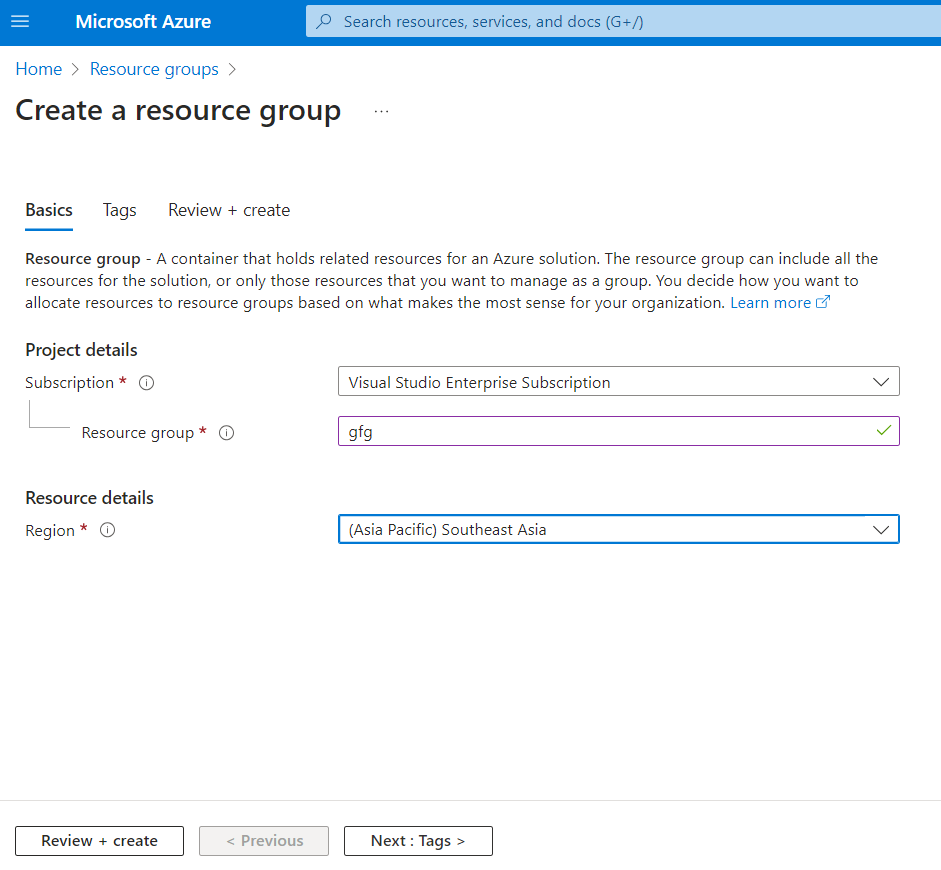
Step 3: Create a Resource Group, for your Web App To manage and maintain our web application in terms of access control, resource allocation, etc. We need to have a Resource group. You can use any existing Resource group, if not let us create a new Resource group for our application. Navigate to the `Resource groups` option on the dashboard.
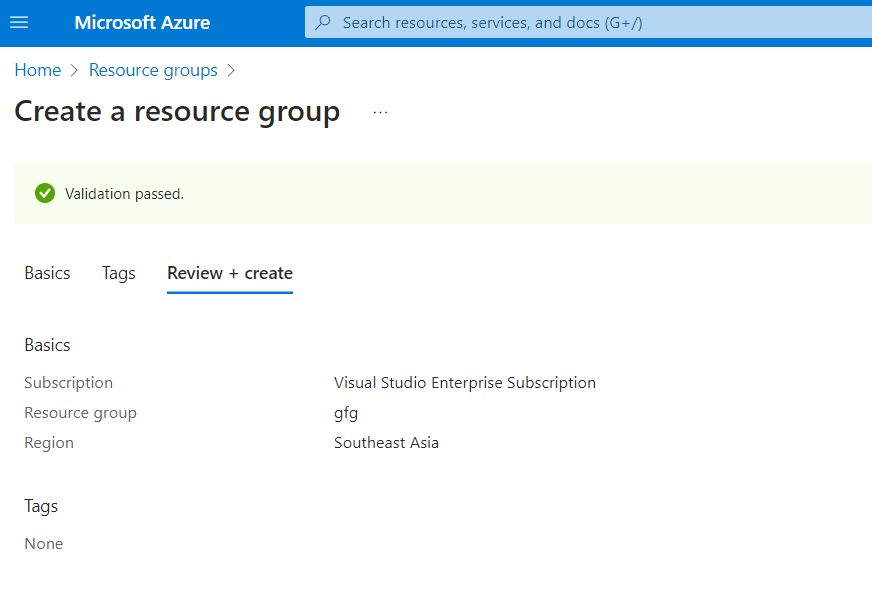
Customize the options as per your requirement and click `Review+create`. you will receive a confirmation message.
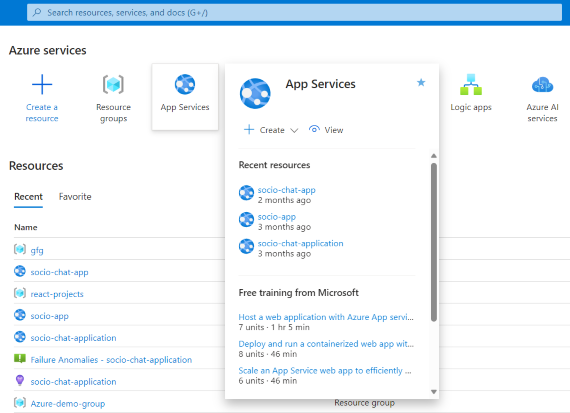
Step 4: Create your Web App Service using Azure Services Now, Go back to the home page or dashboard, and you will find the `App Services` option.
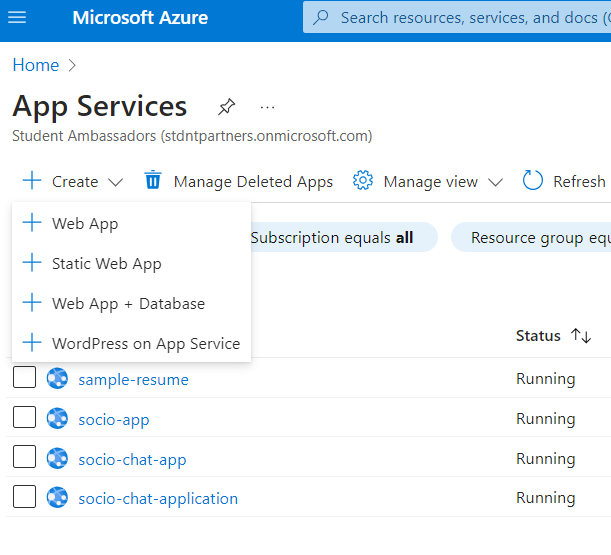
After clicking, you will preview your available web apps (if exist) and you will find an option ‘create‘ which shows various options to create the web app. Choose an option based on your requirements.
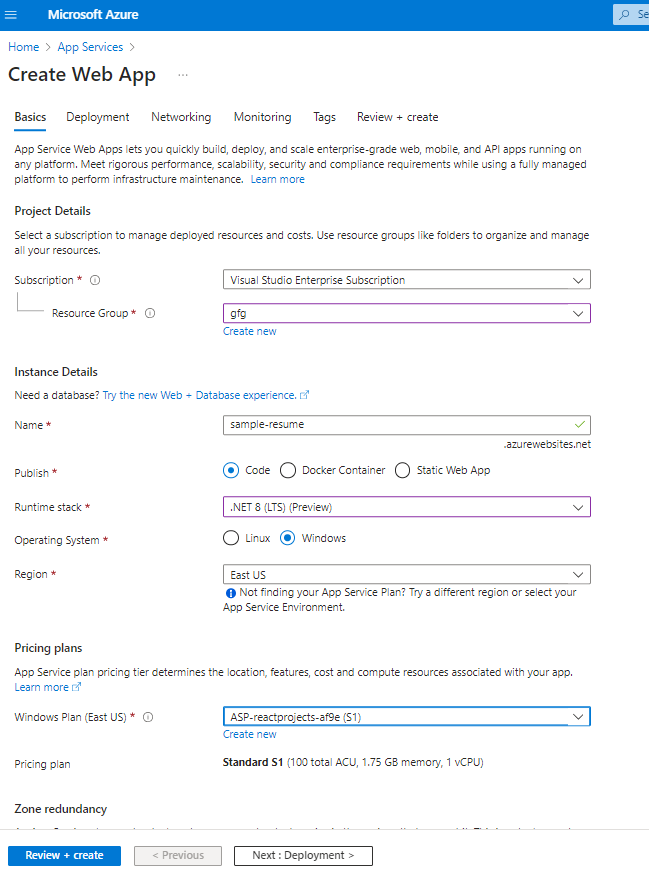
I have chosen a `web app` and there are various options to customize. Let me brief the important ones.In the `Basics` tab, we can see some basic options like choosing the Resource group, Name of the Web app, Region, Run-time stack (Run-time stack supports tech stack like Java, node.js, Python, .NET, Go, PHP)
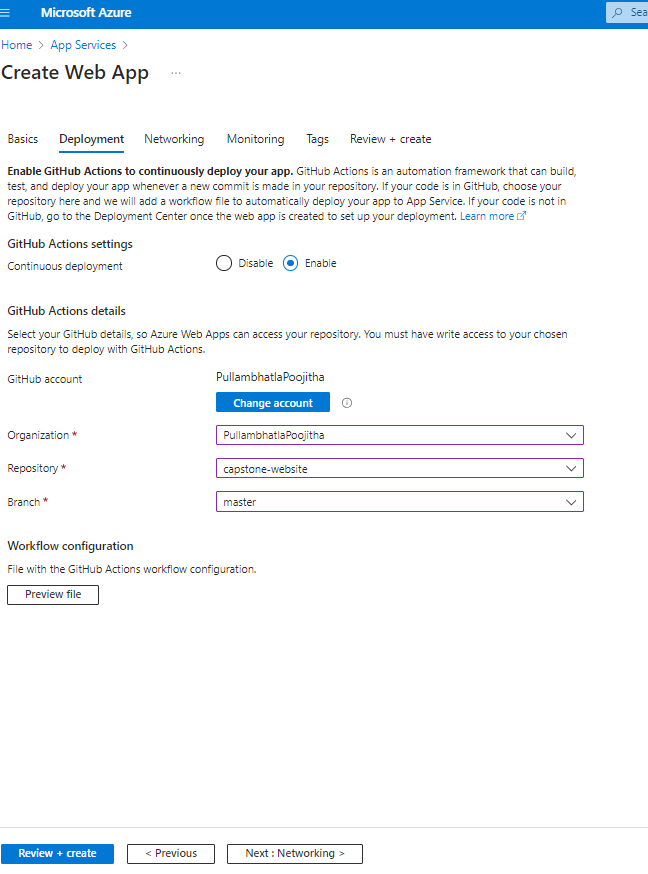
In the `Deployment` tab, we can add and configure our GitHub account settings by enabling the ‘continuous deployment‘ option and we can link our GitHub account, repository, and branch.
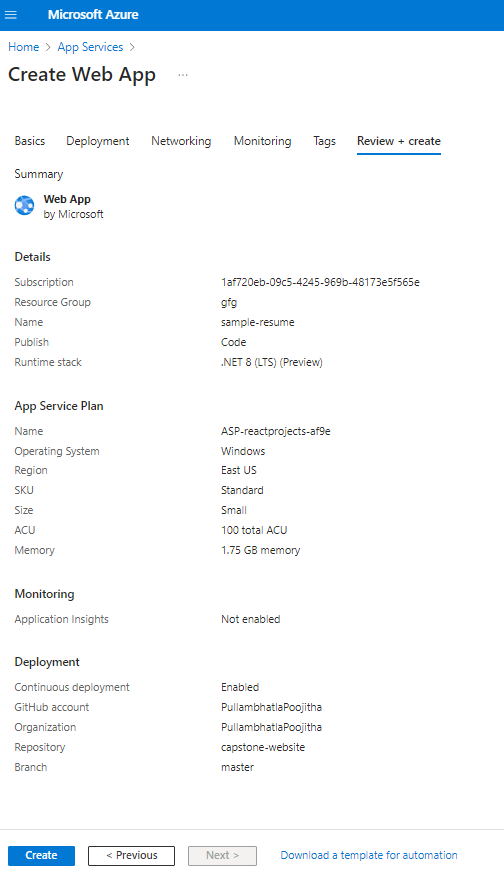
These are the important and basic configurable options. There are other tabs like ‘networking‘, ‘monitoring‘, and ‘tags‘. The last tab shows ‘Review+create‘ where we can review the properties and create our web app.
Step 5: Deploy your web app Now, click on the name of your web app in the App Services.
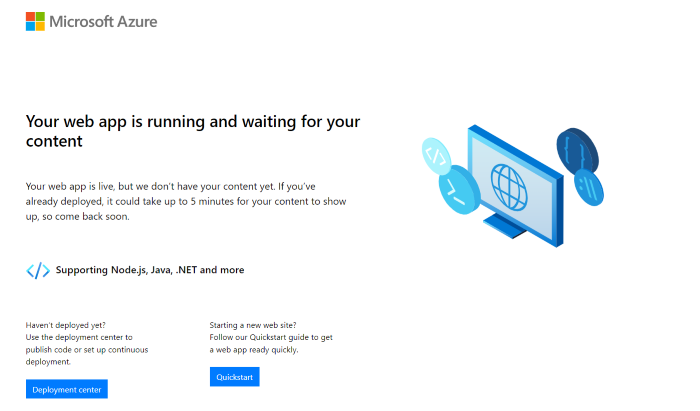
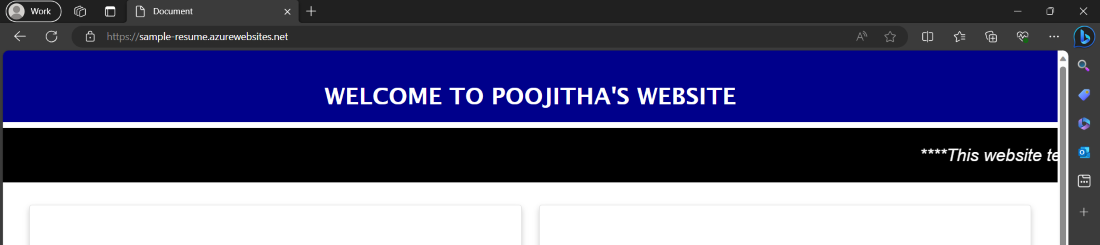
You will find various options listed down along with the ‘Default domain‘ option which contains a link. This is the deployed link of your web app.when you click on that link for the first time, you will find a default web page displayed rather than your actual code. we need to modify this.
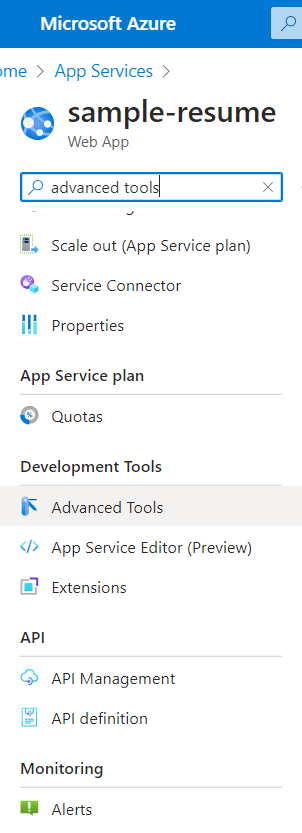
To modify this default code, go back to your web app, on the left sidebar, under the development tools section, you will find ‘Advanced tools‘. click on that.
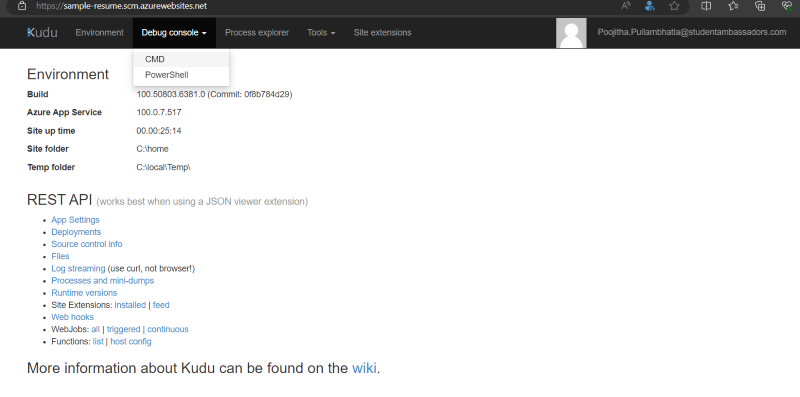
You will be navigating to a new tab that shows various options including debbugging console, which has two options: CMD and PowerShell. Lets go with CMD, here the default code directory of the default web page displayed.
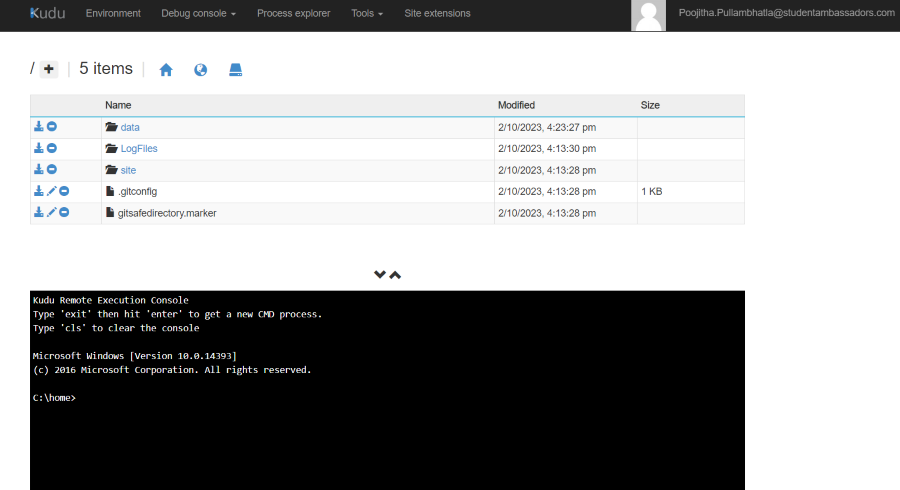
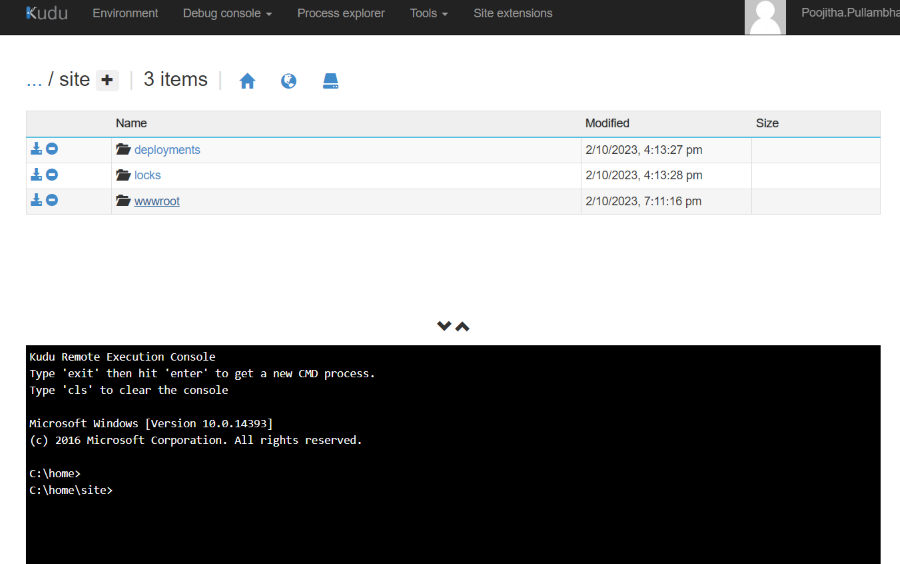
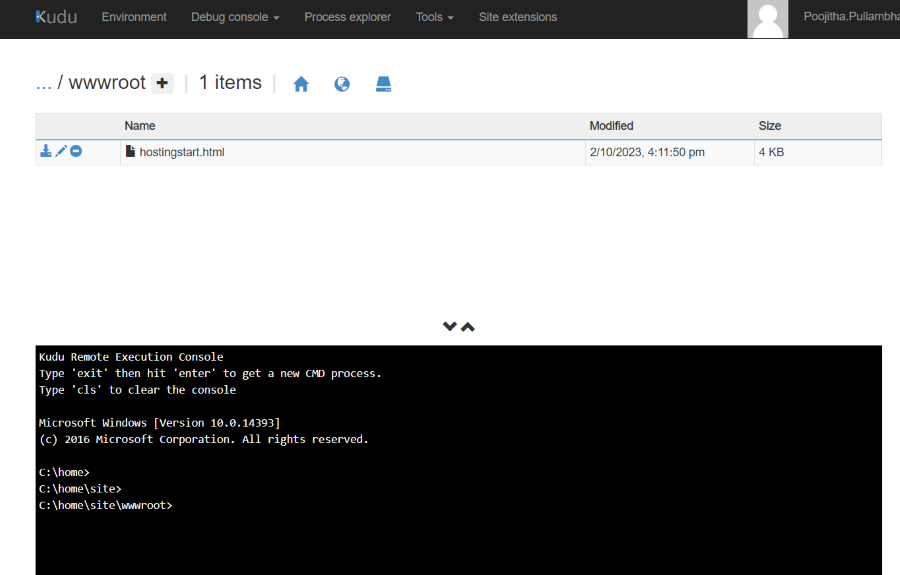
Go to the `sites` folder and `wwwroot`. you will find ‘hostingstart.html‘ there. This contains the code of the default web page displayed.
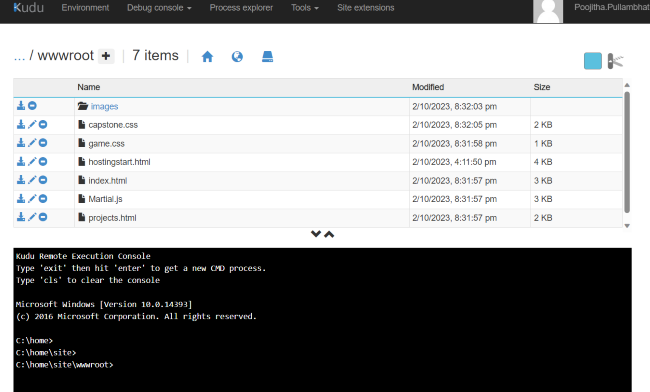
Go to your application directory on your computer, and drag and drop the required files here.
Points to be remembered:
FAQs On Web App on Azure App Service1. What Are Various Options To Deploy a Web App In Microsoft Azure?
2. Is There Any Cost or Subscription Fee or Credits Associated With Deployment Of Web App Through Microsoft Azure Portal?
3. Can I Configure a Custom Domain For My Azure Web App?
|

Reffered: https://www.geeksforgeeks.org
| Geeks Premier League |
Type: | Geek |
Category: | Coding |
Sub Category: | Tutorial |
Uploaded by: | Admin |
Views: | 14 |