|
|
Next.js offers a built-in loader feature that enhances user experience by providing smooth page transitions. This feature helps to inform users that the application is loading, reducing perceived waiting times and improving overall usability. In this article, we’ll explore the Next.js Loader feature by creating a “loading.js” component that will be automatically displayed between page transitions. Next.js Loader FeatureNext.js Loader feature is typically designed to be displayed during page transitions when content is being fetched from the server. If the content is already present in cache memory, such as when a user revisits a page they’ve previously loaded, the loader may not be displayed since there is no need to fetch data from the server. The loader primarily serves to improve the user experience when there is a delay in loading content during navigation, especially when making network requests to retrieve data. When content is readily available in the cache, Next.js optimizes the user experience by minimizing unnecessary loading animations or delays. ApproachTo implement the next.js loader feature in loading.js component we’ll go through the steps. This component will be automatically displayed when navigating between pages, making the transition smoother and more visually appealing. It’s worth noting that Next.js, by default, considers the loading.js file to implement this feature. This addition highlights that Next.js automatically recognizes the loading.js file as part of its default behavior when implementing the loader feature. Steps to Setup Next.js ProjectStep 1: Create Next.js Application Open the terminal and create a new Next.js application using the following command: npx create-next-app@latest gfgStep 2: Move to Project Folder After creating your project folder (i.e. gfg ), move to it by using the following command: cd gfgProject Structure:The project structure will look like this.
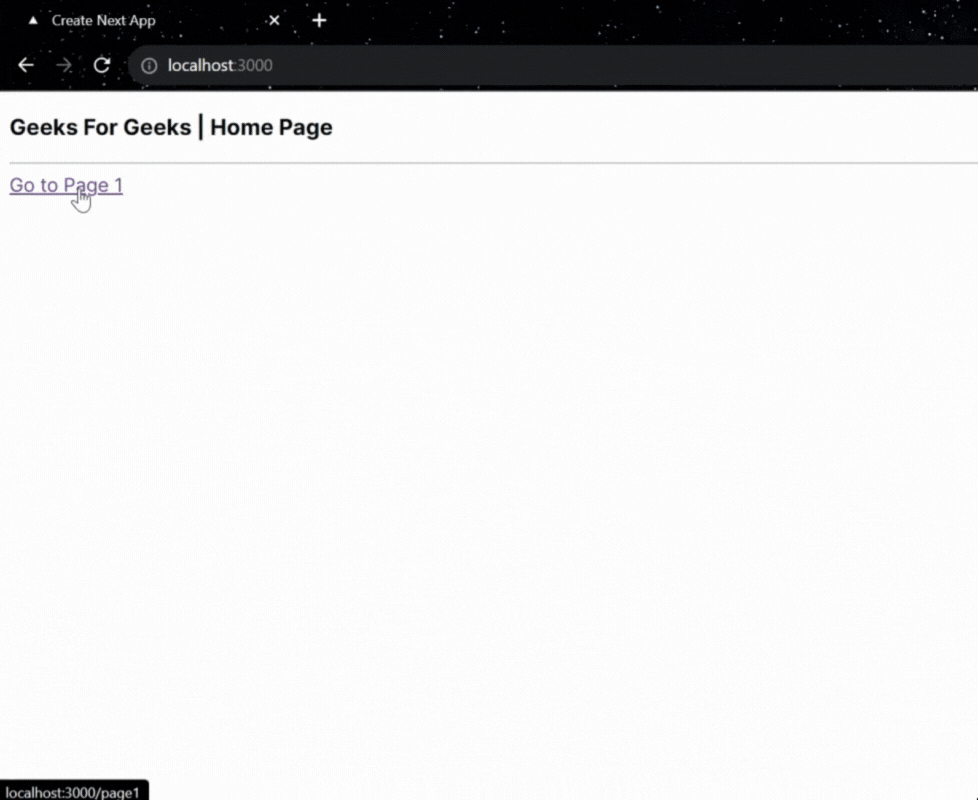
Implementing the loading.js ComponentStep 1: Create the “loading.js” Component Inside your Next.js project’s app directory, create a loading.js component. Here’s an example of the component: Step 2: Add the Following Code Inside the “page.js” File Located in the “app” Directory This will be one of your application’s pages, and it will demonstrate the use of the loader. Here’s an example: Step 3: Create a New Folder “page1” for Another Page. Create a new folder named ‘page1‘ inside the app directory. Inside this folder, create a ‘page.js‘ file for another page in your application. Here’s an example: Step to run the application: Enter the following command in your terminal. npm run devOutput:
ConclusionImplementing a built-in loader feature in Next.js is a straightforward way to enhance user experience with smooth page transitions. By enabling and customizing the loading indicator, you can keep users informed about the page loading process, improving the overall usability of your application. |
Reffered: https://www.geeksforgeeks.org
| ReactJS |
Type: | Geek |
Category: | Coding |
Sub Category: | Tutorial |
Uploaded by: | Admin |
Views: | 12 |