|
|
Nowadays Python is everywhere. This is majorly due to its simplicity and wide range of applications. Flask is a lightweight web framework for building web applications in Python. Creating microservices with Flask is straightforward. In this article, we will start with a basic “hello world” microservice. Following that, we’ll delve into the creation of two distinct microservices and explore how to establish seamless communication between them. So let’s begin with understanding the concept of a Microservice. What is a microservice?A microservice is a software architectural style whereby an application is divided into smaller sub-parts. These sub-parts are independent of each other i.e., they are independently deployable and scalable. Each microservice performs a specific function or a single task. Why do we need microservices?Imagine an e-commerce app like Amazon or Flipkart. Here the app needs to satisfy many tasks like Order management: placing orders, tracking status etc. Cart management: Updating cart, calculating cart value etc. Customer Profile: Name, email, membership management etc. As you can see, a single app performs many tasks. However, trying to write code for all these tasks within a single framework can make it complicated and challenging to manage and debug. Hence the concept of microservices came into the picture. Each microservice is designed to perform a single task. Furthermore, microservices possess the ability to communicate with each other whenever it’s required. Building a simple MicroserviceBasic Requirements:
Before proceeding, let’s create a virtual environment. It is important to create a virtual environment to keep our project dependencies and environment isolated and don’t conflict with the other projects in the computer environment. This is a safer process and easy to manage the project environment. Use the following commands in the terminal to create a virtual environment: python -m venv venv Activate our virtual environment: In Linux and Mac OS use the below command in the terminal: source venv/bin/activate In Windows, use the below command in the command prompt: venv\Scripts\activate NOTE: Use deactivate keyword to come out of the virtual environment. The above will activate the virtual environment and you can see (venv) on the left side of the terminal. Now let us create a directory with the name microservices. Create a requirements.txt file in the microservices directory. Add the following in the requirements.txt. These all modules are required in our project. flask Use the following pip command to install all the above modules in our virtual environment: pip install -r requirements.txt Create a Python file named Python3
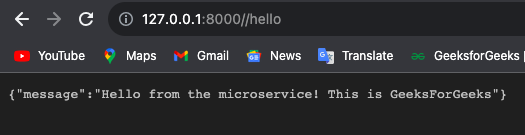
Here, we created our microservice at the route /hello and deployed it on port 8000. So you can access it at http://127.0.0.1:8000/hello. Also, the function hello_microservice() returns the JSON data as output. Run the python Go to http://127.0.0.1:8000/hello in your browser. You can see the JSON output. Output:First Microservice NOTE: Please note that if you encounter a “URL not found” error in the Chrome browser, consider trying the following link instead: http://127.0.0.1:8000//hello You can also use the curl command in the terminal to get the output. You’ll receive the same JSON response. curl http://127.0.0.1:8000/hello Output{"message": "Hello from the microservice! This is GeeksForGeeks"} Communication Between MicroservicesLet’s build two microservices. One microservice will generate a Random Number. The other microservice will check whether the generated random number is Even or Odd. 1. Random Number Generator Microservice:Create a file named Python3
Here, we created a microservice at port 8001 and defined the API route at /generate. Thus the microservice will run at http://127.0.0.1:8001/generate. The generate_random_number() function will return a random number in JSON format. The random.randint(1, 1000) function will give any random number between 1 to 1000. Run the python Go to http://127.0.0.1:8001/generate in your browser. You can see the JSON output. Output: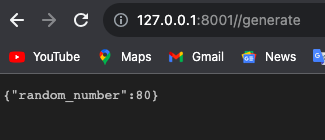 Random Number Generator 2. Even or Odd Checker Microservice:Create a file named Python3
The second microservice will be running at port 8002. We defined the API route at /check, so the microservice can be called by link http://127.0.0.1:8002/check. In the function check_even_odd(), we are calling our first microservice i.e., random_microservice. We are using the requests function and calling our first microservice through its URL i.e., http://127.0.0.1:8001/generate. Now that, we have created two microservices. The Even or Odd checker microservice will call the random number generator microservice and get the number and check whether it is even or odd. So make sure you run the After executing python Go to http://127.0.0.1:8002/check in your browser. You can see the JSON output. Output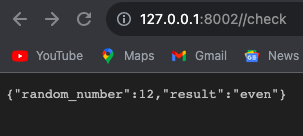 Even or Odd Checker Congratulations! Your two microservices have effectively established communication. It’s worth noting that in this scenario, we’re employing distinct ports (8001 and 8002) for each microservice. This separation ensures that the two microservices operate on separate servers. Keep in mind that there are various approaches to facilitate communication between microservices. In this case, the communication is synchronous, but asynchronous methods can also be employed as an alternative. |
Reffered: https://www.geeksforgeeks.org
| Python |

Type: | Geek |
Category: | Coding |
Sub Category: | Tutorial |
Uploaded by: | Admin |
Views: | 12 |