
|
|
React JS is more than just an open-source JavaScript library, it’s a powerful tool for crafting user interfaces with unparalleled efficiency and clarity. One of React’s core principles is its component-based architecture, which aligns perfectly with the Model View Controller (MVC) pattern. React components encapsulate pieces of UI functionality and logic, making them reusable, maintainable, and easy to reason about. As a result, developers can focus solely on building the view layer of their applications, confident that React will handle updates and rendering optimizations with ease. In this article, we will see how we can create the RESTful API and Fetch the Data using ReactJS. Table of Content Prerequisites
The REST API is now essential for any developer who wants to create a web application or a mobile application. To do this, we must first grasp what a RESTful API is so that we may construct one from the ground up simply and effectively. Here, we’ll create a REST API using a local environment and local database, then use ReactJS to display the data. REST API What is RESTful API?REST API stands for Representational State Transfer Application Programming Interface. It is a collection of architectural guidelines and best practices for creating web services that enable various systems to interact and communicate with one another over the Internet. Due to their simplicity, scalability, and usability, RESTful APIs are a popular choice for developing web applications and services. Why should we use REST API in our web apps and services?Let’s see the table to understand Why should we use REST API in our web apps and services?
Start Creating Project and Install the Required Node ModulesStep 1: Create two separate folders one for our backend and the second for our frontend. You can run these commands in your terminal or you can create them on your own with GUI. cd ReactProject
mkdir backend
Step 2: We will run a command to install all react dependencies and necessary files. npx create-react-app frontend
Step 3: Now we have to install all Node modules and npm packages for backend. cd backend
npm init -y
Step 3: This command will create the package.json files where we will able to see our dependencies. So let’s install the required dependencies npm i express nodemon
npm install express cors --save
Project Structure:  Folder Structure – The updated dependencies in package.json file will look like: Backend: "dependencies": {
"express": "^4.18.2",
"nodemon": "^3.0.2"
}
Frontend: "dependencies": {
"@testing-library/jest-dom": "^5.17.0",
"@testing-library/react": "^13.4.0",
"@testing-library/user-event": "^13.5.0",
"react": "^18.2.0",
"react-dom": "^18.2.0",
"react-scripts": "5.0.1",
"web-vitals": "^2.1.4"
}Step 4: Create the following files in the backend. Note: In order to be able to fetch the product photos on the client side, we must place the images folder—which contains the product images—inside the public folder of ReactJS. Step 5: Now run the below command to install Axios: cd frontend
npm i axios
Step 6: Add this code in the frontend files. Step 7: Launch our website using localhost and see the outcomes. We have to operate the front end and back end simultaneously for that. Open two terminals and then “cd backend” & “cd frontend“.
npm start
nodemon index.js
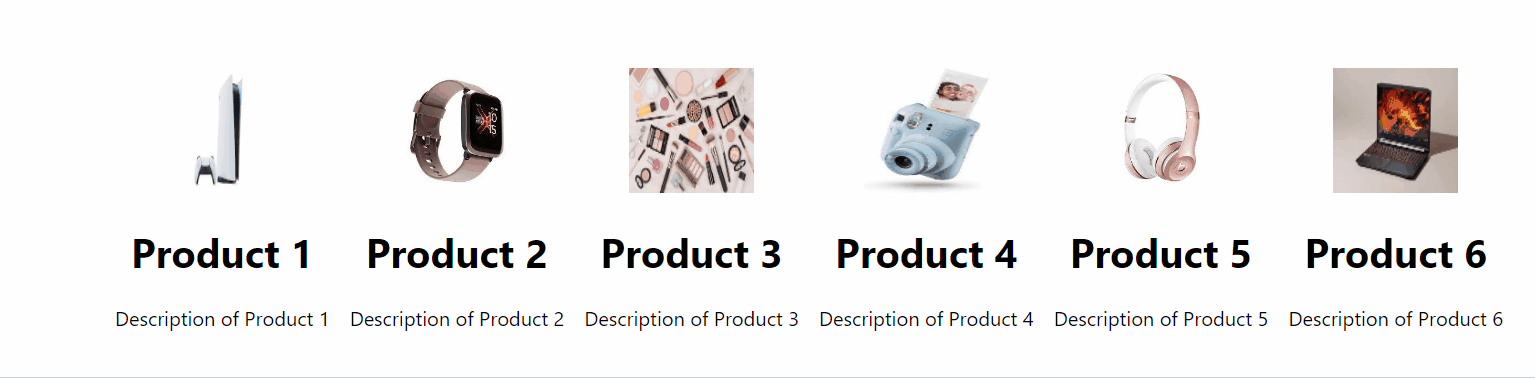
Output:
|
Reffered: https://www.geeksforgeeks.org
| Express.js |
Type: | Geek |
Category: | Coding |
Sub Category: | Tutorial |
Uploaded by: | Admin |
Views: | 14 |