|
|
Efficiently dividing content across different pages can be challenging, but Google Docs’ page break feature simplifies the task. This tool splits a single page into two sub-pages, helping to organize and structure your document. Page breaks allow you to end a page without adding content, creating distinct sections within your document. This is particularly useful for academic research or professional content, adding both organization and professionalism. This article covers the step-by-step process of adding page breaks on both laptops and mobile devices. What does a Page Break do in Google Docs?A page break is a formatting tool utilized in documents, both for print and digital use, that signals the conclusion of one page and the commencement of a new one. Its purpose is to manage how content is displayed, making certain parts or segments start on fresh pages rather than continuing on the same page. This is frequently done to enhance readability, separate chapters or sections, and enhance the overall document organization. In word processing software like Microsoft Word or Google Docs, you can insert a page break to ensure content begins on a new page. This element is meant for adjusting layout and should avoid raising suspicion from AI or plagiarism detection tools due to its common and functional nature. Benefits of Inserting Page Break in Google Docs
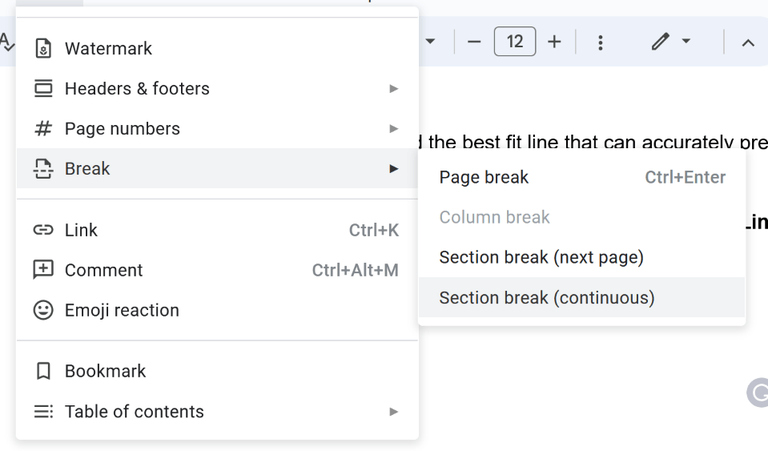
How to Insert Page Breaks in Google DocsStep 1: Launch Google DocsTo begin with adding page breaks in Google Documents, Launch Google Docs on your web browser or simply click here to open a Google Doc. Launch Google Docs Step 2: Open the DocumentAccess the document where the inclusion of page breaks is required. Additionally, there’s the option to generate a new document or alternatively, open an already existing one.  Open the Document or Create a New Document Step 3: Choose the Region for Applying Page BreaksOnce the document is opened, proceed to select the specific location within the document where the Page Break needs to be inserted. In the screenshot below, the designated area has been highlighted, indicating that the Page Break will be implemented at this point.  Select the area to apply a page break Step 4: Click on InsertTo incorporate page breaks within the content, it’s necessary to either click on or access the “Insert” tab located in the upper toolbar of the main interface or on the Google Docs website. 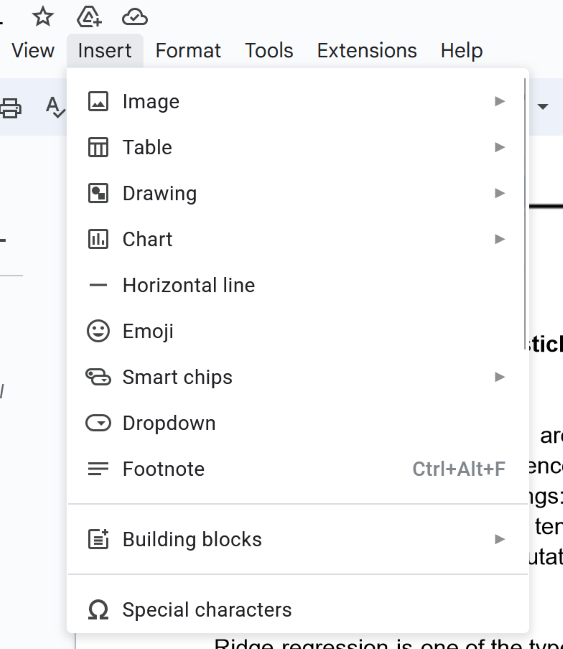 Top many bar > Click on Insert Step 5: Select Break and Choose Page BreakNow you will encounter a dropdown menu containing a range of different options. Scroll through the options and locate the “Break” option, then proceed to click on it. Once clicked, a subsequent dropdown menu will appear, presenting various alternatives. One of these options is the “Page Break.” Make your selection accordingly.
 Break > Select Page Break Step 6: Preview Page BreakUpon selecting the option, the Page Break will be seamlessly incorporated. Preview the designated content area, which will now appear on a fresh page, resulting in an alteration to the overall structure and layout. 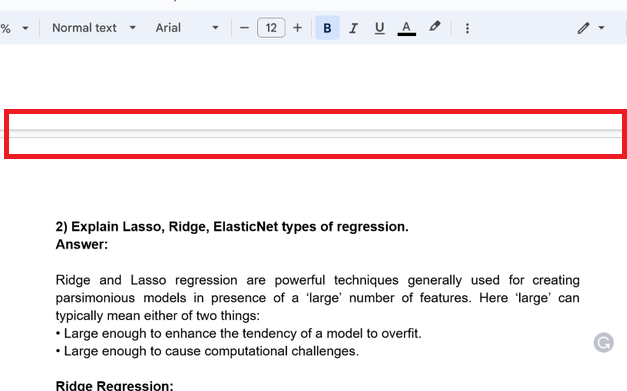 Preview Applied Page Break What is Section Break in Google DocsA section break in Google Docs is a formatting tool used to divide a document into distinct sections, each with its formatting, layout, or properties. It enables you to apply different formatting styles, headers, footers, page numbering, or even column setups to different parts of your document. Section breaks are useful when you want to create sections with varying styles or layouts within the same document. Use of Section Break in Google Docs
How to Insert a Section Break in Google DocsSection break in Google Docs is one of the features that provides the functionality, which is quite similar to a page break. The section break, helps us to divide a particular page in our document into multiple sections or subparts. The steps for inserting a section break in Google Docs are stated below: Step 1: Open the Google DocumentBegin by accessing the document where a Section Break is required. You also have the option to either create a new document or open an existing one. Next, identify the specific region from which you intend to insert the Section Break. 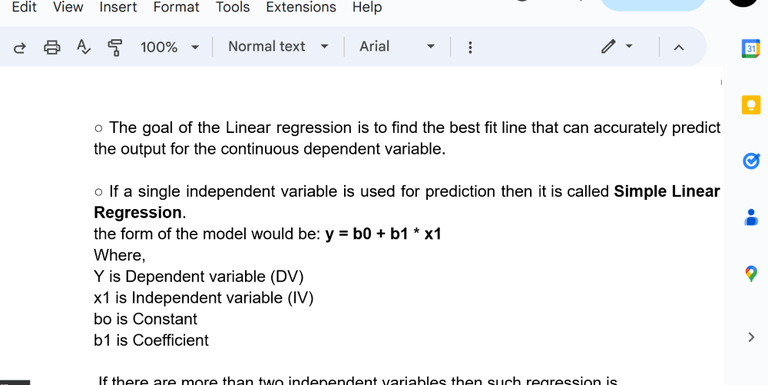 Open Google Document Step 2: Click on InsertOnce you’ve opened the necessary document, proceed to select the “Insert” Tab located in the upper menu of the Google Docs interface. 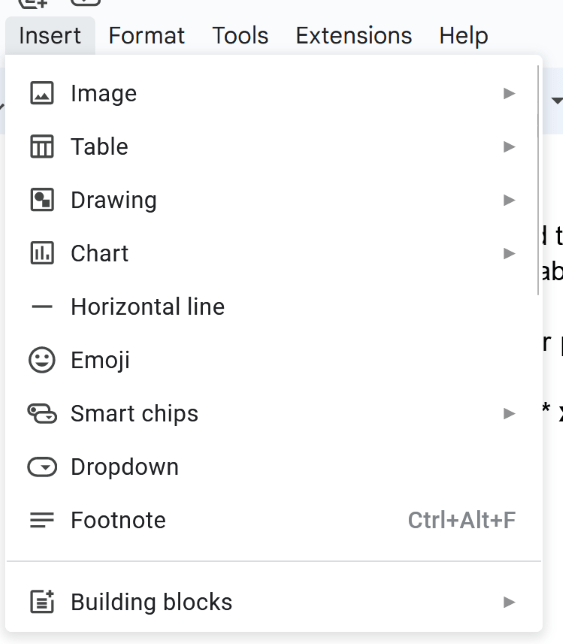 Top Menu Bar > Click on Insert Step 3: Select Break and Choose Section Break Next Page or ContinousUpon clicking the “Insert” tab, a variety of options will appear in the drop-down menu. From the options, choose “Break.” Within the “Break” option, select the sub-option labeled “Section Break.” It’s important to note that there are two distinct types of section breaks available.
 Insert > Break > Section Break Step 4: Preview Section Break is added successfullyNow, take a moment to preview and confirm that the aforementioned steps have been successfully implemented in your document.  Section Break Applied Successfully How to Show Page Breaks in Google DocsStep 1: Click on the View TabTo make the Page Breaks visible in our Google Docs. Navigate to the top menu bar of Google Docs and click on “View“. 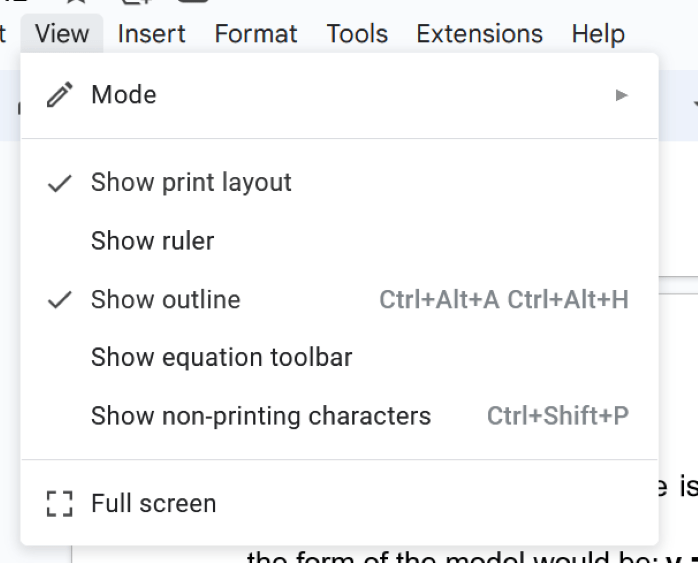 Clicking on View Tab Step 2: Select Show Non-Printing CharactersAfter selecting the “View” tab within the sub-options, proceed to choose and enable the “Show Nonprinting Characters” option. 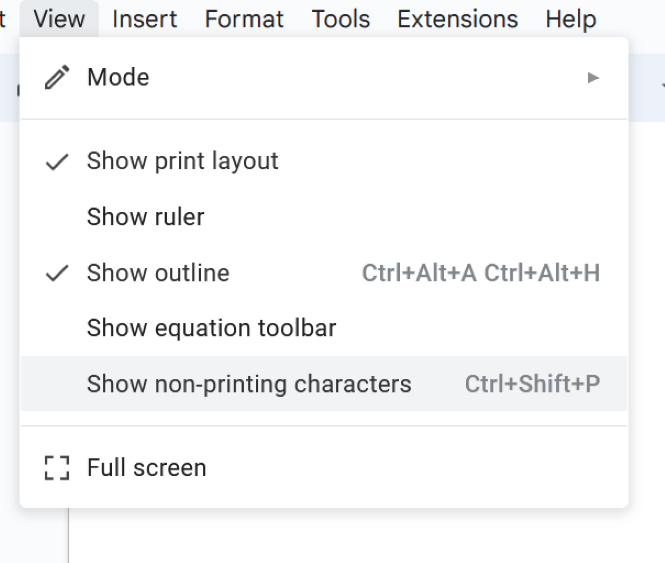 Selecting show non-printing characters option Step 3: View the BreaksAfter clicking on this option, we can easily view the page breaks, which are added to our document in Google Docs. 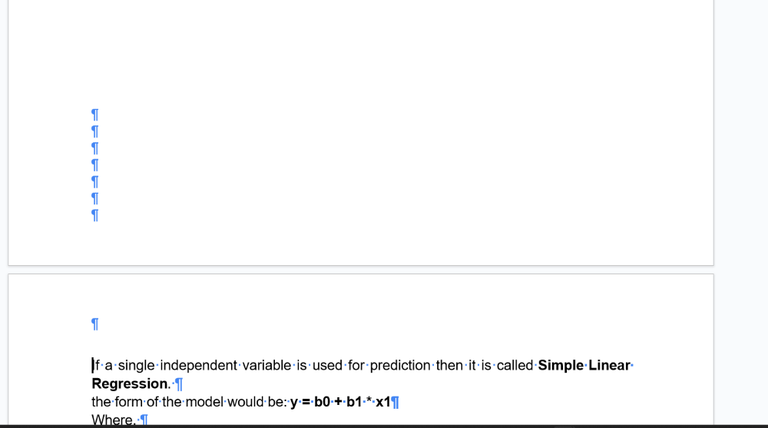 Page Breaks are Shown How to Insert Page Breaks in Google Docs on AndroidGoogle Docs is compatible with mobile devices in terms of portable applications, using this application we can add or insert page breaks in our content as per our requirements. So for inserting page breaks, we need to perform the below-specified steps: Step 1: Install Google DocsDownload the Google Doc Application on your Mobile device.  Installing Google Docs Step 2: Open the Google DocOnce the installation of the application is finished, the next steps involve either creating a new document or accessing an already existing one. In this document. 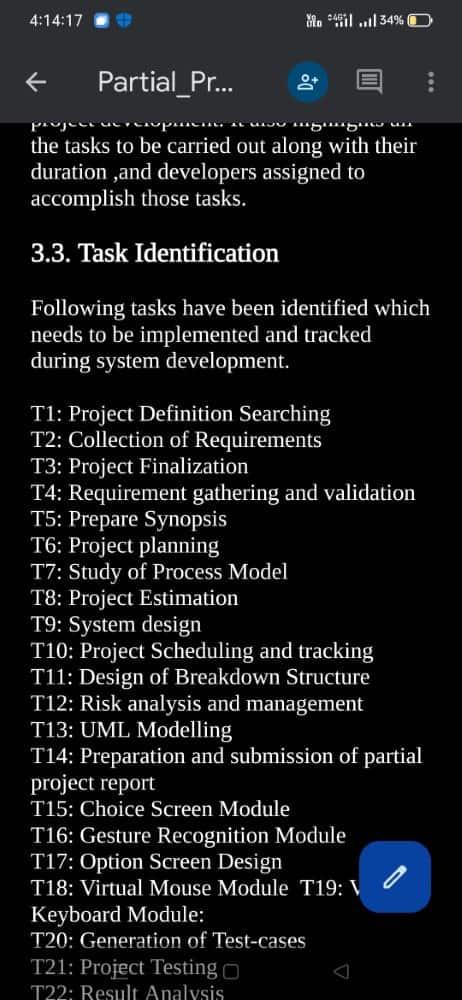 Opening the Document Step 3: Click on the Edit ButtonNow click on the Edit button, it will be visible on the bottom right corner of the mobile screen in blue color. 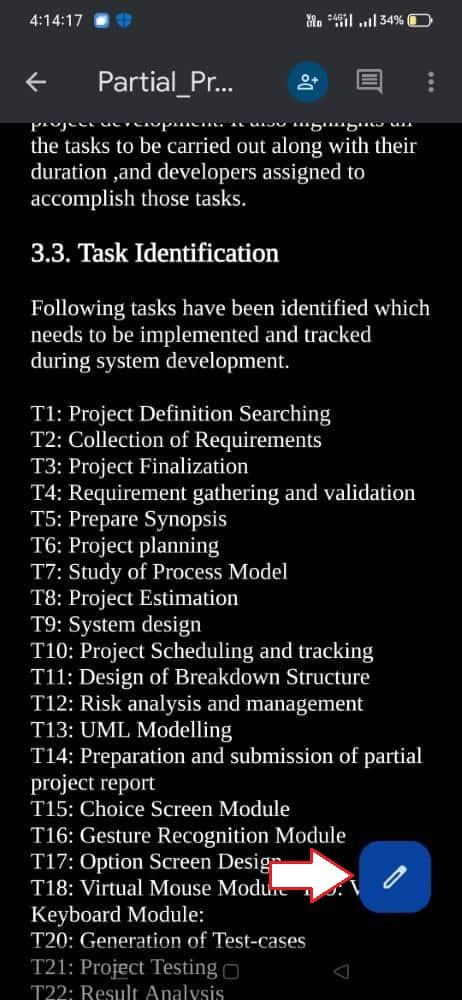 Clicking on Edit Icon Step 4: Choose Page Break LocationNow, it’s essential to select the specific area from which the page break will be applied. As shown in the screenshot below, you’ll notice that we’ve clicked on the text “3.3. Task Identification” to indicate where the page break is to be implemented. 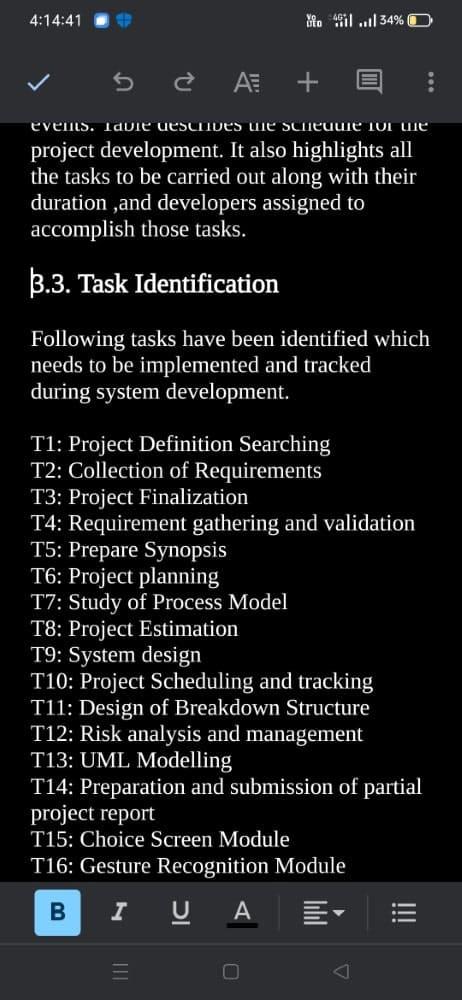 Selecting the Area Step 5: Click on (+) Icon and Select Page BreakOnce the page break location is chosen, the next step involves applying the page break itself. Click on the insert (+) icon, and from the dropdown menu, opt for the “Page break”. 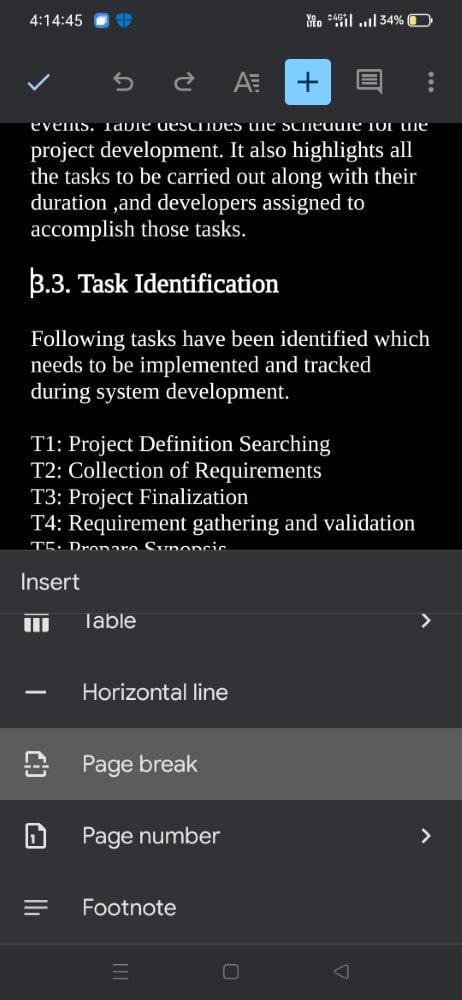 Clicking on the insert button and select the Page break option Step 6: Preview Page BreakUpon selecting the “Page Break” option, the page break will be implemented starting from the chosen area or text, as illustrated in the screenshot below. 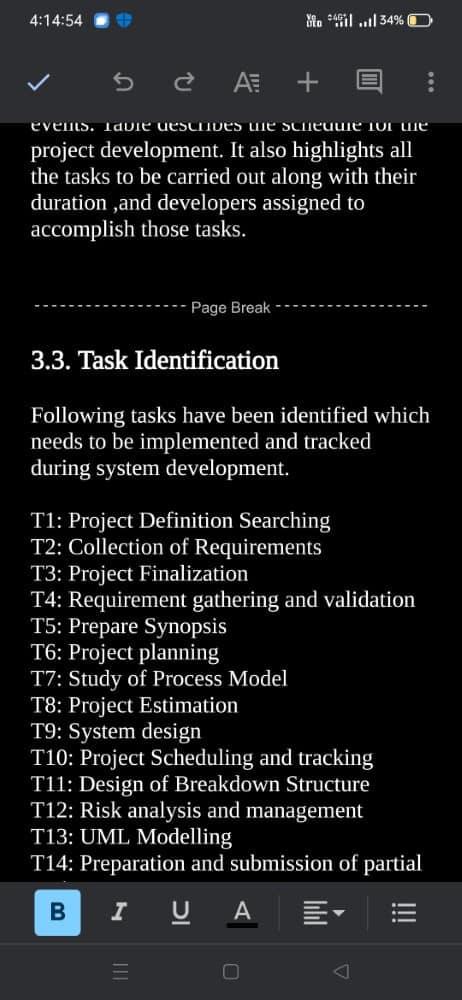 Page Break Applied Inserting Page Break in Google Docs On iPhone
How to Remove Page Breaks and Section Breaks in Google DocsStep 1: Open the DocumentWe need to open the document in which we need we need to delete the page and section break. We can open the existing document present on our Google Account, or we can also upload it from our local device.  Opening the Document Step 2: Navigate to the Break Section and Place the CursorOnce you’ve opened the document, navigate to the section where you’ve added a break. Then, position your cursor immediately after the page or section break. 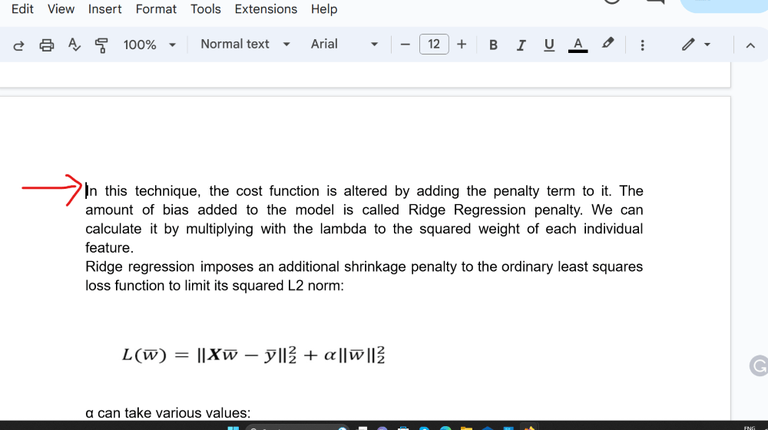 Placing the Cursor Step 3: Use the Backspace Key on WindowsAfter repositioning the cursor correctly, proceed to press the backspace key located on your keyboard. Keep pressing this key until the page break or section break is entirely removed from your document.
-768.png) Using Backspace Key to remove breakSHo ConclusionInserting page breaks in a Google document can significantly improve the readability and presentation of your main content. Utilizing this feature allows you to structure your document professionally, making it easier for readers to navigate and visualize the content. Page breaks can be added using both mobile devices and desktops. The steps outlined in this article will guide you through the process of inserting page breaks seamlessly, ensuring you encounter no difficulties or issues. How to Insert, Show, and Remove a Page Break and Section Breaks – FAQsDoes Page Break affect in printing of the document?
Can we move a page break after inserting it into the document?
Whether it is allowed to remove the page break after insertion?
What is the maximum number of page breaks that can be used in our document?
What Is the Shortcut for Page Break in Google Docs?
What Is the Difference Between a Page Break and a Section Break in Google Docs?
|
Reffered: https://www.geeksforgeeks.org
| Google Docs |
Type: | Geek |
Category: | Coding |
Sub Category: | Tutorial |
Uploaded by: | Admin |
Views: | 12 |