|
|
Vue.js is a JavaScript framework used in building powerful and beautiful user interfaces. The key feature of Vue.js is its component-based architecture that allows the developers to create reusable and modular components. Custom fonts can bring uniqueness and visual appeal to your Vue.js applications, enhancing the overall user experience. In this article, we’ll learn how to add custom fonts in Vuejs. Step for Creating VueJS Application and adding Custom FontsStep 1: Install Vue modules using the below npm command npm install vue
Step 2: Use Vue JS through CLI. Open your terminal or command prompt and run the below command. npm install --global vue-cli
Step 3: Create the new project using the below command vue init webpack vueproject
Step 4: Change the directory to the newly created project cd vueproject
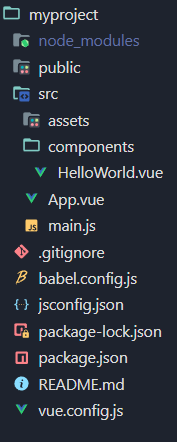
Step 5: Add the custom fonts (like Google Fonts) in public/index.html To use custom fonts in Vuejs, we are going to add Google fonts for now. The <link> tag consists of the font data, so we are going to add that inside the <head> tag in the index.html file. <link rel="preconnect" href="https://fonts.googleapis.com"> Step 6: Using fonts in Vue Js components .custom-font { Project StructureThe following project structure will be generated after completing the above-required steps:
Example 1: Below example demonstrates the use of custom fonts in Vue.js elements.
HTML
Javascript
Output:
Example 2: Below example demonstrates the use of google fonts in Vue.js input elements.
Javascript
Javascript
Output:
|


Reffered: https://www.geeksforgeeks.org
| JavaScript |
Type: | Geek |
Category: | Coding |
Sub Category: | Tutorial |
Uploaded by: | Admin |
Views: | 16 |