
|
|
Are you tired of Windows 10 updates interrupting your workflow or causing issues on your computer? Disabling Windows 10 updates permanently can help you take control over when and how updates are installed. Installing the Updates on Windows, consumes a lot of time & data to complete the whole process.
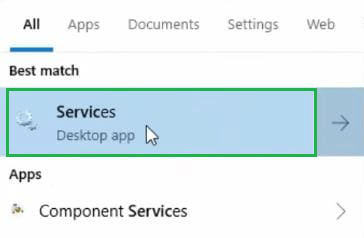
So, there is no doubt that you might think of Windows 10 Updates on the machine. We will now be discussing a list of required Methods to Disable Updates on Windows 10 without causing any errors. By following our methods, you can prevent automatic updates and ensure your system remains stable and uninterrupted. Methods To Stop Windows Update PermanentlyTo Permanently Turn Off Updates on Windows, the following guidelines should be used. We will stat with the Service Application first. Method 1: Stop Windows Update Permanently using ServicesStep 1: At first, open the Search Box & write down Services there. Now, the Service option will be available & click on it.
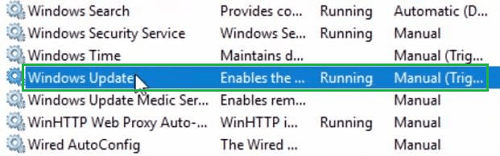
Step 2: A big list will appear in the next window. Search for the Windows Update option & right-click over there.
Step 3: A new popup window will be opened. From the Startup Type dropdown menu, select the Disable option. And just below it, click on the Stop button. In the end, click on the Apply button to save the changes.
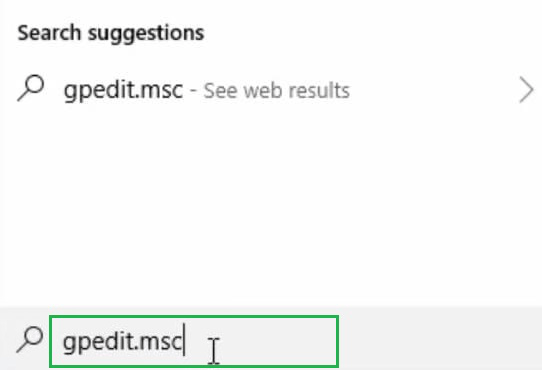
Hence, we have successfully stopped Windows 10 updates using the Services on the device. Method 2: Stop Windows Update Permanently using Group PolicyStep 1: Agin open the Search bar in Windows 10 & Search for the “gpedit.msc”. Just press Enter to move ahead.
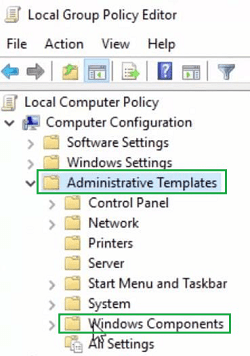
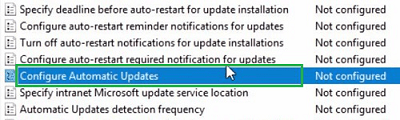
Step 2: Now, the window for the Group Policy will be opened. In the left sidebar, first, expand the Administrative Templates. And inside that, again expand the folder Windows Components.
Step 3: Now, on the right-hand side of the screen, double-click on the option Configure Automatic Update
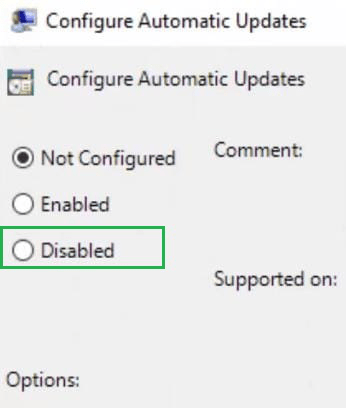
Step 4: On the left-hand side of the screen, three-button options are present. Click on the option Disable & close the windows.
Hence, we have successfully stopped Windows 10 updates using the Group Policy on the device. Method 3: Stop Windows Update Permanently using Register PolicyStep 1: To Stop Windows 10 from updating, run the “regedit” command in the Search Box on the device. Press Enter to move ahead.
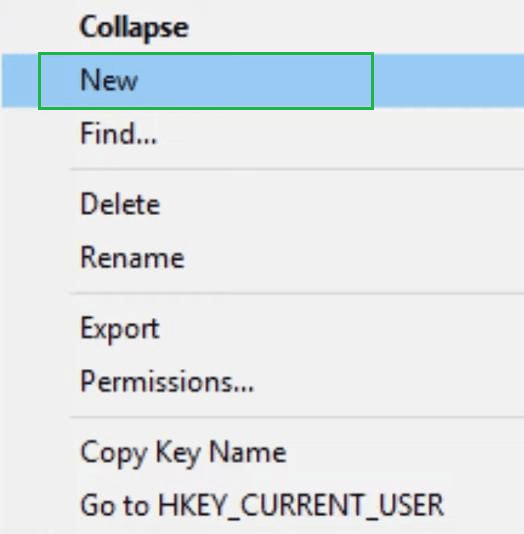
Step 2: Now, a new window will be opened & the below-mentioned path should be followed by expanding folders on the Left Hand Side of the Screen. After reaching the endpoint of the path, Right-click on the folder Windows. Some more options will be available. Among them click on the New option.
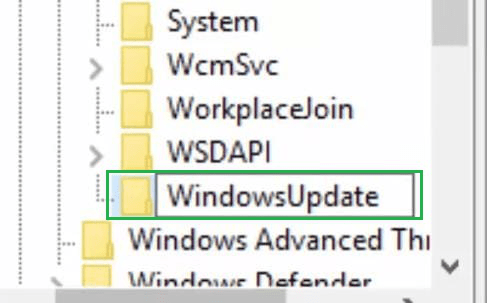
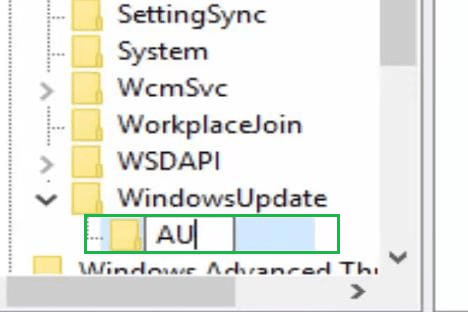
Step 3: A new subfolder will be created inside the Windows folder. Give the name “WindowsUpdate”.
Step 4: Inside the “WindowsUpdate” using the same process create another subfolder. And provide its name as “AU”.
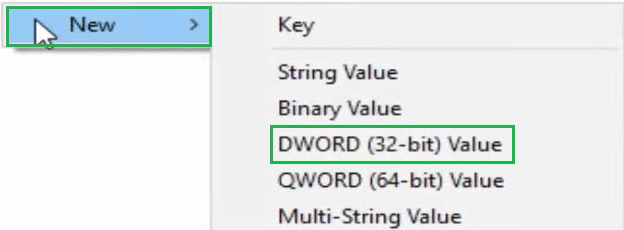
Step 5: On the right-hand side of the screen, right-click anywhere. Under the New option, select the option DWORD (32-bit) Value.
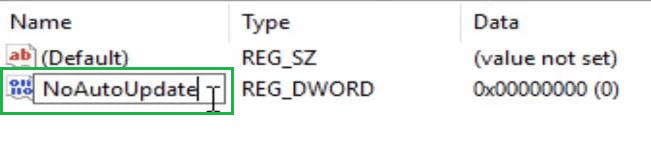
Step 6: Now, a new value will be added there & the value will be “NoAutoUpdate”. Then press Enter to save the changes & close all the windows.
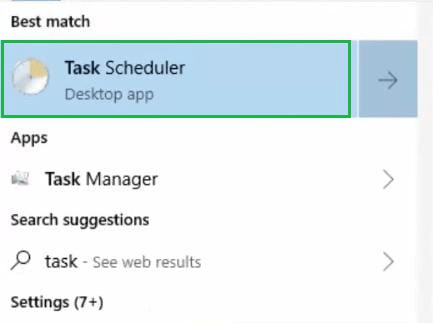
Hence, we have successfully stopped Windows 10 updates using the Register Policy on the device. Method 4: Stop Windows Update Permanently using Task SchedulerStep 1: To Stop Updating Windows 10, search for the Task Scheduler in the Search bar on the device. One option will be available with the same name, click on that to move ahead.
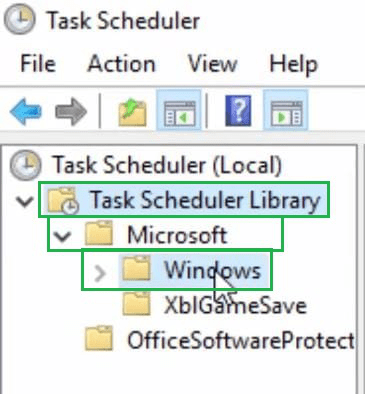
Step 2: On the left-hand side of the screen, expand the folder Task Scheduler Library. Under such folder, again expand the folder Microsoft. Inside the Microsoft folder, the Windows folder will be available.
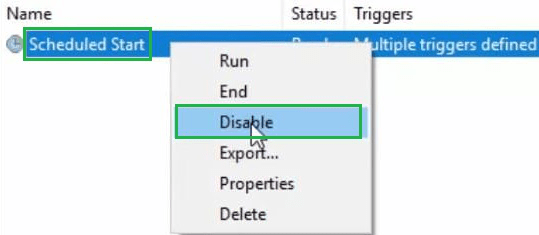
Step 3: In the right-hand side window, a Schedule Start option is present. Right-click on the option & click on the Disable option to complete the process.
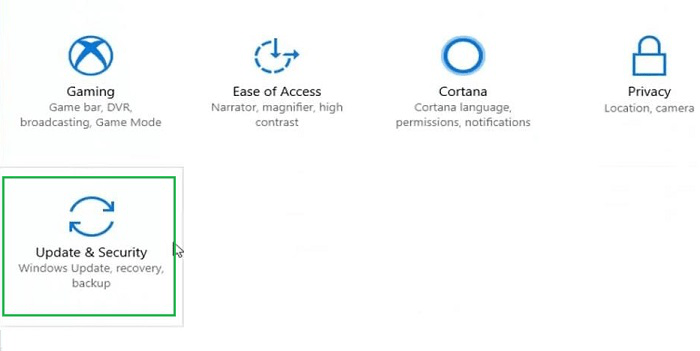
Hence, we have successfully stopped Windows 10 updates using the Task Scheduler on the device. Method 5: Stop Windows Update Permanently by Pausing UpdatesStep 1: Open the Settings. Inside the Setting window, click on the Update & Security option.
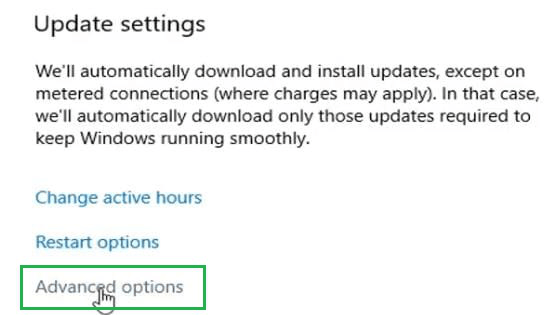
Step 2: In the next window, click on Advanced Options under the Update Settings.
Step 3: Inside the next window, the Pause Updates option will be available & enable the button. It will pause the updates in Windows 10 for 35 days.
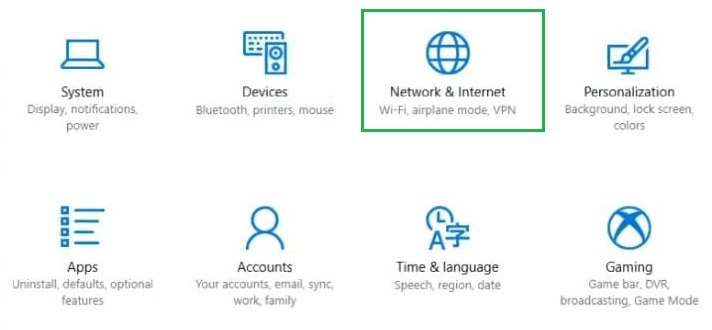
Hence, we have successfully stopped Windows 10 updates using the Pause method on the device. Method 6: Stop Windows Update Permanently using Metered ConnectionStep 1: At first, the Settings window will be opened. Then among so many options move for the Network & Internet option. Click on it to open.
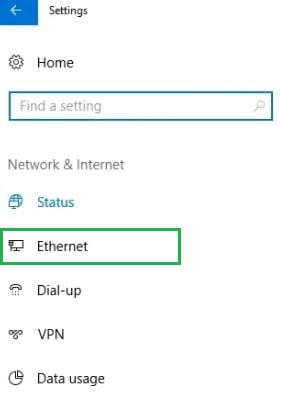
Step 2: In the next window, from the left-hand side click on the option Ethernet.
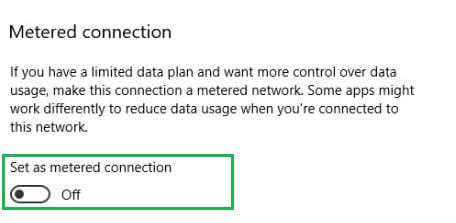
Step 3: On the next window, an option will be present as the Metered Connection. Enable the button present below.
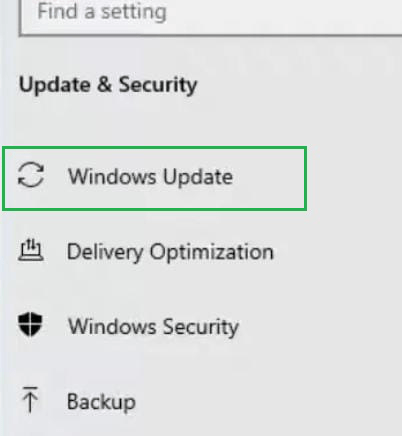
Hence, we have successfully stopped Windows 10 updates using the Metered Connection method on the device. Step 7: Stop Windows Update Permanently by Uninstalling UpdatesStep 1: In this case also, the Setitngs of the Windows will be opened. In that window, click on the Update & Security option.
Step 2: In the next window, in the left-hand sidebar, click on the option Windows Update from so many options present there.
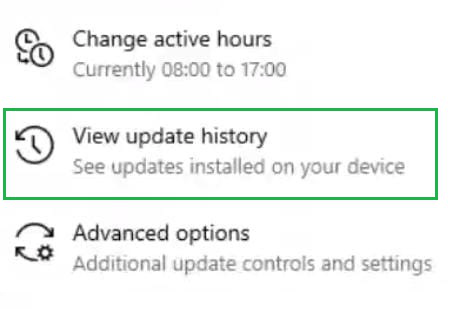
Step 3: After that, click on the View Update History option to move ahead.
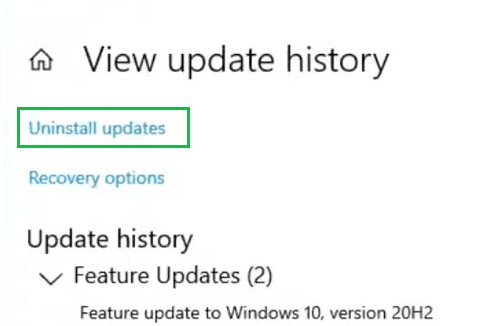
Step 4: In the next window, click on Uninstall Updates to remove the installed updates from the device.
Hence, we have successfully stopped Windows 10 updates by Uninstalling Updates from the device. ConclusionStopping Windows 10 updates permanently can give you greater control over your system and prevent unwanted disruptions. By using the methods outlined in this guide, you can disable Windows 10 updates and maintain a stable working environment. Remember to manually check for updates periodically to keep your system secure and up to date with essential patches. How to Stop Windows 10 Update Permanently – FAQsHow to Stop Windows Update Permanently?
How do I delete Windows Update files?
Do I need to mandatorily stop Windows updates?
|


Reffered: https://www.geeksforgeeks.org
| TechTips |
Type: | Geek |
Category: | Coding |
Sub Category: | Tutorial |
Uploaded by: | Admin |
Views: | 14 |