|
In this article, we will learn to set an image or icon as the <li> image. We need to set the size of the custom list image to make it attractive. So, we will also learn the different ways to resize the custom list image.
Syntax: In this article, we will use below CSS properties.
- background-image: We will add a custom image as a background image in the list items.
li::before {
    background-image: url("image_URL");
}
- background-size: It will be used to set the size of the background image.
li {
    background-size: 20px;
}
Approach 1: First, we will set the list-icon as background-image and we can customize its size using the height and width property.
Example: This example shows the use of the above approach.
HTML
<!DOCTYPE html>
<html lang="en">
<head>
<title>List icon</title>
<style>
li {
list-style: none;
}
/* Set the list image as background image*/
li::before {
content: '';
display: inline-block;
margin-right: 10px;
/* Height of the list image*/
height: 10px;
/* Width of the list image*/
width: 10px;
background-image: url(
}
</style>
</head>
<body>
<h1 style="color:green;">
GeeksforGeeks
</h1>
<ul>
<li>Geeks</li>
<li>for</li>
<li>Geeks</li>
</ul>
</body>
</html>
|
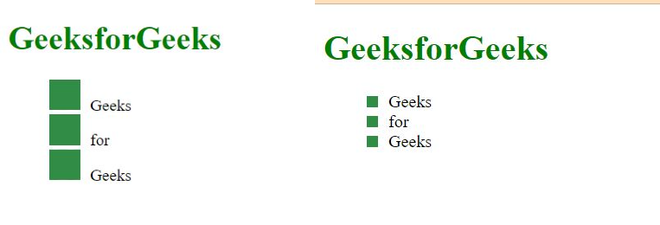
Output:
In the above output image, users can see the difference between the size of the list-style-image when we set sizes 30px and 10px.
Approach 2: In this approach, we will set the image size by using the background-size property for the <li> element.
Example: This example shows the use of the above approach.
HTML
<!DOCTYPE html>
<html lang="en">
<head>
<title>List icon</title>
<style>
/* Set the size of the list image using
the background-size property. */
li {
list-style: none;
padding: 10px 30px;
background-image: url(
background-repeat: no-repeat;
background-position: left center;
background-size: 20px;
}
</style>
</head>
<body>
<h1 style="color:green;">
GeeksforGeeks
</h1>
<ul>
<li>Geeks</li>
<li>for</li>
<li>Geeks</li>
</ul>
</body>
</html>
|
Output:
Users can see the above output image for the background-size: 20px.
Approach 3: We set a separate custom image for every list item and add style to that image.
Example: Here we are using the above-explained method.
HTML
<!DOCTYPE html>
<html lang="en">
<head>
<title>List icon</title>
<style>
li {
display: flex;
flex-direction: row;
list-style: none;
}
.listImage {
margin: 2px;
width: 20px;
height: 20px;
margin-right: 10px;
}
</style>
</head>
<body>
<h1 style="color:green">GeeksforGeeks</h1>
<ul>
<li>
<img src=
class="listImage">
Geeks
</li>
<li>
<img src=
class="listImage">
for
</li>
<li>
<img src=
class="listImage">
Geeks
</li>
</ul>
</body>
</html>
|
Output:
Users can see the above output after setup the custom image for every list item.
|

