|
|
ReactJS has gained significant popularity among developers for its efficient and reusable components, making it an ideal choice for building interactive and dynamic web applications. In this article, we will explore how to create a shopping cart application using ReactJS and discuss the importance of test case execution for ensuring the quality of our application. Let us see a shopping cart application using JSX as the frontend. It is an XML/HTML-like syntax widely got used by React that extends ECMAScript and hence XML/HTML-like text also can be applied with JavaScript/React code. Creating React App and Installing Modules: Step 1: Create the react application by using npx create-react-app <your foldername> Eg: npx create-react-app shoppingcart Step 2: Move to the folder cd shoppingcart Step 3: Install the required dependencies npm install @babel/core npm i babel-runtime#Here i stands for install npm i @testing-library/jest-dom npm i @testing-library/react npm i @testing-library/user-event npm i autoprefixer npm i enzyme npm i enzyme-adapter-react-16 npm i react npm i react-dom npm i react-scripts OR, Instead of doing one by one, we can specify everything inside the package.json as given below and from the command prompt we can give as: npm install It will take care of installing all the packages that got mentioned inside the dependencies. Packages that got used can be verified from package.json: package.json {
"name": "shoppingcart",
"version": "1.0.0",
"description": "shoppingcart",
"main": "app/main.jsx",
"scripts": {
"lint": "eslint 'app/**/*.@(js|jsx)'",
"test": "react-scripts test",
"start": "react-scripts start",
"build": "react-scripts build",
"eject": "react-scripts eject"
},
"dependencies": {
"babel-runtime": "~6.2.0",
"@testing-library/jest-dom": "^4.2.4",
"@testing-library/react": "^9.5.0",
"@testing-library/user-event": "^7.2.1",
"autoprefixer": "^9.8.0",
"enzyme": "^3.11.0",
"enzyme-adapter-react-16": "^1.15.5",
"react": "^16.14.0",
"react-dom": "^16.14.0",
"react-scripts": "3.4.3"
},
"eslintConfig": {
"extends": "react-app"
},
"browserslist": {
"production": [
">0.2%",
"not dead",
"not op_mini all"
],
"development": [
"last 1 chrome version",
"last 1 firefox version",
"last 1 safari version"
]
},
"keywords": [
"react",
"test",
"enzyme"
],
"pre-commit": [
"lint"
],
"devDependencies": {
"babel-eslint": "~4.1.6",
"chai": "^3.4.1",
"html-webpack-plugin": "^5.3.2",
"react-addons-test-utils": "^15.4.1",
"webpack": "^5.55.1",
"webpack-cli": "^4.8.0",
"webpack-dev-server": "^4.3.0",
"jsdom": "^7.2.2"
}
}
Project folder structure: The project should look like this:
Example: Let’s Start the project: App.js Javascript
App.css: For beautification of the project CSS
ItemJSON.js: As this project does not involve any database, let the items be picked from “ItemJSON.js”. It is under src >> app >> Items >> ItemJSON.js Javascript
Start The Application: Write the below command to start the application. The project starts in 3000 port npm start Output: 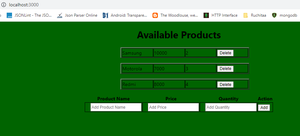
In continuation, the Required code can be found from App.jsx Javascript
List.jsx: We have the option to add the items as well as deletion the items Javascript
Output: 
On entering product details and clicking of “add” button, the below functionality occurs: Javascript
deletion of a product: Let us try to delete Redmi from the above list. Required code for doing deletion is in ListItems.jsx Javascript
Output: 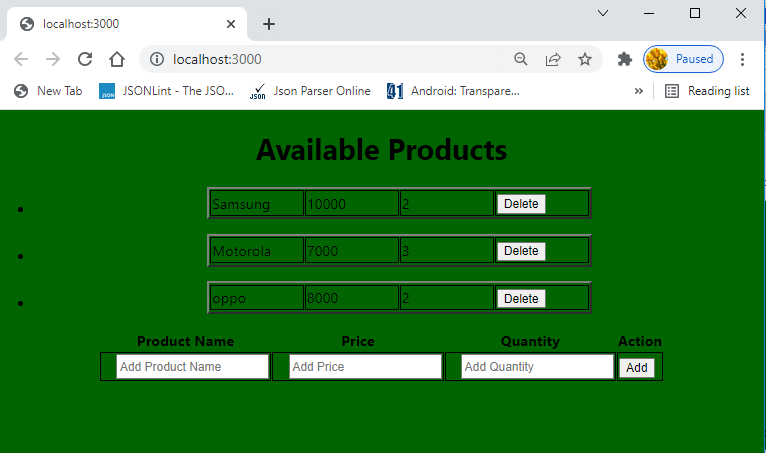
We can test the functionality of the project as below: App.test.js Javascript
The test script can be tested in the below way: npm test Output: 
|
Reffered: https://www.geeksforgeeks.org
| Geeks Premier League |
| Related |
|---|
| |
| |
| |
| |
| |
Type: | Geek |
Category: | Coding |
Sub Category: | Tutorial |
Uploaded by: | Admin |
Views: | 14 |