
|
|
Microsoft Azure virtual machines (VMs) provide scalable on-demand computing resources. Configuring the network settings of these virtual machines is important to ensure they communicate effectively and securely within your infrastructure. This article walks you through the basics and step-by-step procedures for setting up a network and provides examples and answers to frequently asked questions. Key pointsVirtual Network (VNet)
Subnet
Network Security Group (NSG)
Public IP address
Private IP address:
DNS (Domain Name System)
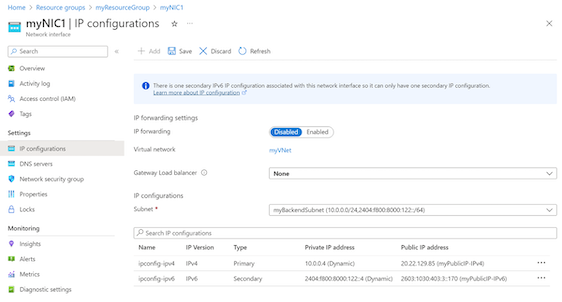
Network Interface (NIC)
Step by Step Process To Configuring Network Settings for Azure VMs1. Create a virtual network (VNet)
2. Create a Subnet

3. Set Up a Network Security Group (NSG)

4. Assign a public and private IP addressFor public IP, go to Create Settings > Network > Public IP Address. > Private IP addresses are assigned to subnet addresses. 
5. Configure DNS Settings

6. Create and configure the network interface (NIC)
Example ScenarioAssume you are running a web application on an Azure VM. You will configure a VNet with multiple subnets for frontend and backend services. Configure NSG to allow HTTP/HTTPS traffic to the frontend and deny access to the backend. Assign the front-end virtual machine a public IP for Internet access and use a private IP for back-end communication. Configuring Network Settings for Azure VMs – FAQsHow can I protect my Azure VM network traffic?
Can I change the IP address of an existing virtual machine?
What is the difference between public IP address and private IP address?
How can I assign an appropriate IP address to my Azure VM?
Can I use my own DNS server with Azure VM?
|
Reffered: https://www.geeksforgeeks.org
| DevOps |
Type: | Geek |
Category: | Coding |
Sub Category: | Tutorial |
Uploaded by: | Admin |
Views: | 16 |