
|
|
Spring Boot is a popular platform for developing Java-based web applications, known for its robust features and ease of use. Hostinger offers high-quality, affordable hosting that is well-suited for Spring Boot applications. This article will guide you through deploying your Spring Boot application on Hostinger. What is Hostinger?Hostinger is a web hosting company known for providing affordable, high-quality hosting services to many users. With features like fast loading speeds, reliable uptime, and 24/7 customer support, Hostinger caters to beginners and experienced developers. The platform supports various hosting options, including shared hosting, VPS hosting, and cloud hosting, making it a versatile choice for different types of projects, including Java-based applications.
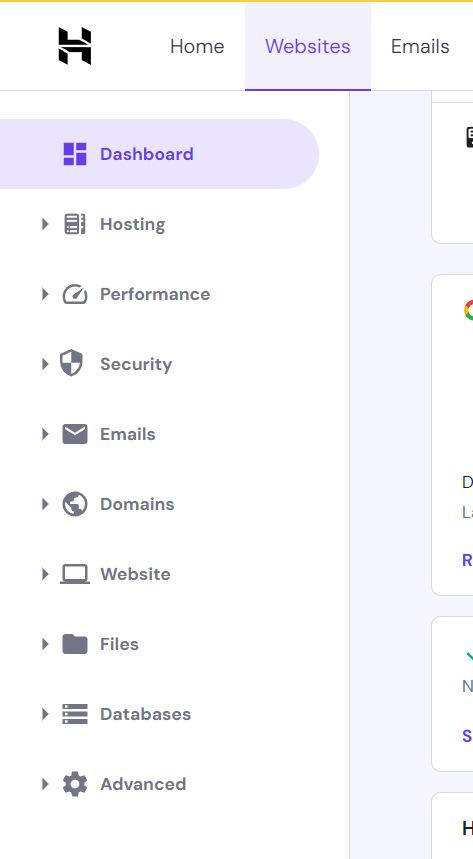
Steps to Install Spring Boot Application in HostingerStep 1: Build Your Spring Boot ApplicationFirst, you need to package your Spring Boot application. Depending on your deployment preference, you can create either a JAR or WAR file. Use the following Maven command to build the application: mvn clean packageThis command compiles your project and packages it into a Step 2: Access Hostinger Control PanelLog in to your Hostinger account and navigate to the control panel (hPanel).  Step 3: Upload the Application FileIn the hPanel, go to the File Manager and navigate to the 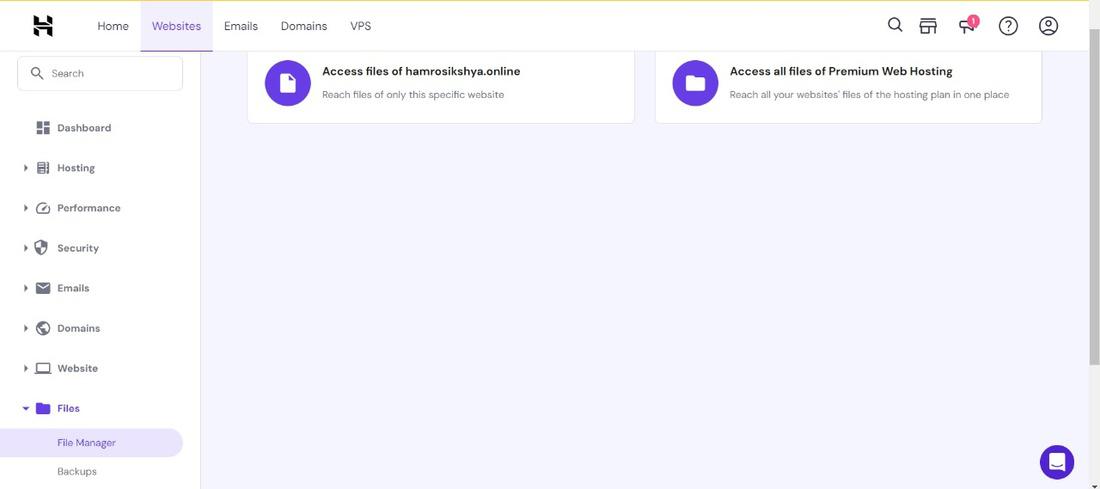 Go to the public_html directory. 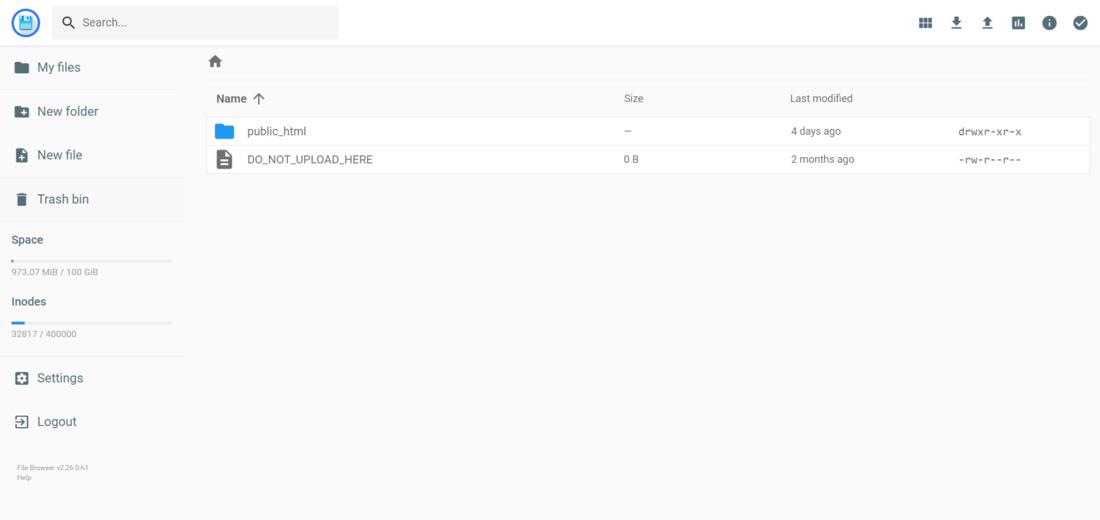 Upload your .jar or .war file to this directory. 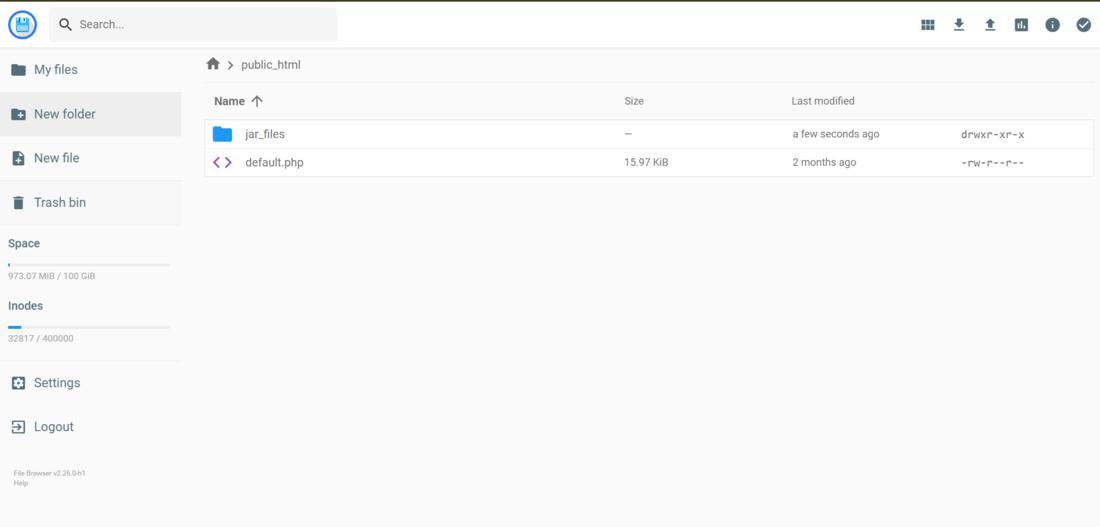 Step 4: Configure Java EnvironmentHostinger supports Java applications via the Java Web (Tomcat) option. If you haven’t configured this yet: 1. Go to Domains > Manage your Website. 
 3. Follow the on-screen instructions to set up the environment, ensuring that the appropriate version of Java is selected.  Step 5: Deploy the ApplicationAfter uploading your application file, go to the Java Applications section in the hPanel. Select the uploaded Step 6: Start the ApplicationOnce the deployment is complete, start the application from the Java Applications section. Check to ensure it runs without errors. Step 7: Access Your ApplicationYour Spring Boot application should now be accessible at  Example:Consider a simple Spring Boot application that provides a RESTful API. Here’s a basic example:
ConclusionDeploying a Spring Boot application to Hostinger is straightforward if you follow the steps outlined above. Hostinger’s reliable hosting services ensure your application runs smoothly. Remember to regularly update your application and monitor its performance to maintain optimal functionality. Install Spring Boot Application in Hostinger – FAQsWhat distinguishes a JAR file from a WAR file?
Can I run a Spring Boot application on Hostinger’s shared hosting?
How can I update my Spring Boot application on Hostinger?
Why won’t my application launch?
Can I use a custom domain for my Spring Boot application on Hostinger?
|
Reffered: https://www.geeksforgeeks.org
| Advance Java |
Type: | Geek |
Category: | Coding |
Sub Category: | Tutorial |
Uploaded by: | Admin |
Views: | 19 |