|
Matplotlib provides a collection of classes and functions that allow you to draw and manipulate various shapes on your plots. Whether you’re adding annotations, creating diagrams, or visualizing data, understanding how to use these tools effectively will enhance your ability to create compelling visualizations in Python.
Before we start drawing shapes, let’s review some basic concepts:
- Matplotlib: A comprehensive library for creating static, animated, and interactive visualizations in Python.
- Axes: The area on which you plot your data. Shapes are drawn on these axes.
- Patches: A collection of classes in Matplotlib used to draw shapes like rectangles, circles, and polygons.
Draw Shapes in Matplotlib1. Install MatplotlibFirst, ensure we have Matplotlib installed. we can install it using pip if you haven’t already:
pip install matplotlib 2. Import Required LibrariesStart by importing the necessary libraries:
Python
import matplotlib.pyplot as plt
from matplotlib.patches import Rectangle, Circle, Polygon
3. Create a Basic PlotSet up a basic plot where you can draw your shapes:
Python
4. Drawing ShapesA. Rectangle
To draw a rectangle, use the Rectangle class:
Python
rect = Rectangle((0.2, 0.2), width=0.5, height=0.3,
                 edgecolor='blue', facecolor='lightblue')
ax.add_patch(rect)
B. Circle
To draw a circle, use the Circle class:
Python
circle = Circle((0.5, 0.5), radius=0.2, edgecolor='red', facecolor='lightcoral')
ax.add_patch(circle)
C. Polygon
To draw a polygon, use the Polygon class:
Python
polygon = Polygon([(0.2, 0.2), (0.8, 0.2), (0.5, 0.8)],
                  edgecolor='green', facecolor='lightgreen')
ax.add_patch(polygon)
5. Customize and Display the Plot
Set the limits and aspect ratio to ensure your shapes are visible:
Python
ax.set_xlim(0, 1)
ax.set_ylim(0, 1)
ax.set_aspect('equal')
plt.grid(True)
plt.title('Drawing Shapes in Matplotlib')
plt.show()
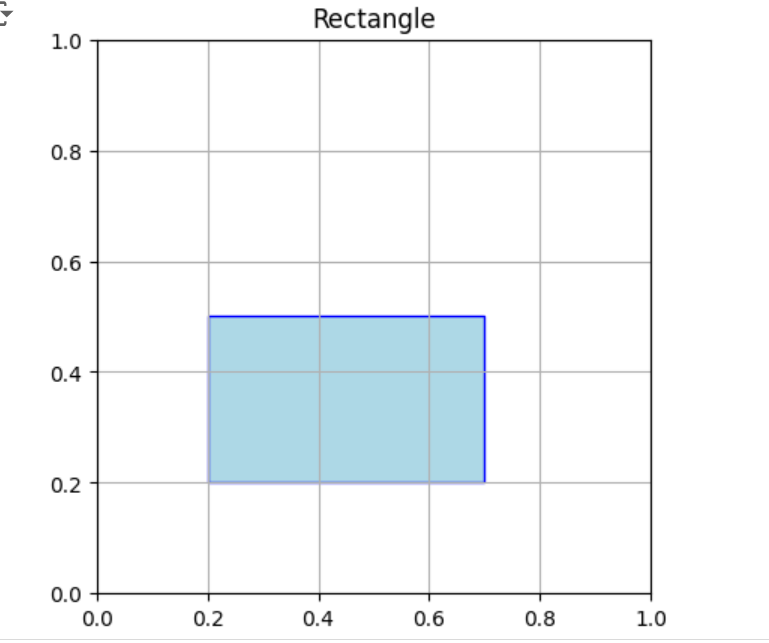
ExamplesExample 1: Rectangle
Python
import matplotlib.pyplot as plt
from matplotlib.patches import Rectangle

fig, ax = plt.subplots()
rect = Rectangle((0.2, 0.2), width=0.5, height=0.3, edgecolor='blue', facecolor='lightblue')
ax.add_patch(rect)
ax.set_xlim(0, 1)
ax.set_ylim(0, 1)
ax.set_aspect('equal')
plt.grid(True)
plt.title('Rectangle')
plt.show()
Output:
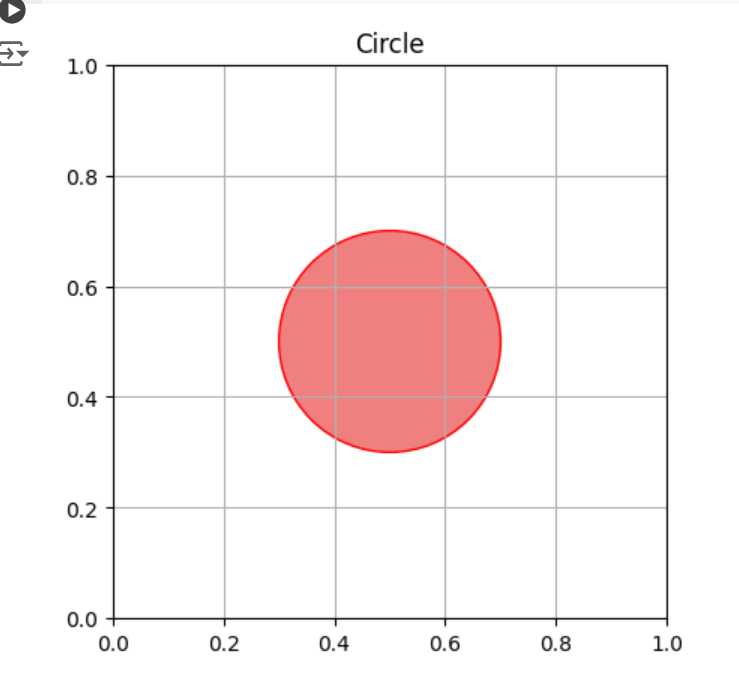
 Example 2: Circle
Python
import matplotlib.pyplot as plt
from matplotlib.patches import Circle

fig, ax = plt.subplots()
circle = Circle((0.5, 0.5), radius=0.2, edgecolor='red', facecolor='lightcoral')
ax.add_patch(circle)
ax.set_xlim(0, 1)
ax.set_ylim(0, 1)
ax.set_aspect('equal')
plt.grid(True)
plt.title('Circle')
plt.show()
Output:
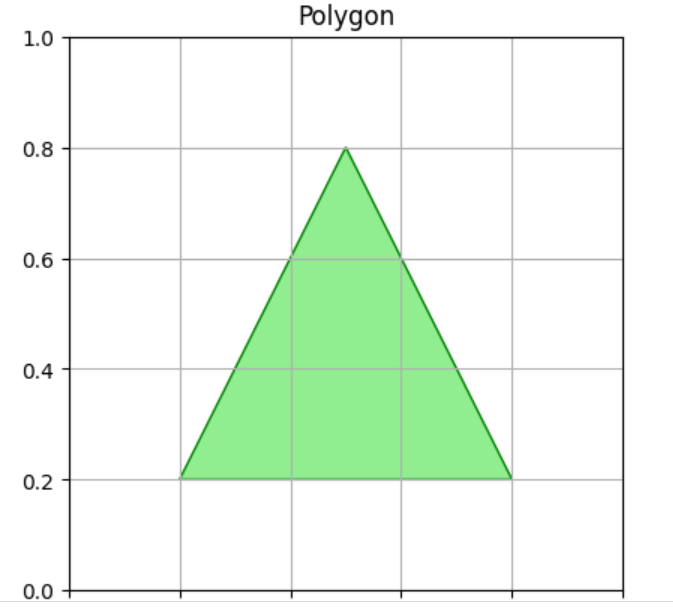
 Example 3: Triangle
Python
import matplotlib.pyplot as plt
from matplotlib.patches import Polygon

fig, ax = plt.subplots()
polygon = Polygon([(0.2, 0.2), (0.8, 0.2), (0.5, 0.8)], edgecolor='green', facecolor='lightgreen')
ax.add_patch(polygon)
ax.set_xlim(0, 1)
ax.set_ylim(0, 1)
ax.set_aspect('equal')
plt.grid(True)
plt.title('Polygon')
plt.show()
Output:
 ConclusionDrawing shapes in Matplotlib is simple and provides a wide range of options for creating and customizing displays. Using the Rectangle, Circle, and Polygon classes, you can add different shapes to your plots to help with data representation or visualization style. Experiment with various shapes and modification choices to see how they affect your data representations.
|