
|
|
Raspberry Pi OS is a simple lightweight operating system similar to UNIX which is specially designed for Raspberry Pi single-board computers. Usually, Raspberry PI OS is used in single-board hardware computers but here we will learn how we can install it in our windows with the help of a virtual box environment. Setting up Raspberry Pi in WindowsTo setup Raspberry Pi in Windows using the virtual box follow the below steps: First download and install the virtual box to set up a virtual environment for Raspberry Pi. Jump to step number 12 if you already have the virtual box installed in your systems. Step 1: Go to Google and search for virtual box. Then click on the following link
Step 2: Click on Downloads. 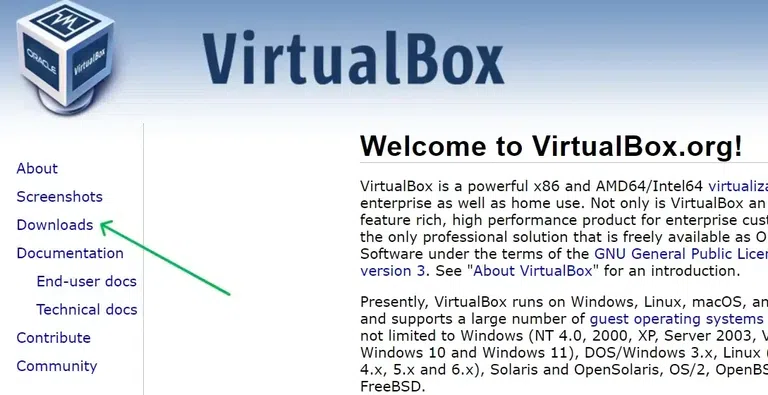
Step 3: Click on Window Hosts. The setup for virtual box will be downloaded on your systems. 
Step 4: Open the setup for the virtual box and click on next. 
Step 5: Now select the directory where you want to install the virtual box and then click on next. 
Step 6: Select these options and then click on next. 
Step 7: Click on yes to install the networking feature in the virtual box. 
Step 8: Now click on the install button to start the installation for the virtual box. 
Step 9: Click on the finish button to complete the installation and then open the virtual box environment. 
Step 10: The following screen will appear on your system, after the successful installation of the virtual box. 
Step 11: Now to download the ISO file for the raspberry pi OS go to google and search for raspberry pi desktop os and then click on the first link. 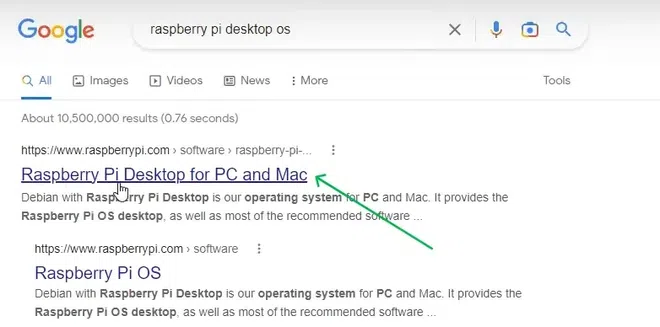
Step 12: Then click on the download button and save the ISO file in your systems. 
Step 13: Then open the virtual box manager and click on the add option. 
Step 14: Now name your operating system, here we have used the name raspbian you can use any name of your choice and then select the type as linux and version as debian(64-bit) and then click on the hardware tab. 
Step 15: Allocate the memory and processors for your OS according to your requirements. We have allocated 6Gb Ram as the total RAM available in our system is 16GB. Then click on the hardware tab to configure the hardware for the OS. 
Step 16: Allocate the size of the hard disk as per your requirements and select select the type of hard disk files as VDI and then click on finish. 
Step 17: The environment for your Raspberry Pi is set up successfully. Now it;s time to install the Raspberry Pi into the virtual box. 
Step 18: Click on the settings button. 
Step 19: Click on display and then allocate 128MB for the video memory and select graphics controller as VMSVGA and then click on ok to move forward. 
Step 20: Click on storage and select the optical drive as IDE Secondary Device 0. Then click on choose a disk file and select the ISO file you have downloaded for the raspberry pi os. 
Step 21: Then click on the start button to begin the installation of raspberry pi os. 
Step 22: Select the Graphical Install option from the menu. 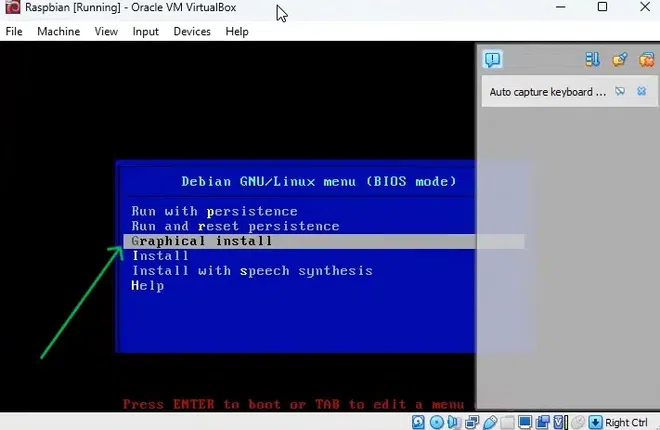
Step 23: Select your preferable language and then click on continue. 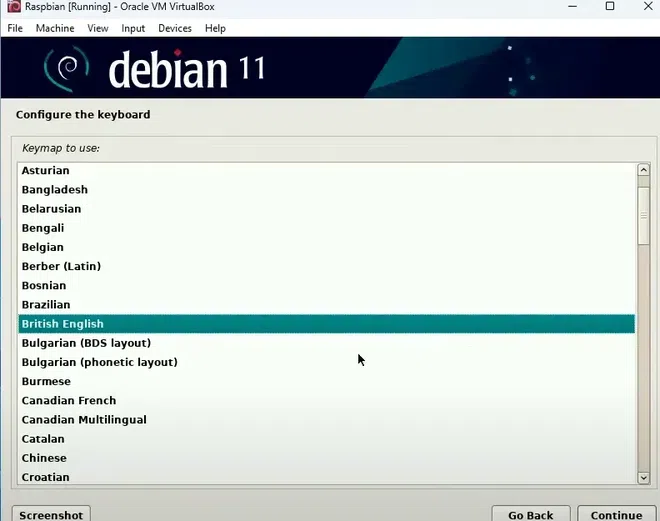
Step 24: Select the guided- use entire disk option and click on continue. 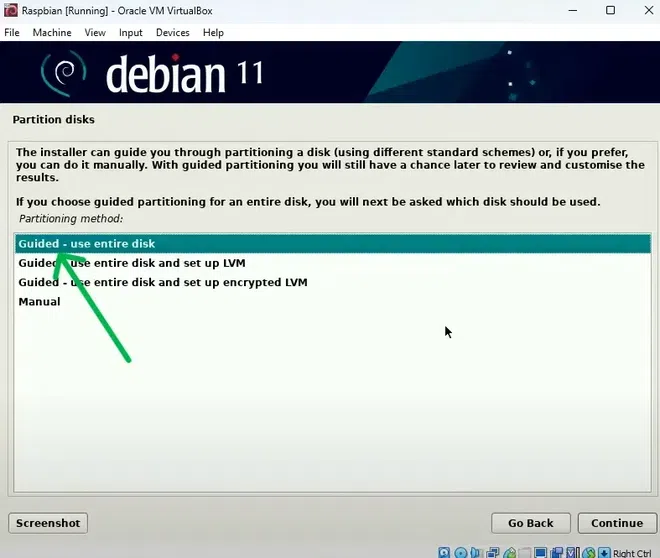
Step 25: Select the name of the harddisk you have allocated in the virtual box and then click on continue. 
Step 26: Select the following option and continue. 
Step 27: Select finish partitioning and write changes to disk option and then click on continue. 
Step 28: Select yes and then click on continue. 
Step 29: Wait until the installation is complete. 
Step 30: Click on yes to install the GRUB boot loader and then click on continue. 
Step 31: Select the harddisk and then continue. 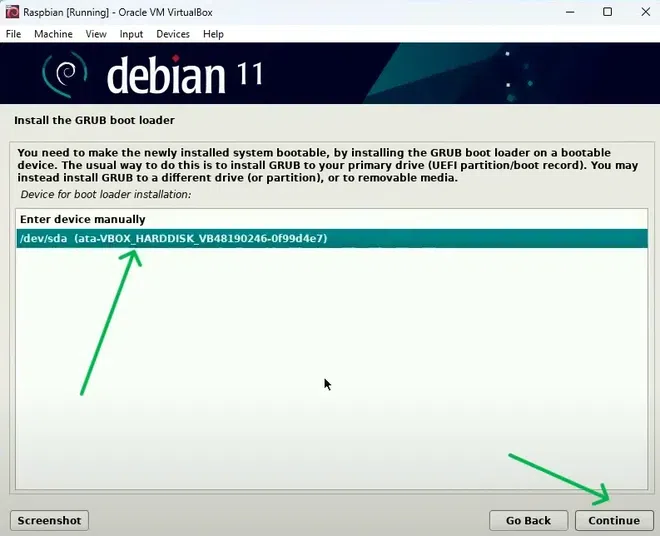
Step 32: Now click on continue to finish the installation. 
Step 33: Wait for few minutes and the Raspberry Pi os will be loaded automatically on the screen. 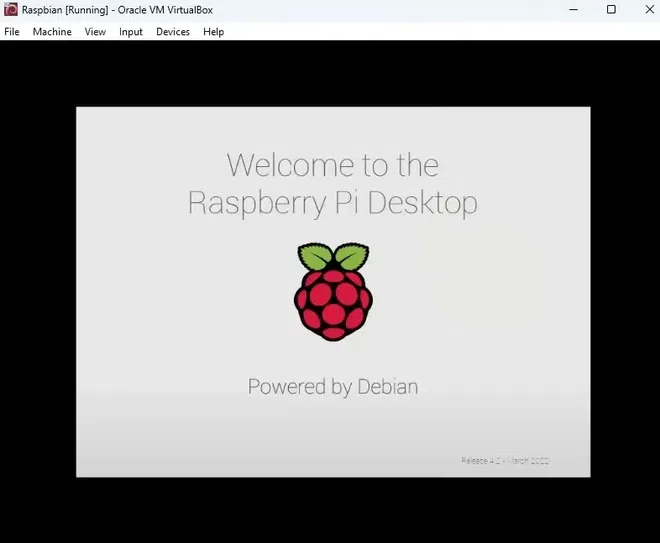
Step 34: Click on next to set up the Raspberry Pi Os. 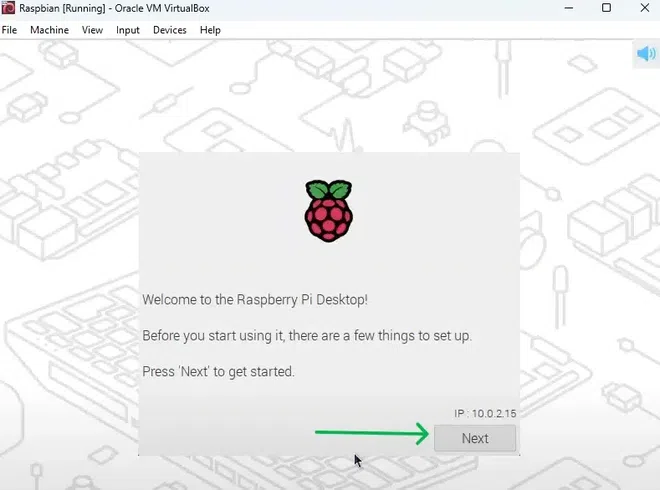
Step 35: Set your preferable country,language and the time zone and then click on next. 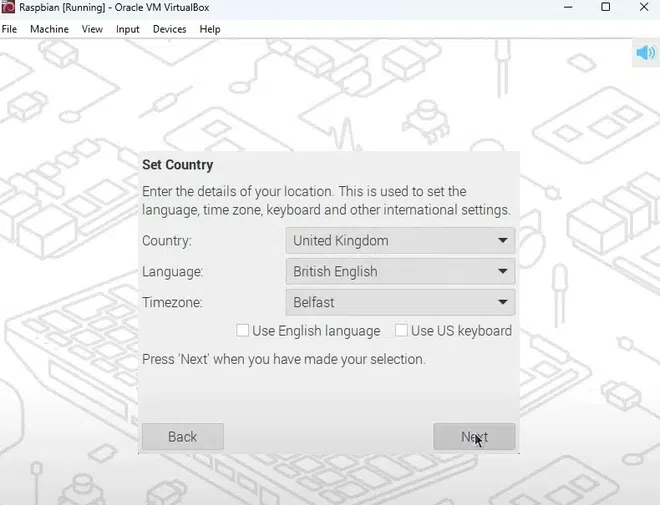
Step 36: Enter your credentials and then click on next. 
Step 37: Click on restart to load the Raspberry Pi Os properly. 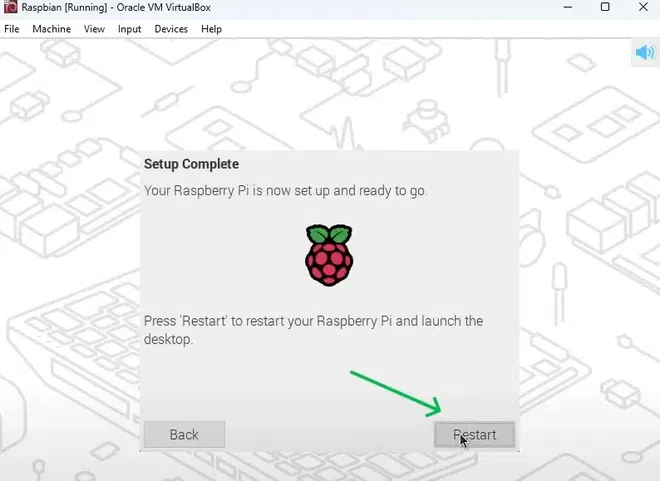
Step 38: If you have followed all of the above steps properly then the following window will appear in the virtual box and then you will be able to use the Raspberry Pi Os. 
Raspberry Pi setup in Windows – FAQsCan we run raspberry pi on my windows computer directly?
Are there any specific configuration settings for Raspberry Pi Windows setup tutorial?
What tools do I need for a Windows Raspberry Pi setup?
|
Reffered: https://www.geeksforgeeks.org
| Installation Guide |
Type: | Geek |
Category: | Coding |
Sub Category: | Tutorial |
Uploaded by: | Admin |
Views: | 15 |