|
|
NestJS is a progressive Node.js framework that simplifies the creation of server-side applications. Whether you’re building REST APIs, microservices, or GraphQL applications, NestJS offers a structured and modern approach to development. This article will guide you through the installation and initial setup of a NestJS project. Prerequisites
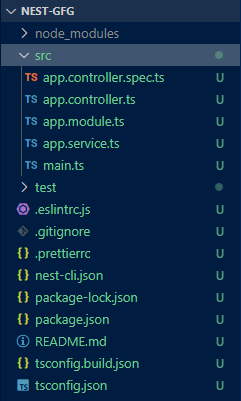
Steps to Install and Setup NestJS applicationStep 1: Install the Nest CLI The Nest CLI provides an efficient way to create and manage NestJS projects. To install the CLI globally, run the following command in your terminal: npm install -g @nestjs/cliYou can verify the installation by checking the CLI version: nest --versionStep 2: Create a New Project To create a new NestJS project, use the Nest CLI: nest new nest-gfgThe CLI will prompt you to choose a package manager (npm or yarn) for installing dependencies. After making your choice, the CLI sets up the project structure and installs the necessary packages. Navigate into your project directory: cd project-nameFolder StructureNestJS Folder Structure Dependencies"dependencies": { Key Files and Directories
Example: Here is a basic NestJS application Step 3: Run the Application To start the application, use the following command: npm run startBy default, the application runs on ‘http://localhost:3000’. You can also run the application in development mode with live reloading: npm run start:devThis mode watches for file changes and automatically restarts the server. Output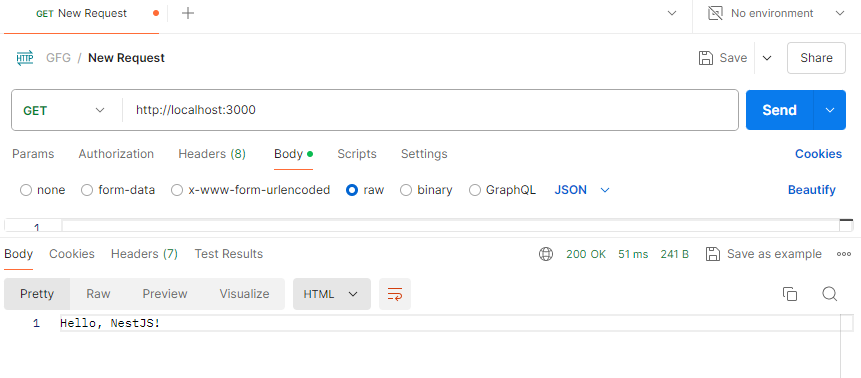 How To Install And Setup First NestJS Application Additional Tips and Best Practices1. Use TypeScript Features: Use TypeScript’s static typing and interfaces for more robust code. 2. Organize Your Code: Keep your code modular by creating separate modules for different features or domains. 3. Use DTOs: Use Data Transfer Objects (DTOs) to validate and transform incoming request data. 4. Enable CORS: Enable Cross-Origin Resource Sharing (CORS) if your application needs to interact with clients from different origins. 5. Security: Use guards and interceptors to handle authentication and authorization. |
Reffered: https://www.geeksforgeeks.org
| Web Technologies |
| Related |
|---|
| |
| |
| |
| |
| |
Type: | Geek |
Category: | Coding |
Sub Category: | Tutorial |
Uploaded by: | Admin |
Views: | 12 |