
|
|
In WordPress, a plugin is a small piece of software that adds specific features or functionalities to a WordPress website. Plugins allow users to extend and enhance the capabilities of their WordPress site without having to write code from scratch. They can be used to add a wide variety of features, such as contact forms, SEO tools, security enhancements, social media integrations, and more. PrerequisitesSteps for creating your own WordPress PluginStep 1: Setting Up Your EnvironmentBegin by setting up your local development environment. This allows you to develop and test your plugin safely before deploying it to a live site. I am using the XAMPP as my local development environment, which has the following interface after starting it.
Step 2: Login to WordPressAfter setup go to the WordPress login panel and enter the Username and Password to login into the wordpress admin Dashboard. You can access by entering the /wp-login.php at the end of url. Example: http://localhost/z/wp-login.php 
After login into WordPress, you will be able to see a dashboard like this: 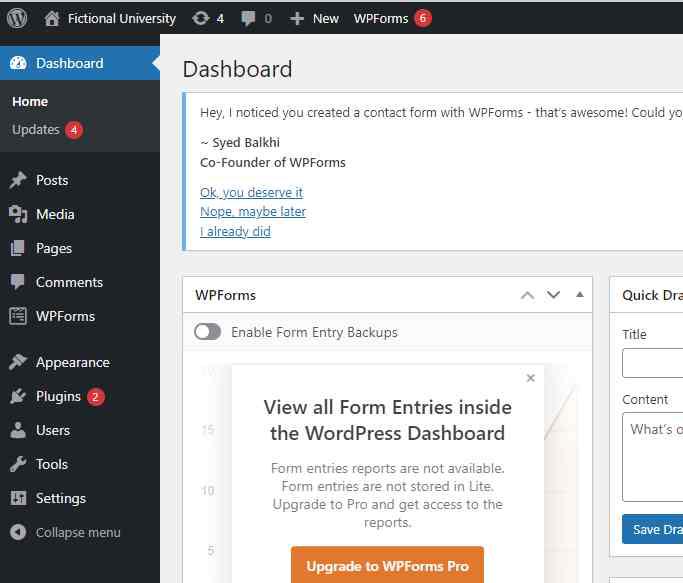
Step 3: Navigate to Your WordPress DirectoryGenerally its located at C:\xampp\htdocs\wordpress-folder-name Locate your Plugin directory C:\xampp\htdocs\wordpress-folder-name\wp-content\plugins Step 4: Create Your Plugin FolderAfter setting up the wordpress go to the following directory C:\xampp\htdocs\z\wp-content\plugins and in this plugin folder create the folder with the name which you want to give to your plugin. we have given the name as Custom-Plugin as you can se in the below image. 
Step 5: Create the Main Plugin FileInside your new plugin folder, create a PHP file. This file will serve as the main entry point for your plugin. For our example, create a file named custom-plugin.php. 
Step 6: Add the Plugin HeaderAt the top of your main plugin file(custom-plugin.php), add a plugin header comment. This comment block provides WordPress with essential information about your plugin: /* Step 7: Writing Your Plugin CodeWith the basics in place, it’s time to add functionality to your plugin. Here’s an example of a simple plugin that adds a shortcode to display “Hello, World!”: function my_custom_shortcode() { This code snippet creates a shortcode [hello_world] that outputs “Hello, World!” when used in a post or page. Step 8: Activate Your PluginTo see your plugin in action, you need to activate it. Go to your WordPress admin dashboard, navigate to the Plugins menu, find your plugin in the list, and click “Activate.” 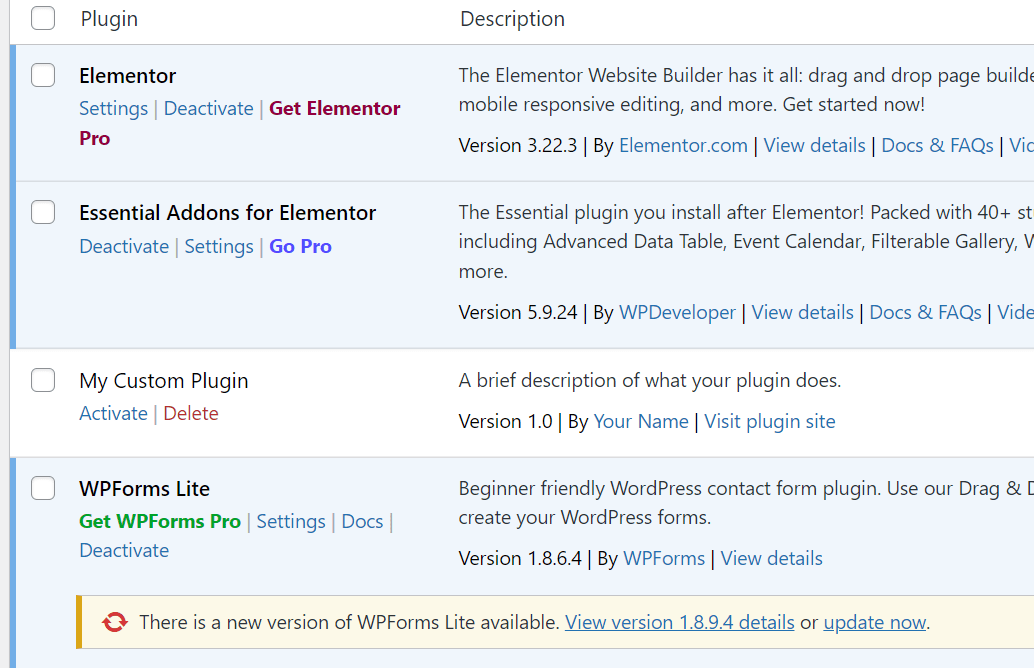
Step 9: Extending Your PluginYour plugin can do much more than just display text. You can extend its functionality in numerous ways:
Example: Adding a Settings Page, Here’s a more advanced example showing how to add a settings page to your plugin. // Add a menu item The above code will add the setting page in the admin bar as you can see in the below image. 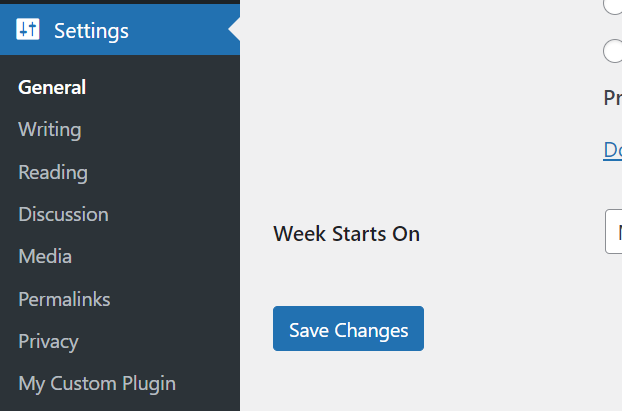
ConclusionBuilding a WordPress plugin involves creating a new plugin folder, writing your plugin code, adding functionality, and testing thoroughly. Whether you’re developing a simple shortcode or a complex application, the principles are the same. |
Reffered: https://www.geeksforgeeks.org
| Web Technologies |
Type: | Geek |
Category: | Coding |
Sub Category: | Tutorial |
Uploaded by: | Admin |
Views: | 16 |