|
WebSocket provides full-duplex communication channels over a single TCP connection, crucial for real-time applications like chat, gaming, and live data streaming. Load balancing WebSocket connections in Spring Boot ensures optimal performance and scalability by distributing incoming requests among multiple server instances.
Load balancing for the WebSockets in the Spring Boot can be achieved by using a load balancer like Nginx in front of the multiple instances of the Spring Boot application. The load balancer can distribute the incoming WebSocket connections among these instances, allowing them to handle the WebSocket traffic efficiently of the application.
Prerequisites:- Basic knowledge of the Spring Boot and WebSocket
- The Spring Boot application with WebSocket support
- Docker setup in your local system.
- Maven for building the project management
- JDK installed in your local system.
- Multiple instances of Spring Boot application running on different ports.
Implementation of Load Balancing for WebSockets in Spring BootStep 1: Create the Spring Boot ProjectCreate a new Spring Boot project with the following dependencies.
Dependencies:
- Spring Web
- Spring WebSocket
- Lombok
- Spring DevTools
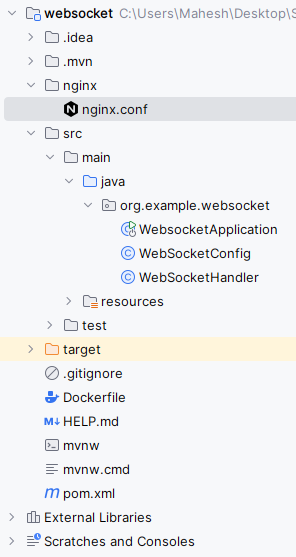
After the completion of spring project, the file structure will look like the below image.
Step 2: Application PropertiesUpdate application.properties to application.yml and configure the server port:
server:
  port: 8080
Step 3: Create the WebSocketConfig classDefine WebSocketConfig to configure WebSocket endpoints.
Go to src > main > java > org.example.websocket > WebSocketConfig and put the below code.
Java
package org.example.websocket;

import org.springframework.context.annotation.Configuration;
import org.springframework.web.socket.config.annotation.EnableWebSocket;
import org.springframework.web.socket.config.annotation.WebSocketConfigurer;
import org.springframework.web.socket.config.annotation.WebSocketHandlerRegistry;

@Configuration
@EnableWebSocket
public class WebSocketConfig implements WebSocketConfigurer {

    @Override
    public void registerWebSocketHandlers(WebSocketHandlerRegistry registry) {
        registry.addHandler(new WebSocketHandler(), "/ws")
                .setAllowedOrigins("*");
    }
}
Step 4: Create the WebSocketHandler classImplement WebSocketHandler to handle WebSocket messages.
Go to src > main > java > org.example.websocket > WebSocketHandler and put the below code.
Java
package org.example.websocket;


import org.springframework.web.socket.WebSocketSession;
import org.springframework.web.socket.handler.TextWebSocketHandler;
import org.springframework.web.socket.TextMessage;

public class WebSocketHandler extends TextWebSocketHandler {

    @Override
    protected void handleTextMessage(WebSocketSession session, TextMessage message) throws Exception {
        String payload = message.getPayload();
        session.sendMessage(new TextMessage("Hello, " + payload + "!"));
    }
}
Step 5: Main classNote: No changes are required in the main class.
Java
package org.example.websocket;

import org.springframework.boot.SpringApplication;
import org.springframework.boot.autoconfigure.SpringBootApplication;

@SpringBootApplication
public class WebsocketApplication {

    public static void main(String[] args) {
        SpringApplication.run(WebsocketApplication.class, args);
    }

}
Step 6: Create Index Html pageCreate index.html in src/main/resources/static/ for WebSocket client.
Go to src > main > resource > static > index.html and put the below html code.
HTML
<!DOCTYPE html>
<html>
<head>
    <title>WebSocket Chat</title>
    <style>
        body {
            font-family: Arial, sans-serif;
            margin: 20px;
        }
        #chatbox {
            width: 400px;
            padding: 10px;
            border: 1px solid #ccc;
            border-radius: 5px;
            background-color: #f9f9f9;
            margin-bottom: 20px;
            overflow-y: scroll;
            height: 300px;
        }
        input[type="text"] {
            padding: 5px;
            width: 300px;
        }
        button {
            padding: 5px 10px;
            background-color: #007bff;
            color: white;
            border: none;
            border-radius: 3px;
            cursor: pointer;
        }
    </style>
    <script>
        var ws;
        function connect() {
            ws = new WebSocket("ws://" + window.location.host + "/ws");
            ws.onmessage = function(event) {
                var messages = document.getElementById('messages');
                messages.innerHTML += '<div>' + event.data + '</div>';
                messages.scrollTop = messages.scrollHeight;
            };
        }
        function sendMessage() {
            var input = document.getElementById('message');
            if (input.value.trim() !== '') {
                ws.send(input.value);
                input.value = '';
            }
        }
        document.addEventListener('DOMContentLoaded', function() {
            connect();
            document.getElementById('sendButton').addEventListener('click', function() {
                sendMessage();
            });
            document.getElementById('message').addEventListener('keypress', function(event) {
                if (event.keyCode === 13) {
                    sendMessage();
                }
            });
        });
    </script>
</head>
<body>
<div id="chatbox"></div>
<input type="text" id="message" placeholder="Enter your message..." autocomplete="off"/>
<button id="sendButton">Send</button>
</body>
</html>
Step 7: Create the Docker fileCreate Dockerfile to package the Spring Boot application.
FROM openjdk:17
COPY target/websocket-loadbalancer-example.jar websocket-loadbalancer-example.jar
EXPOSE 8080
ENTRYPOINT ["java", "-jar", "websocket-loadbalancer-example.jar"]
Step 8: Create Nginx Configuration FileCreate nginx.conf for Nginx configuration.
events {
    worker_connections 1024;
}

http {
    upstream websocket_servers {
        server app1:8080;
        server app2:8081;
    }

    server {
        listen 80;

        location / {
            proxy_pass http://websocket_servers;
            proxy_http_version 1.1;
            proxy_set_header Upgrade $http_upgrade;
            proxy_set_header Connection "Upgrade";
            proxy_set_header Host $host;
        }
    }
}
pom.xml:
XML
<?xml version="1.0" encoding="UTF-8"?>
<project xmlns="http://maven.apache.org/POM/4.0.0" xmlns:xsi="http://www.w3.org/2001/XMLSchema-instance"
         xsi:schemaLocation="http://maven.apache.org/POM/4.0.0 https://maven.apache.org/xsd/maven-4.0.0.xsd">
    <modelVersion>4.0.0</modelVersion>
    <parent>
        <groupId>org.springframework.boot</groupId>
        <artifactId>spring-boot-starter-parent</artifactId>
        <version>3.3.0</version>
        <relativePath/> <!-- lookup parent from repository -->
    </parent>
    <groupId>org.example</groupId>
    <artifactId>websocket</artifactId>
    <version>0.0.1-SNAPSHOT</version>
    <name>websocket</name>
    <description>websocket</description>
    <properties>
        <java.version>17</java.version>
    </properties>
    <dependencies>
        <dependency>
            <groupId>org.springframework.boot</groupId>
            <artifactId>spring-boot-starter-web</artifactId>
        </dependency>
        <dependency>
            <groupId>org.springframework.boot</groupId>
            <artifactId>spring-boot-starter-websocket</artifactId>
        </dependency>

        <dependency>
            <groupId>org.springframework.boot</groupId>
            <artifactId>spring-boot-devtools</artifactId>
            <scope>runtime</scope>
            <optional>true</optional>
        </dependency>
        <dependency>
            <groupId>org.projectlombok</groupId>
            <artifactId>lombok</artifactId>
            <optional>true</optional>
        </dependency>
        <dependency>
            <groupId>org.springframework.boot</groupId>
            <artifactId>spring-boot-starter-test</artifactId>
            <scope>test</scope>
        </dependency>
    </dependencies>

    <build>
        <plugins>
            <plugin>
                <groupId>org.springframework.boot</groupId>
                <artifactId>spring-boot-maven-plugin</artifactId>
                <configuration>
                    <excludes>
                        <exclude>
                            <groupId>org.projectlombok</groupId>
                            <artifactId>lombok</artifactId>
                        </exclude>
                    </excludes>
                </configuration>

            </plugin>

        </plugins>
        <finalName>websocket-loadbalancer-example</finalName>
    </build>

</project>
Step 10: Build and Run the ApplicationBuild the Spring Boot application and Docker image, then run instances.
Build and Package:mvn clean package Output: 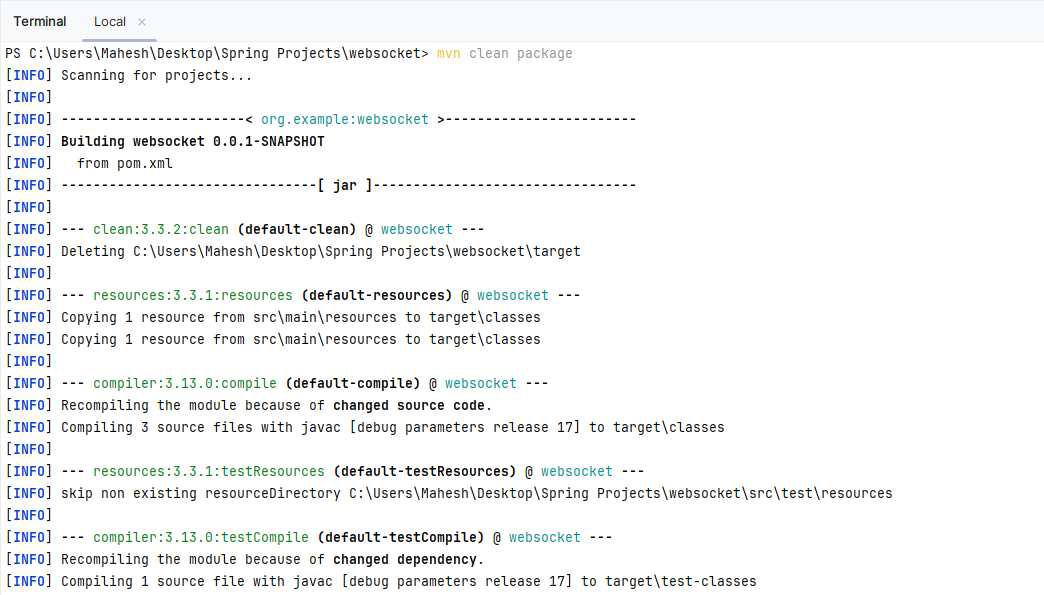
Build Docker Image:docker build -t websocket-loadbalancer-example . Output: Run Docker Instances:Instance 1:docker run -d --name app1 websocket-loadbalancer-example Instance 2:docker run -d --name app2 websocket-loadbalancer-example Output:
Step 11: Run Nginx with DockerPull and run Nginx with the custom configuration file.
pull nginx:docker pull nginix Output: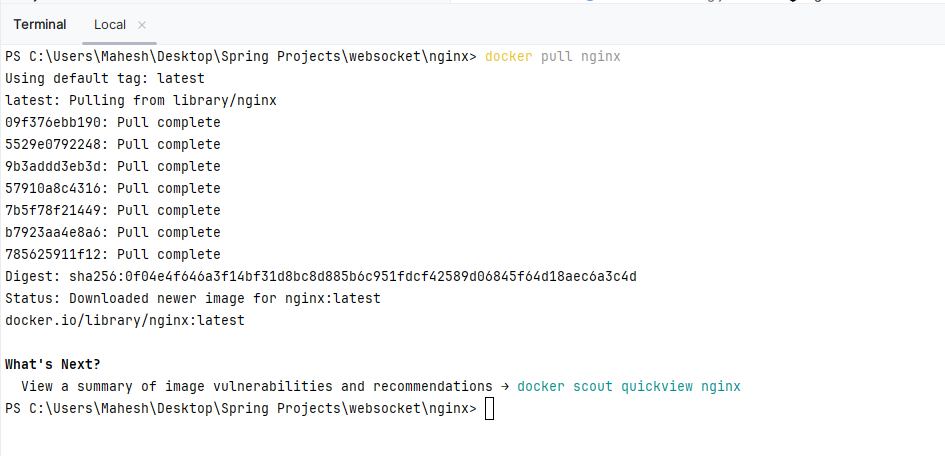
WebSocket loadbalancer using nginxdocker run -d -p 8080 -V "c:\\file_path_of_nginx_config" --name nginx:latest Output:
App Instances logs:Output: ConclusionLoad balancing WebSocket connections in the Spring Boot is essential for the handling the high and ensuring the optimal performance. By using the load balancer in front of the multiple instances of the Spring Boot application. We can distribute the WebSocket traffic efficiently and improve the scalability of the application.
|