|
|
Spring WebFlux is a part of the Spring Framework that supports reactive programming, enabling non-blocking asynchronous request handling. When developing web applications with Spring WebFlux, securing the application is a crucial aspect to ensure unauthorized access is prevented. This article provides a comprehensive example of integrating Spring Security with Spring WebFlux to secure web applications. Spring Security provides a robust framework for securing Java applications, including support for authentication and authorization. Integrating Spring Security with Spring WebFlux involves configuring security filters, defining user roles, and setting up authentication mechanisms such as form login and basic authentication. Implementation of Security with Spring Security and Spring WebFluxBelow are the implementation steps to secure the Spring WebFlux application with Spring Security. Step 1: Create the Spring ProjectCreate a new Spring Boot project using Spring Initializr and add required dependencies,
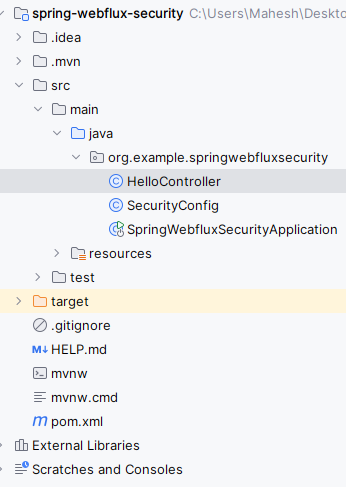
After the project creation done, the folder structure will be like below:. Step 2: Configure the Application propertiesOpen the application.properties file and add the configuration for the application name and server port. spring.application.name=spring-webflux-security
server.port=8080Step 3: Create the Security Configuration class.Now, we will create the SecurityConfig class to configure Spring Security. Go src > org.example.springwebfluxsecurity > SecurityConfig and put the below code. Step 4: Create the Controller class.We will create one controller class named HomeController, that will create the secure REST API. Go src > org.example.springwebfluxsecurity > HomeController and add the below code. Step 5: Main Class(No Changes are required)Go src > org.example.springwebfluxsecurity > SpringWebFluxSecurityApplication and see the below code. Step 6: Run the ApplicationNow, we will run our application and it will start at port 8080. 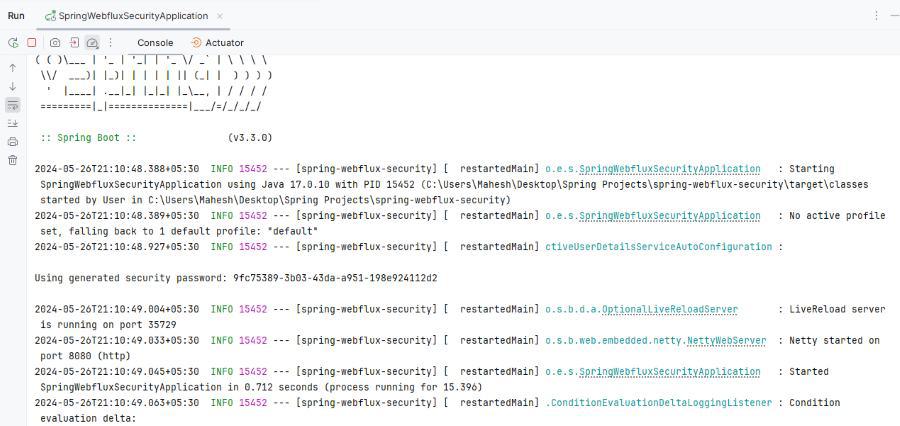 Step 7: Testing the ApplicationPublic Endpoint: http://localhost:8080/public/helloOutput: Private Endpoint: http://localhost:8080/private/helloOutput: Once we enter the user credentials of the application then it redirects to the private endpoint.  |
Reffered: https://www.geeksforgeeks.org
| Advance Java |
| Related |
|---|
| |
| |
| |
| |
| |
Type: | Geek |
Category: | Coding |
Sub Category: | Tutorial |
Uploaded by: | Admin |
Views: | 11 |