|
|
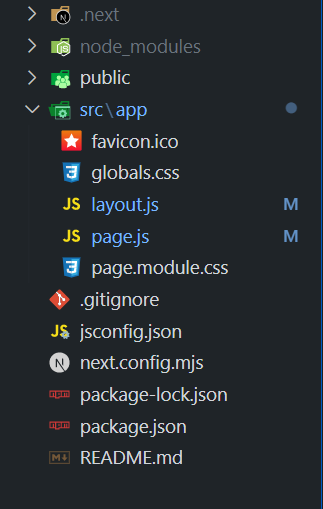
In Next.js, loading external URL images is important because it allows developers to incorporate dynamic content and enrich user experiences by displaying images from various sources seamlessly within their applications. In this article, we will explore two different approaches to loading NextJS Images from an External URL, which are mentioned below. Table of Content Steps to Create the Next.js ApplicationStep 1: Set up React Project using the Command: npx create-next-app external-imageStep 2: Navigate to the Project folder using: cd external-imageProject Structure: The updated dependencies in package.json file will look like: "dependencies": { Approach 1: Using next/Image ComponentTo load images from an external URL using Next.js’ next/image component. The Image component in nextjs accepts src url, alt, height, width and other attributes link image. Just add the url and it will render the required image. Example: The below example uses the next/Image Component to Load NextJS Images from an External URL. Step to run the application: Now run the application with the below command: npm run devOutput:
Approach 2: Using an <img> TagIn this approach, we are using React state (useState) to manage the image source (imageSrc) dynamically based on user button clicks, allowing the loading of external images into a <img> tag within a Next.js application. Example: The below example uses the <img> Tag to Load NextJS Images from an External URL. Step to run the application: Now run the application with the below command: npm run devOutput:
|
Reffered: https://www.geeksforgeeks.org
| ReactJS |
Type: | Geek |
Category: | Coding |
Sub Category: | Tutorial |
Uploaded by: | Admin |
Views: | 15 |