.png)
|
|
Migrating from Create React App (CRA) to Next.js involves transitioning from a client-side rendered React application to a framework that offers server-side rendering, static site generation, and built-in routing capabilities. This guide provides a step-by-step approach to help you effectively migrate your project and take advantage of Next.js’s powerful features. Steps to Migrate from React App to Next JSStep 1: Initialize React ProjectRun the following command in your terminal: npx create-react-app myReactAppOnce the installation is complete, you will see a message : Happy hacking!Step 2: Switch to Project directoryNow we can navigate into the project: cd myReactAppStep 3: Run the projectUse the below command to run the project npm run startThis will produce the following message: Starting the development server… This means the local server is up and running and once you open your browser and navigate to http://localhost:3000, you should see your React application: -min-660.png) Project Structure :
Step 4: Remove react scriptsFirst uninstall react-scripts dependencies which was installed with the create-react-app tool. npm uninstall react-scriptsStep 5: Install Next.js dependenciesNow we will install the “next” dependency. Run the following command in your terminal : npm install nextAfter this we need to change the scripts inside the package.json file. Head to your package.json file and locate the “scripts” object. It should look something like this : 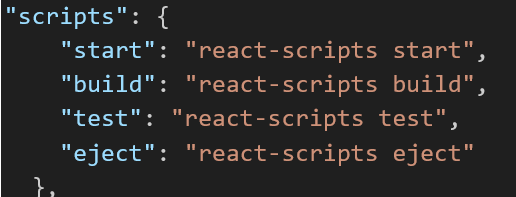 old package.json Change it and add NextJS scripts as follows :  new package.json Step 6: add TypeScript supportWe also need to install typescript which is the default language for NextJs apps. npm install -g typescriptAfter this, run the following command in your terminal which will create a tsconfig.json file, required for running the TypeScript code: tsc --initIn the end your package.json file should look like this: "dependencies": { Step 7: Set up project componentsCreating Pages:
Step 9: Define custom componentComponents in NextJs create a components folder in the root level of the project and add a file called “myButton.tsx” inside it, which will have the following simple piece of code :
Output: Navigate to “http://localhost:3000/about” in your web browser and it should look like this : 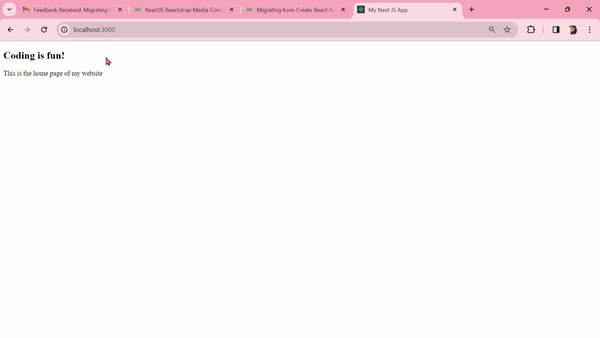 ConclusionMigrating from Create React App to Next.js involves transitioning to a more powerful framework that offers server-side rendering, static site generation, and improved routing. By following this guide, you can systematically migrate your application, leveraging Next.js’s features to enhance performance and user experience. |
Reffered: https://www.geeksforgeeks.org
| Geeks Premier League |
Type: | Geek |
Category: | Coding |
Sub Category: | Tutorial |
Uploaded by: | Admin |
Views: | 14 |