|
In this article, we will walk through the step-by-step process of creating and styling social icons in your React Native app. React Native emerges as a robust framework for building cross-platform applications effortlessly. By incorporating social icons into your React Native app. Social icons have become incredibly common in the realm of modern app design. They serve as convenient tools for users to quickly share, connect, and engage with content. By seamlessly integrating these icons into your React Native app, you can significantly enhance its user experience and actively encourage interaction.
Pre-requisitesSteps to Create React Native ApplicationStep 1: Create a React Native Application With Expo CLI By Using This Commands
Create a new React Native project for RadioButtonApp.
npx create-expo-app <<Project Name>> Step 2: Change the directory to the project folder:
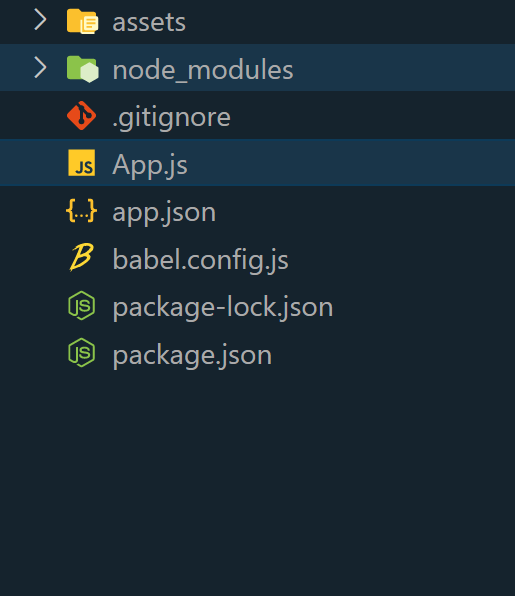
cd <<Project Name>> Project Structure:

Step 3: Installing and Configuring react-native-vector-icons
For the purpose of this guide, we’ll focus on using the react-native-vector-icons library. Install it using the following command:
npm install react-native-vector-icons Approach:- Captivating social icons can be seamlessly integrated into a React Native app using the react-native-vector-icons library.
- We need to install and configure react-native-vector-icons before proceeding to create a custom component that encapsulates both the icons themselves and their respective functionalities.
- For an added aesthetic appeal, these icons can be stylishly designed to complement the overall visual experience of the app. It is important to ensure that all the icons are appropriately organized within a central container.
Example:
JavaScript
import React from 'react';
import { View, TouchableOpacity, StyleSheet } from 'react-native';
import Icon from 'react-native-vector-icons/FontAwesome';

const SocialIcon = ({ name, onPress }) => {
    return (
        <TouchableOpacity onPress={onPress}
                          style={styles.iconContainer}>
            <Icon name={name}
                  size={30}
                  color="#ffffff" />
        </TouchableOpacity>
    );
};

const SocialIconsScreen = () => {
    const socialIcons = [
        { name: 'facebook', onPress: () => alert('Facebook icon pressed') },
        { name: 'twitter', onPress: () => alert('Twitter icon pressed') },
        { name: 'youtube', onPress: () => alert('YouTube icon pressed') },
        { name: 'instagram', onPress: () => alert('Instagram icon pressed') },
        { name: 'linkedin', onPress: () => alert('LinkedIn icon pressed') },
        { name: 'github', onPress: () => alert('GitHub icon pressed') },
        { name: 'pinterest', onPress: () => alert('Pinterest icon pressed') },
        // Add more social icons here
    ];

    return (
        <View style={styles.container}>
            <View style={styles.socialIconsContainer}>
                {socialIcons.map((icon, index) => (
                    <SocialIcon key={index}
                                name={icon.name}
                                onPress={icon.onPress} />
                ))}
            </View>
        </View>
    );
};

const styles = StyleSheet.create({
    container: {
        flex: 1,
        justifyContent: 'center',
        alignItems: 'center',
        backgroundColor: '#f5f5f5',
    },
    socialIconsContainer: {
        flexDirection: 'column',
        justifyContent: 'center',
        alignItems: 'center',
        marginBottom: 40,
        backgroundColor: '#3b5998',
        padding: 20,
        borderRadius: 10,
        shadowColor: 'black',
        shadowOffset: {
            width: 0,
            height: 2,
        },
        shadowOpacity: 0.50,
        shadowRadius: 3.85,
        elevation: 18,
    },
    iconContainer: {
        marginHorizontal: 15,
        padding: 20,
    },
});

export default SocialIconsScreen;
Step 4: To start the React Native application, open the Terminal or Command Prompt and type the following command:
npx expo start To run on Android:
npx react-native run-android To run on Ios:
npx react-native run-ios Output:
|
