|
|
Google Fonts is a widely used popular library of open-source web fonts that provides a vast collection of typefaces to enhance the visual appeal of web applications. Google Fonts provides a vast collection of free and high-quality fonts that can easily be integrated into your React applications. In this React Google Fonts article, we will cover different methods to add custom fonts (Google font) to your React application. Before adding custom fonts to your project, you should be familiar with the concepts below. PrerequisitesWhy Use Google Fonts?Google Fonts offers several benefits:
Steps to Add Google Fonts to Your React ProjectThere are different methods to add custom fonts to your React Project: Adding the Google fonts in the React application is very easy and we will see the steps to add Google fonts to React project. But first, let us quickly see how to create a React application. Manually add Google fontsManually add Google Fonts in React by including the link tag with the Google Fonts URL in the public/index.html file’s <head> section, then apply the font using CSS in React components. Steps to Manually use Google Fonts in React:Step 1: Select a Google Font from their website. Visit the link- Browse Fonts - Google Fonts and select the font you want to add. Here we are using the Monsterrat Font for instance. Step 2: Integrating the font into React Copy the <link> tag of the font into the public/index.html file of your React app to use in our project:
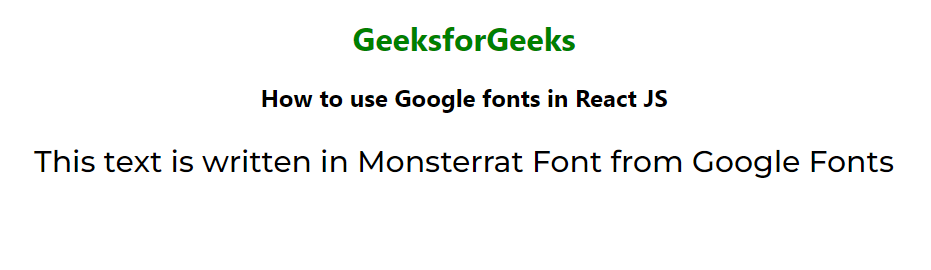
Step 3: Use the Imported Fonts body { Example 1: The below example demonstrates the use of Google fonts in specific react elements. Step to run the application: Open the terminal and type the following command. npm start Output:
Using styled-components LibraryUtilize the styled-components library in React to apply Google Fonts by defining component styles and specifying the desired font-family property using the font import syntax. To Install the Required Module, use this command in the terminal npm i styled-components The Updated dependencies in package.json file. "dependencies": { Example 2: This example demonstrates the usage of the styled-components library in the React app. Step to run the application: Open the terminal and type the following command. npm start Output:
Using @import inside CSSDirectly import the required fonts in the CSS file using the @import command Step 2: Use the Imported Fonts body { Step to run the application: Open the terminal and type the following command. npm start Common Errors While Using Custom Font in ReactSome common errors faced by developers while adding custom fonts to their React projects are: 1. Font Not Found or not loadingCustom font may not be applied to the application because of font file error. Check if the font file path is correct and if the font file is imported correctly. 2. Using Unsupported Font FormatsReact primarily supports .ttf and .otf files. Make sure to convert unsupported file types before adding them to your project. 3. Font Loading DelayInitially, the application displays default fonts and later changes it to the custom font. You can try optimizing fonts or preloading them. 4. Performance IssuesLarge custom font files can impact the application’s performance. Make sure to compress large font files before using or using font optimization. 5. Platform Specific ErrorsEach platform (android and IOS ) has different font handling operations. Some fonts may not be compatible with Android or IOS. Follow specific guidelines for each platform. ConclusionIntegrating Google Fonts into your React project is a straightforward process that can significantly enhance the visual appeal of your application. By following the steps outlined in this guide, you can easily add any Google Font to your React app and customize it to fit your design needs. |

Reffered: https://www.geeksforgeeks.org
| ReactJS |
Type: | Geek |
Category: | Coding |
Sub Category: | Tutorial |
Uploaded by: | Admin |
Views: | 11 |