|
|
Sourcetree is a powerful Git client that provides a graphical interface to manage your repositories. It’s especially helpful for those who prefer a visual approach to version control over using the command line. If you’re a macOS user looking to streamline your Git workflow, installing Sourcetree is a great choice. In this guide, we’ll walk you through the steps to install Sourcetree on macOS. Why Use Sourcetree?
Features of SourceTree
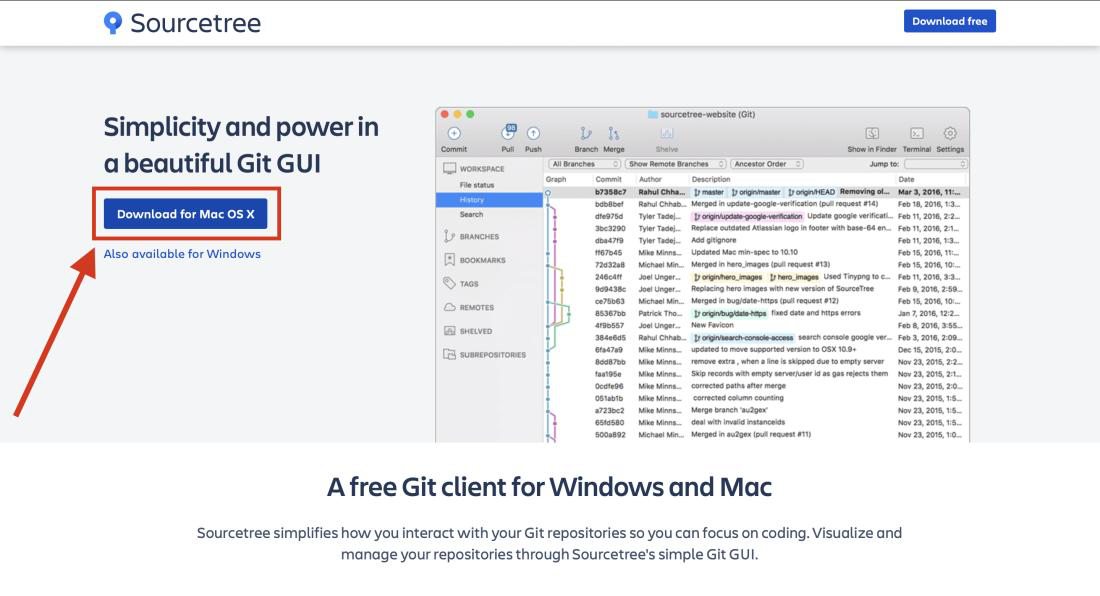
Installing sourcetree for git in MacOSTo install the sourcetree for git in MacOS follow the following steps: Step 1: To download the latest release of SourceTree from its official website. Step 2: Click on the Download for Mac OS X button and read their policy and click agree and click download once again.
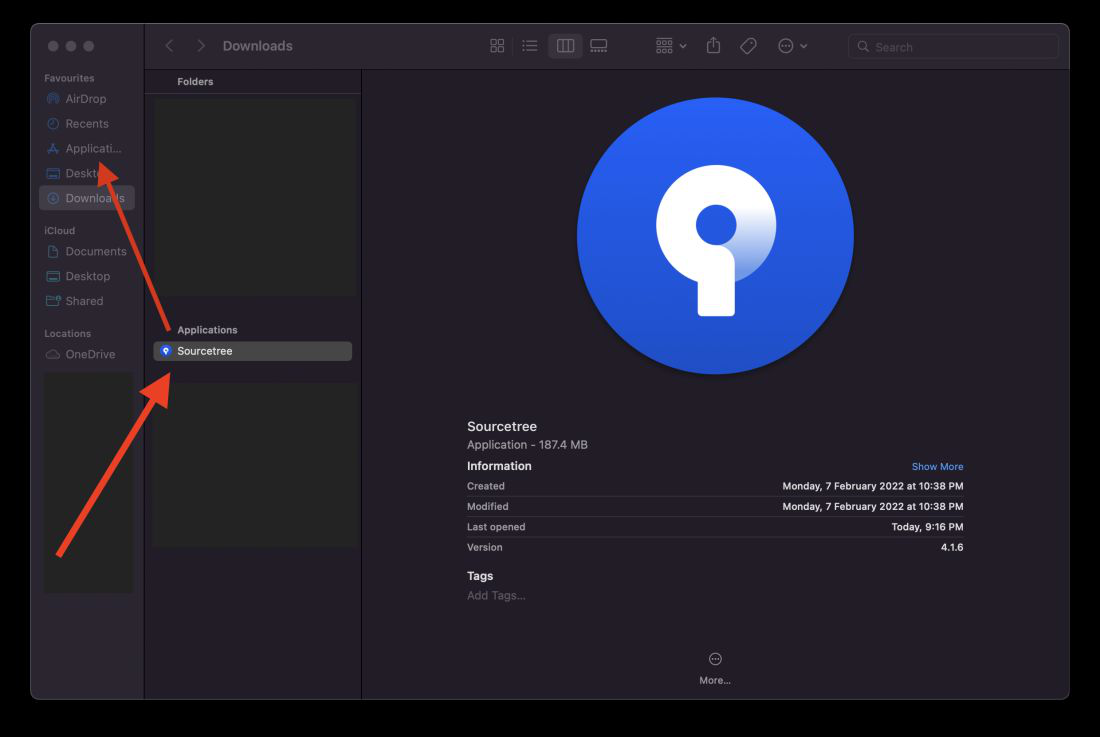
Step 3: The application will be downloaded to your downloads folder. Then drag and drop it to your Application folder to add it to the Launchpad.
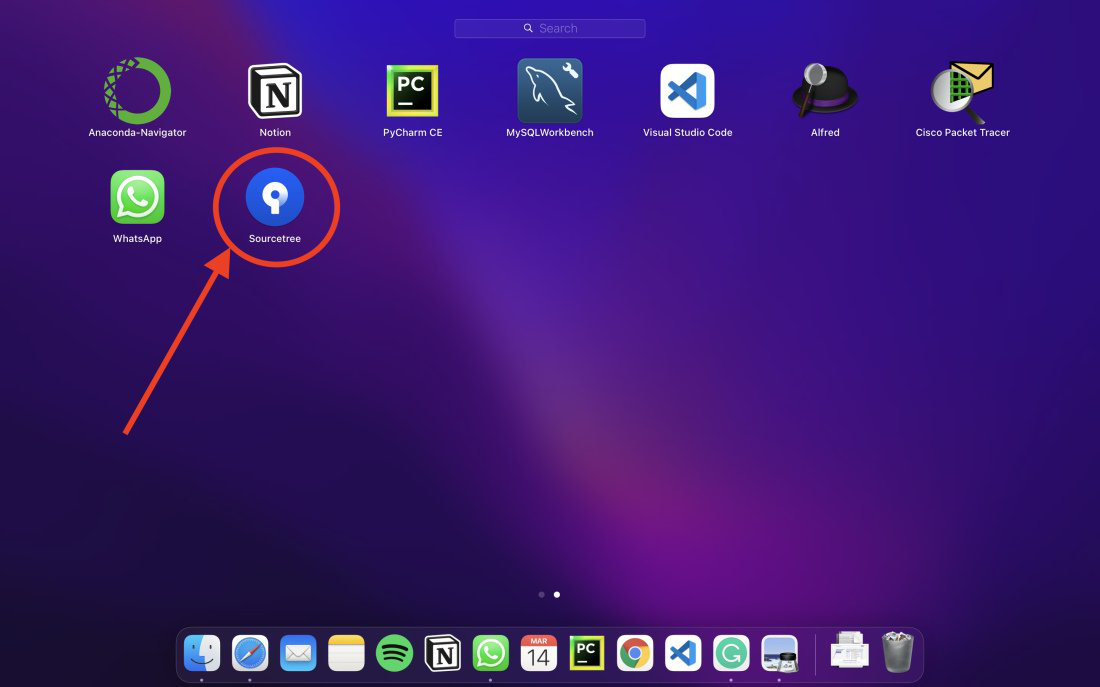
Step 4: Open Launchpad and Double click on the SourceTree Application to open the application.
Step 5: A warning message will appear on the screen because it is downloaded from the internet. Now click on open button (Atlassian is a trusted software company so don’t worry about the security).
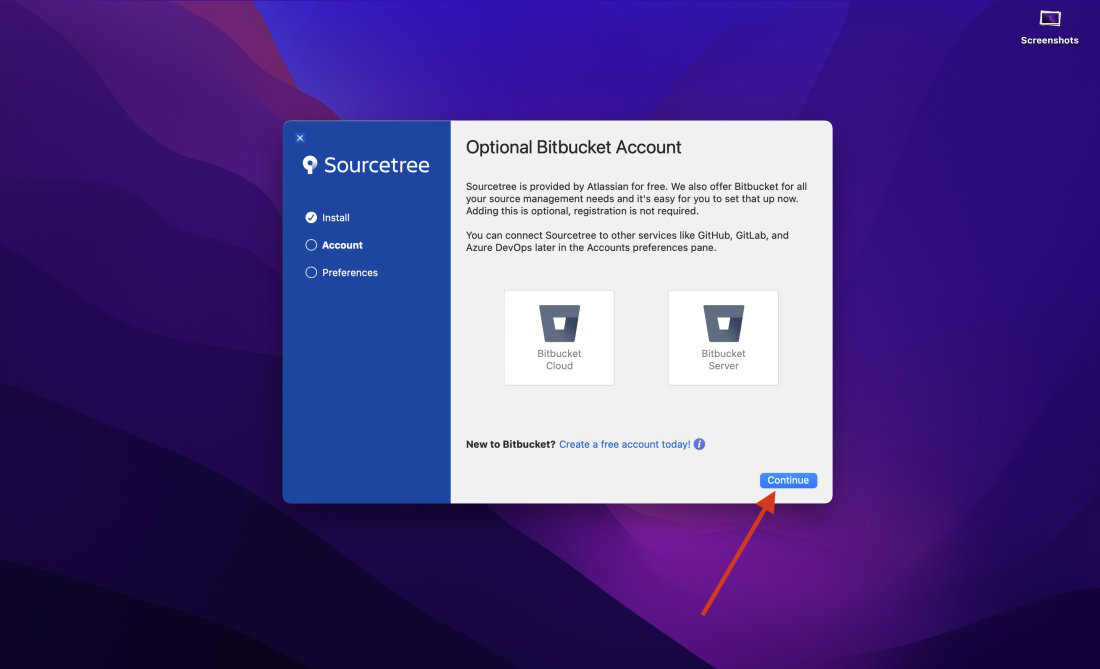
Step 5: The initial installation window will appear. If you have a Bitbucket account then add it otherwise you can click on continue button and finish the process.
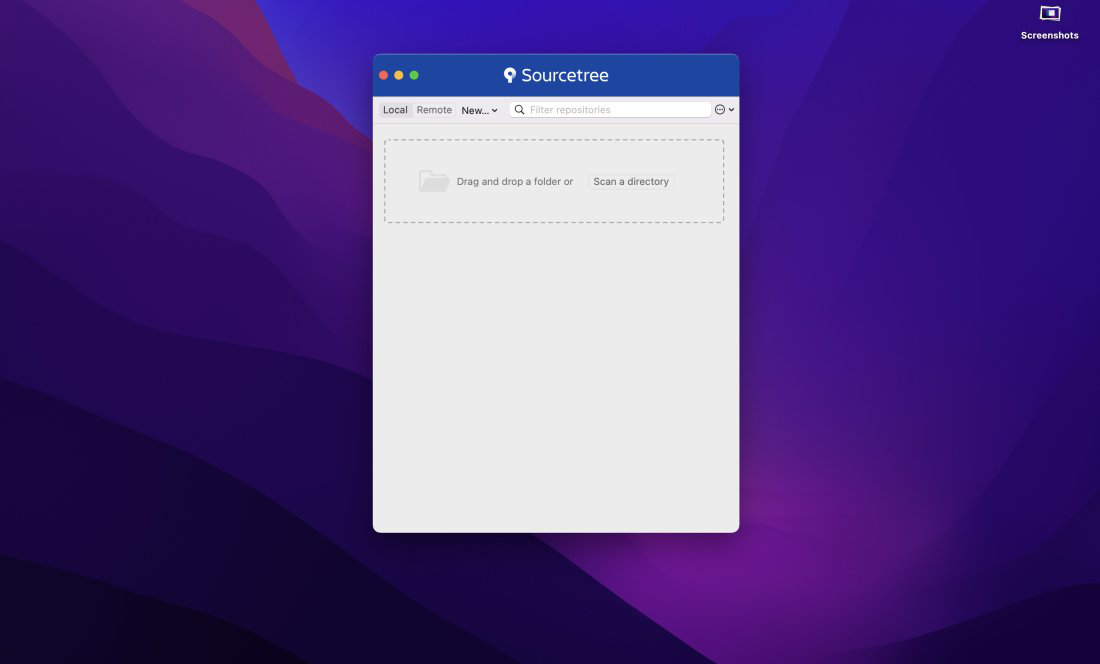
Now, SourceTree is completely installed in your mac. Drag and drop your local repositories to manage it or add remote access to your repositories directly and manage it through SourceTree.
|

Reffered: https://www.geeksforgeeks.org
| How To |
Type: | Geek |
Category: | Coding |
Sub Category: | Tutorial |
Uploaded by: | Admin |
Views: | 12 |