
|
|
Integrating Google Analytics into a React application enables you to monitor and analyze your website’s traffic and user behavior. This integration offers valuable insights into user interactions on your site, aiding in making informed decisions to enhance user experience and achieve business objectives. This guide walks you through the steps of adding Google Analytics to a React application. Prerequisites:Steps to Setup React ApplicationStep 1: Create a React application by using this command npx create-react-app <project-name>Step 2: Navigate to the project directory cd <project-name>Project Structure:Project structure Step 3: Create a repository in github, initialize git in project and push the code in that repository. From vercel account, deploy this react application, so next we can implement Google analytics in this React application. Step 4: Now Open your Google Analytics console and create a account for adding analyics to account. You should have an account. If not, create one.  analytics accound and property During the account creation process, you will also need to create a property. In Google Analytics, a property represents a set of data from a website, app, or device that you want to track separately from other sites or apps. Properties allow you to gain insights into user engagement, enhance website performance, and increase traffic. Step 5: Now, we choose web as next react web application.  collect data Step 6: Next, we have to provide our react application URL, and a stream name. 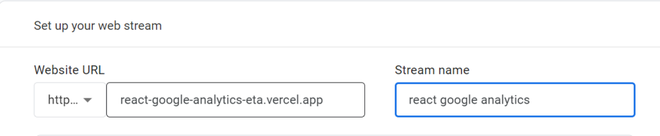 web stream
-660.png) stream details Step 8: Open index.html in public folder of your React application, add google tags script and update “app.js” in “src” folder according to our react application code.
 How To Add Google Analytics in React |
Reffered: https://www.geeksforgeeks.org
| ReactJS |
Type: | Geek |
Category: | Coding |
Sub Category: | Tutorial |
Uploaded by: | Admin |
Views: | 17 |