|
|
Git is the popular version control system that developers use to manage and track the changes in their codebases. We can use git using Java with the feature called JGit. In this article, we will learn to clone the Git repository using JGit. Prerequisites
Git Repository with JGitCloning the repository can involve creating a local copy of the remote repository. This is useful for various reasons such as:
With the JGit, the process of cloning the repository is similar to using the git clone command but is done programmatically. The Git.cloneRepository() method from JGit API can be used to clone the repository. Steps to Implement of JGit
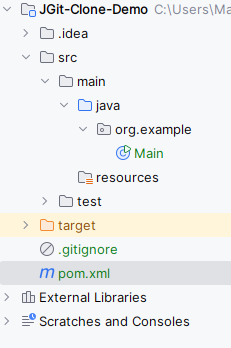
Implementation of Cloning a Git repository with JGitStep 1: Create the Maven ProjectCreate the maven project using IntelliJ Idea. Once create the project then the file structure looks like the below image. Step 2: Add the JGit DependencyOpen the pom.xml and add the below JGit dependency into the project. <!-- https://mvnrepository.com/artifact/org.eclipse.jgit/org.eclipse.jgit -->
<dependency>
<groupId>org.eclipse.jgit</groupId>
<artifactId>org.eclipse.jgit</artifactId>
<version>6.9.0.202403050737-r</version>
</dependency>Step 3: Create the Main Classpom.xmlStep 4: Run the applicationIt will show the Repository cloned successfully in console that means the remote repository cloned successfully into the local system. 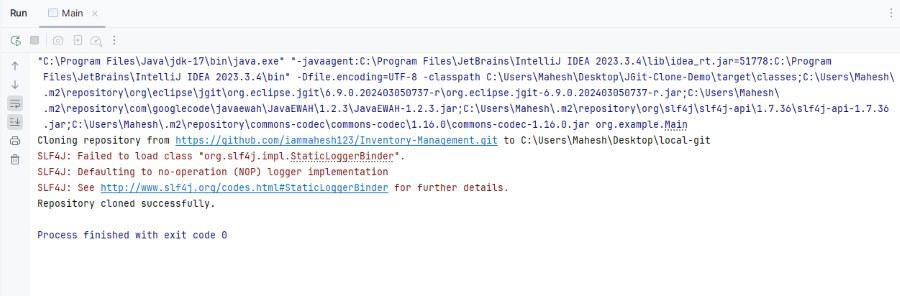 Cloned Repository ConclusionIn this article, we can covered the how to clone the Git repository using the JGit. We set up the necessary environment, add the dependencies and implemented the cloning logic in the step by step manner. JGit can provides the powerful way to interact with the Git repositories programmatically in Java. |
Reffered: https://www.geeksforgeeks.org
| Java |
Type: | Geek |
Category: | Coding |
Sub Category: | Tutorial |
Uploaded by: | Admin |
Views: | 14 |