.png)
|
|
In the React setting the selected option of a Select can be achieved using different approaches including using the native HTML <select> element and using third-party select components like react-select. We will discuss two approaches to Setting selected options of a select in React: Table of Content Prerequisites:Steps to Setup ReactJS ApplicationStep 1: Create a reactJS application by using this command npx create-react-app my-appStep 2: Navigate to the Project folder cd my-appStep 3: Install the necessary packages/libraries in your project using the following commands npm install react-selectProject structure:Project Structure The updated dependencies in package.json file will look like: "dependencies": { Approach 1: Using the native ‘select’ elementIn this approach we are using the built-in HTML <select> element provided by the browser. We will use state to manage the selected option. Example: This example uses native <select> element to set the option of a select in React. Step to Run Application: Run the application using the following command from the root directory of the project npm startOutput: 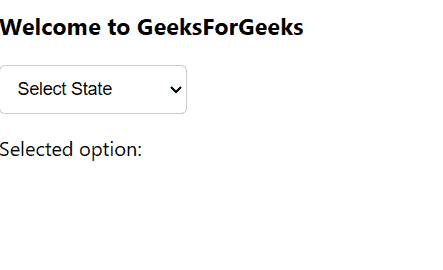 Using the native element Approach 2: Using react-select componentIn this approach we will use a third-party library react-select to set selected option .react-select offers enhanced functionality and styling options compared to native <select> elements. Example: This example uses react-select component to set the option of a select in React. Step to Run Application: Run the application using the following command from the root directory of the project npm startOutput: 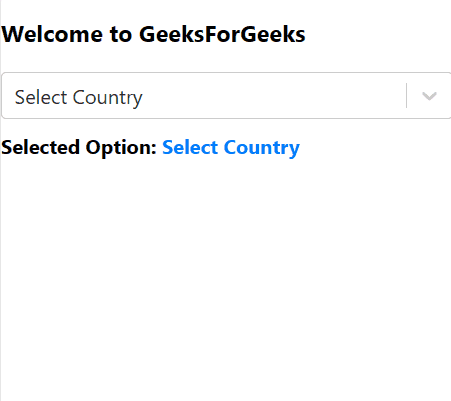 Using react-select component |
Reffered: https://www.geeksforgeeks.org
| ReactJS |
Type: | Geek |
Category: | Coding |
Sub Category: | Tutorial |
Uploaded by: | Admin |
Views: | 15 |