|
|
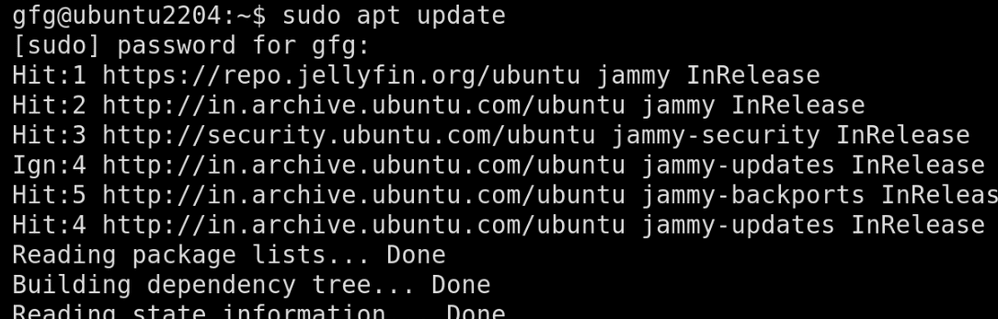
Git, a popular version control system, is widely used for managing code in software development projects. It tracks changes in code, allowing collaboration and easy reversion to previous versions if needed. This article will outline two methods for installing Git on your Ubuntu system. Table of Content Method 1 : Using APT package managerStep 1 : Update the package listTo make sure we are getting the latest version of git, update the package list using apt update command. sudo apt update -y
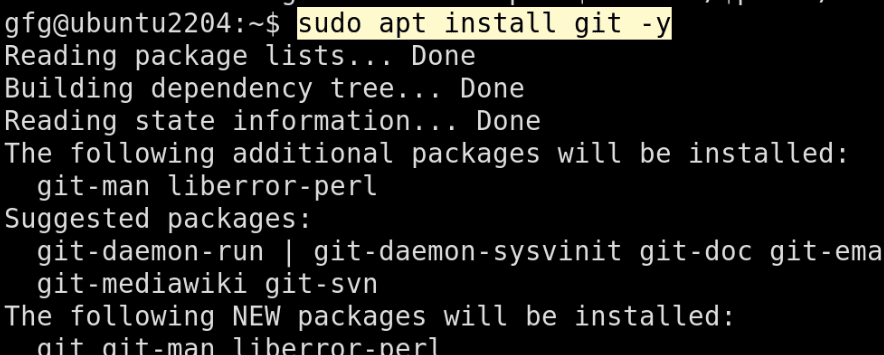
updating system Step 2 : Install GitOnce repositories are up to date, we will install git using apt install command. sudo apt install git -y
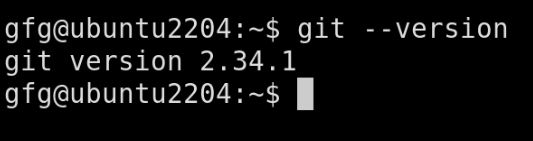
 installing git using apt package manager Step 3 : Verify installationOnce, installation is done, verify installation using git –version command. git --version
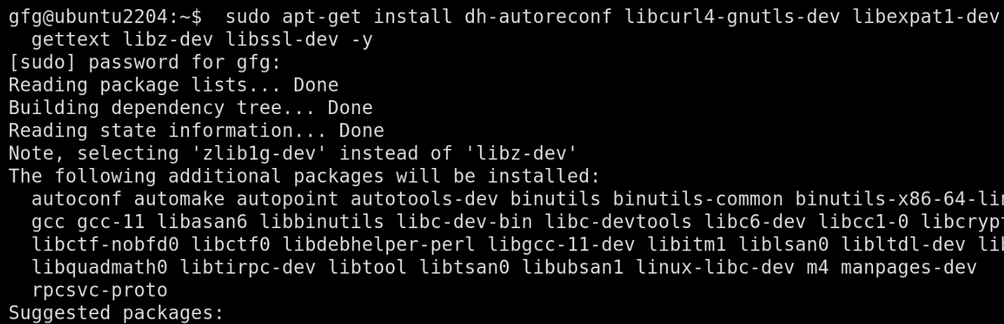
 verifying installation Method 2 : Compiling from sourcesStep 1 : Installing dependenciesIn order to install git from Tarball package, we will need to download required dependencies using apt install command as follows sudo apt-get install dh-autoreconf libcurl4-gnutls-dev libexpat1-dev gettext libz-dev libssl-dev build-essential
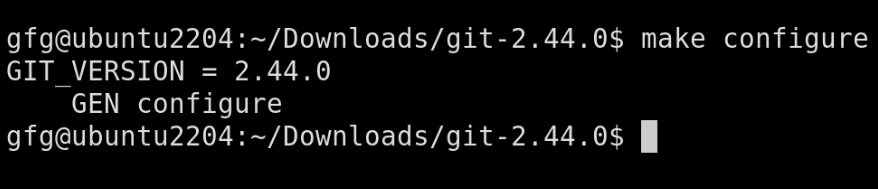
 installing git dependencies Step 2 : download archiveIn this step, we will download official Tarball package from official git repository. Go to following link in your browser and download latest .tar.gz package as shown below Link : https://github.com/git/git/tags 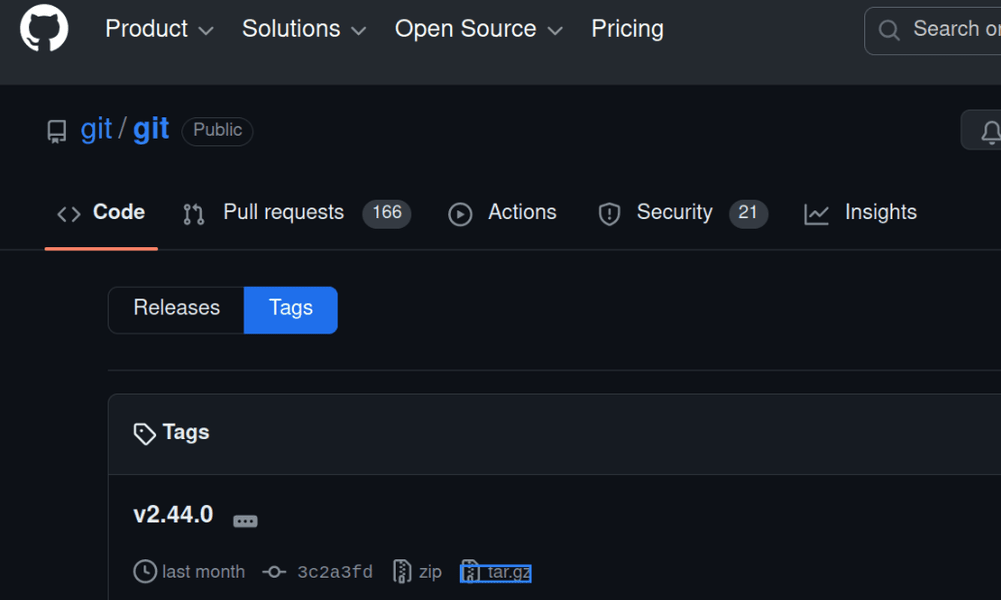 downloading tarball latest package Step 3 : Extract the archiveOnce downloading is completed, we will extract the package using tar -zxf command. First navigate to Downloads folder using cd command cd Downloads Now extract tarball package using tar -zxf command tar -zxf git-* Step 4 : Navigate to the extracted directoryOnce extracted, navigate to extracted directory using cd command. cd 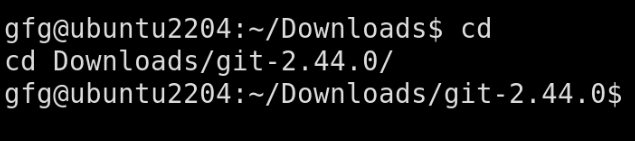 navigating to extracted directory Step 5: Configure and buildOnce we are in extracted git directory, use following commands to make configurations and installation. make configure
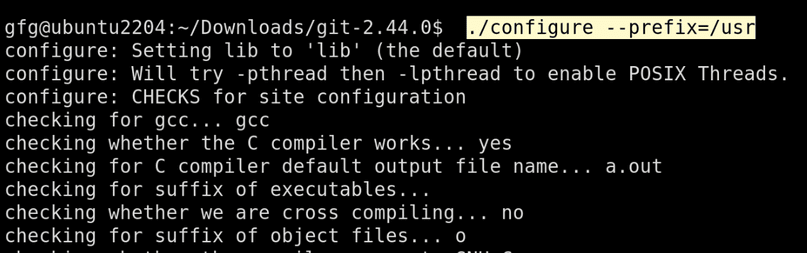
 configuring installation ./configure --prefix=/user
 configure for user sudo make install install-doc install-html install-info
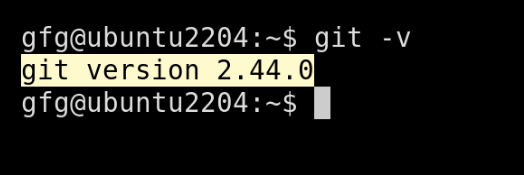
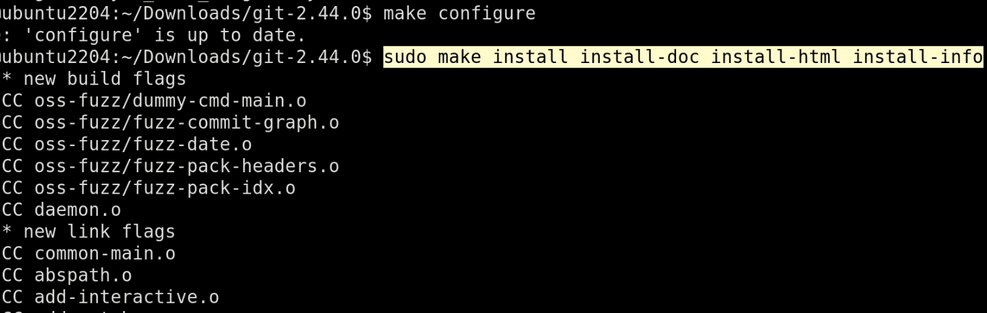 installing git Step 6 : Verify installationOnce, installation is done, verify installation using git -v command. git -v
How To Install Git on Ubuntu 20.04 – FAQsHow do I keep git updated?
Is there another way to install Git like GUI?
Can I use same steps on Ubuntu based distributions?
ConclusionIn this article, we’ve explored two methods for installing Git on Ubuntu 22.04. For most users, using the Ubuntu repositories (via the apt package manager) is the recommended approach. This method offers a straightforward installation, ensures compatibility with your system, and provides regular security updates. However, if you require a specific Git version or prefer more customization, compiling from source is an alternative option. |
Reffered: https://www.geeksforgeeks.org
| Linux Unix |
Type: | Geek |
Category: | Coding |
Sub Category: | Tutorial |
Uploaded by: | Admin |
Views: | 13 |