|
|
In Java, Spring Security is a very powerful framework that can provide comprehensive security services for Java enterprise software applications. One of the essential aspects of the security is authentication and it can be users are verified before granting access to the resource. Spring Security can allow for the customization of the authentication processes, and it can include handling authentication failures. Implementation of Custom AuthenticationFailureHandler in Spring SecurityWe can develop the simple login management Spring application with the Custom Authentication failure handler mechanism. Step 1: We can create the spring project including the below dependencies into the project. Dependencies:
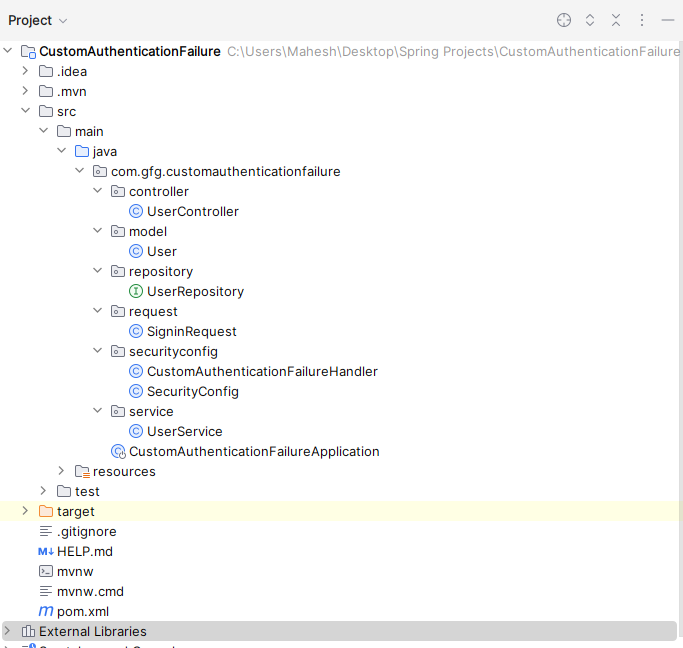
Once create the spring project with the above dependencies into the project then file structure looks like the below image. File Structure:
Step 2: Open the application.properties file and put the below code for the database configuration. spring.data.mongodb.uri=mongodb://localhost:27017/CustomData Step 3: Create the new package named as the model and create the java class named as the User. Go to src > com.gfg.customauthenticationfailure > model > User and put the below code. Java
Step 4: Create the new package named as the repository and create the java interface named as the UserRepository. Go to src > com.gfg.customauthenticationfailure > repository > UserRepository and put the below code. Java
Step 5: Create the new package named as the service and create the java interface named as the UserService. Go to src > com.gfg.customauthenticationfailure > service > UserService and put the below code. Java
Step 6: Create the new package named as the securityconfig and create the java interface named as the CustomAuthenticationFailureHandler. Go to src > com.gfg.customauthenticationfailure > securityconfig > CustomAuthenticationFailureHandler and put the below code. Java
Step 7: Create the new package named as the securityconfig and create the java interface named as the SecurityConfig. Go to src > com.gfg.customauthenticationfailure > securityconfig > SecurityConfig and put the below code. Java
Step 8: Create the new package named as the request and create the java interface named as the SignRequest. Go to src > com.gfg.customauthenticationfailure > request > SignRequest and put the below code. Java
Step 9: Create the new package named as the controller and create the java interface named as the UserController. Go to src > com.gfg.customauthenticationfailure > controller > UserController and put the below code. Java
Step 10: Open the main class and put the below code. Java
pom.xml File: XML
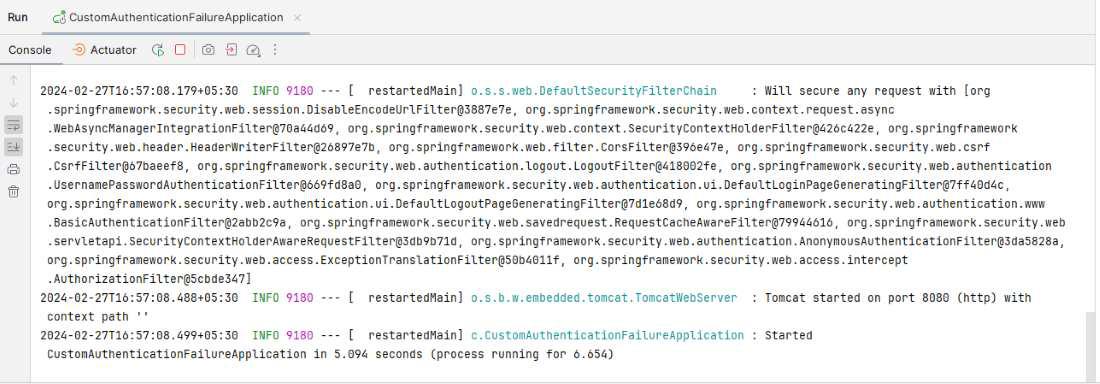
Step 11: Once completed the spring project and its run as the spring application then the application runs the port 8080.
|
Reffered: https://www.geeksforgeeks.org
| Advance Java |
Type: | Geek |
Category: | Coding |
Sub Category: | Tutorial |
Uploaded by: | Admin |
Views: | 15 |