|
|
The Maven is a powerful build automation tool primarily used for java program projects. And It simplifies that build process, dependency management and project configuration through a standard project object model which means POM file. This file is heart of the Maven Project and Build Automation. In this article we will explain about Create an Executable JAR with Maven. The JAR stands for Java ARchive. A JAR file is one of the package file format typically used to aggregate many Java class files and associated metadata and resources into one file for distribution. JAR files are archive files that include a Java-specific manifest file. Creating an executable JAR file with Maven can be done in several ways. Basically the executable JAR file contains a main class with a main method and includes all the dependencies required to run the application. Create an Executable JAR with MavenFor creating Executable JAR we have some ways below listed them.
Tools and Technologies
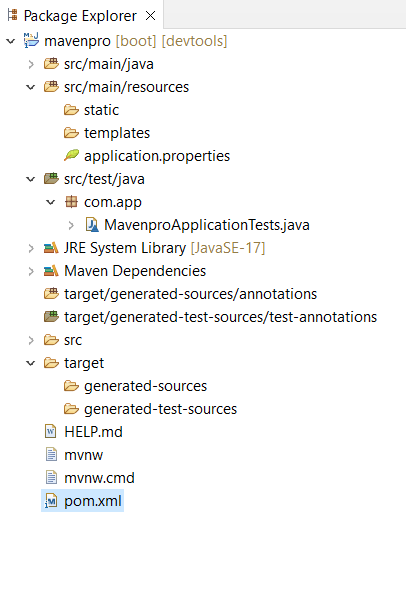
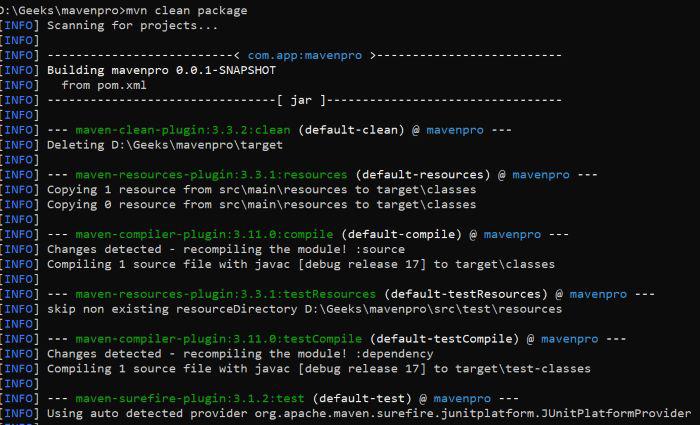
Steps to Create an Executable JAR with MavenHere we created a simple maven project by using spring initializr with required maven dependencies and we mention them in the below. Step 1:Create a Maven project by using Spring Tool Suite with basic dependencies. <dependencies> Step 2:Once project created successfully, Now observe the project folder structure. The maven tool can provide standard structure to understand the project structure easily. project folder Step 3:Now located the pom.xml file open It now observe the dependencies in that file. This file contains information like project configuration, dependency management and other project related information. Step 4:Now change the pom.xml file for creating executable JAR with maven below we provide the required XML configuration. Using the Maven Assembly Plugin: <build>
<plugins>
<plugin>
<groupId>org.apache.maven.plugins</groupId>
<artifactId>maven-assembly-plugin</artifactId>
<version>3.3.0</version>
<configuration>
<archive>
<manifest>
<mainClass>com.example.MainClass</mainClass>
</manifest>
</archive>
<descriptorRefs>
<descriptorRef>jar-with-dependencies</descriptorRef>
</descriptorRefs>
</configuration>
<executions>
<execution>
<id>make-assembly</id>
<phase>package</phase>
<goals>
<goal>single</goal>
</goals>
</execution>
</executions>
</plugin>
</plugins>
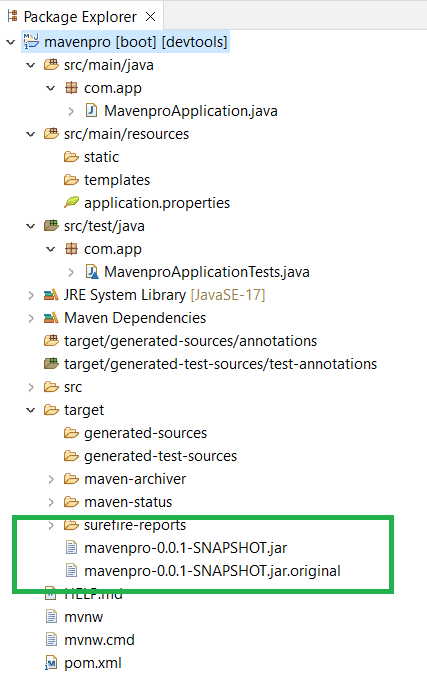
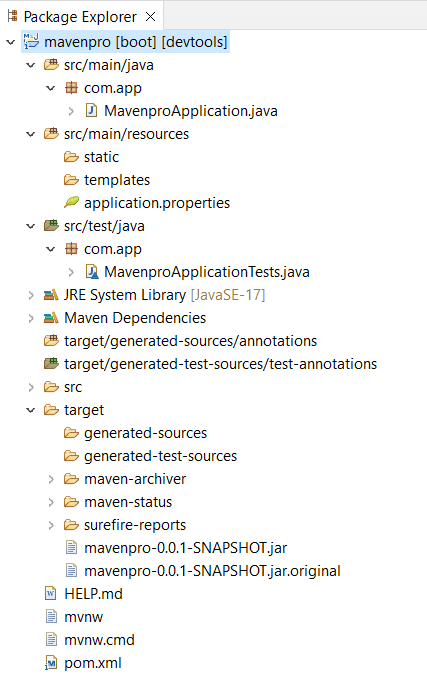
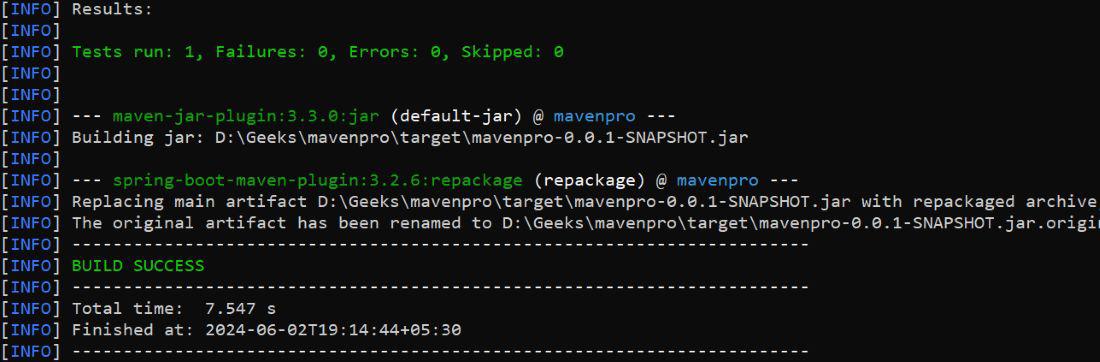
</build>Now update the Maven Project after this run this project as Spring Boot App. Now refresh the project folder there is JAR is created.  Step 5:In this step we use another approach to create an Executable JAR with Maven. Update the below configuration code in the pom.xml and update the project run this project. Using the Maven Shade Plugin: <build>
<plugins>
<plugin>
<groupId>org.apache.maven.plugins</groupId>
<artifactId>maven-shade-plugin</artifactId>
<version>3.4.1</version>
<executions>
<execution>
<phase>package</phase>
<goals>
<goal>shade</goal>
</goals>
<configuration>
<transformers>
<transformer implementation="org.apache.maven.plugins.shade.resource.ManifestResourceTransformer">
<mainClass>com.example.MainClass</mainClass>
</transformers>
</configuration>
</execution>
</executions>
</plugin>
</plugins>
</build>
|
Reffered: https://www.geeksforgeeks.org
| Advance Java |
Type: | Geek |
Category: | Coding |
Sub Category: | Tutorial |
Uploaded by: | Admin |
Views: | 10 |